An employer's record
Add an employer, edit it, add worksites, departments, contracts, stewards, contacts, and assigned staff, make a join link, deactivate or delete it, tab by tab.
What an employer is
An employer is a company the local has a contract with, or is organizing. Members are represented at their employer: the contract is signed with it, grievances are filed against it, and seniority is counted within it. A local usually has a handful of large employers and a long tail of small ones.
One employer can have many locations: a grocery chain with forty stores, a nursing-home operator with six facilities. Each location is a worksite on the employer's record. Contracts, stewards, contacts, and join links can belong to the whole employer or to a single worksite, and a member's job points at both.
Employers can also nest. A franchisee's stores can be part of a national chain, so the chain's page lists every banner under it while each franchisee keeps its own record, contract, and contacts.
Everyone can read an employer; agents and admins edit; stewards and treasurers propose changes for an approver. See Approvals.
Which tab has what
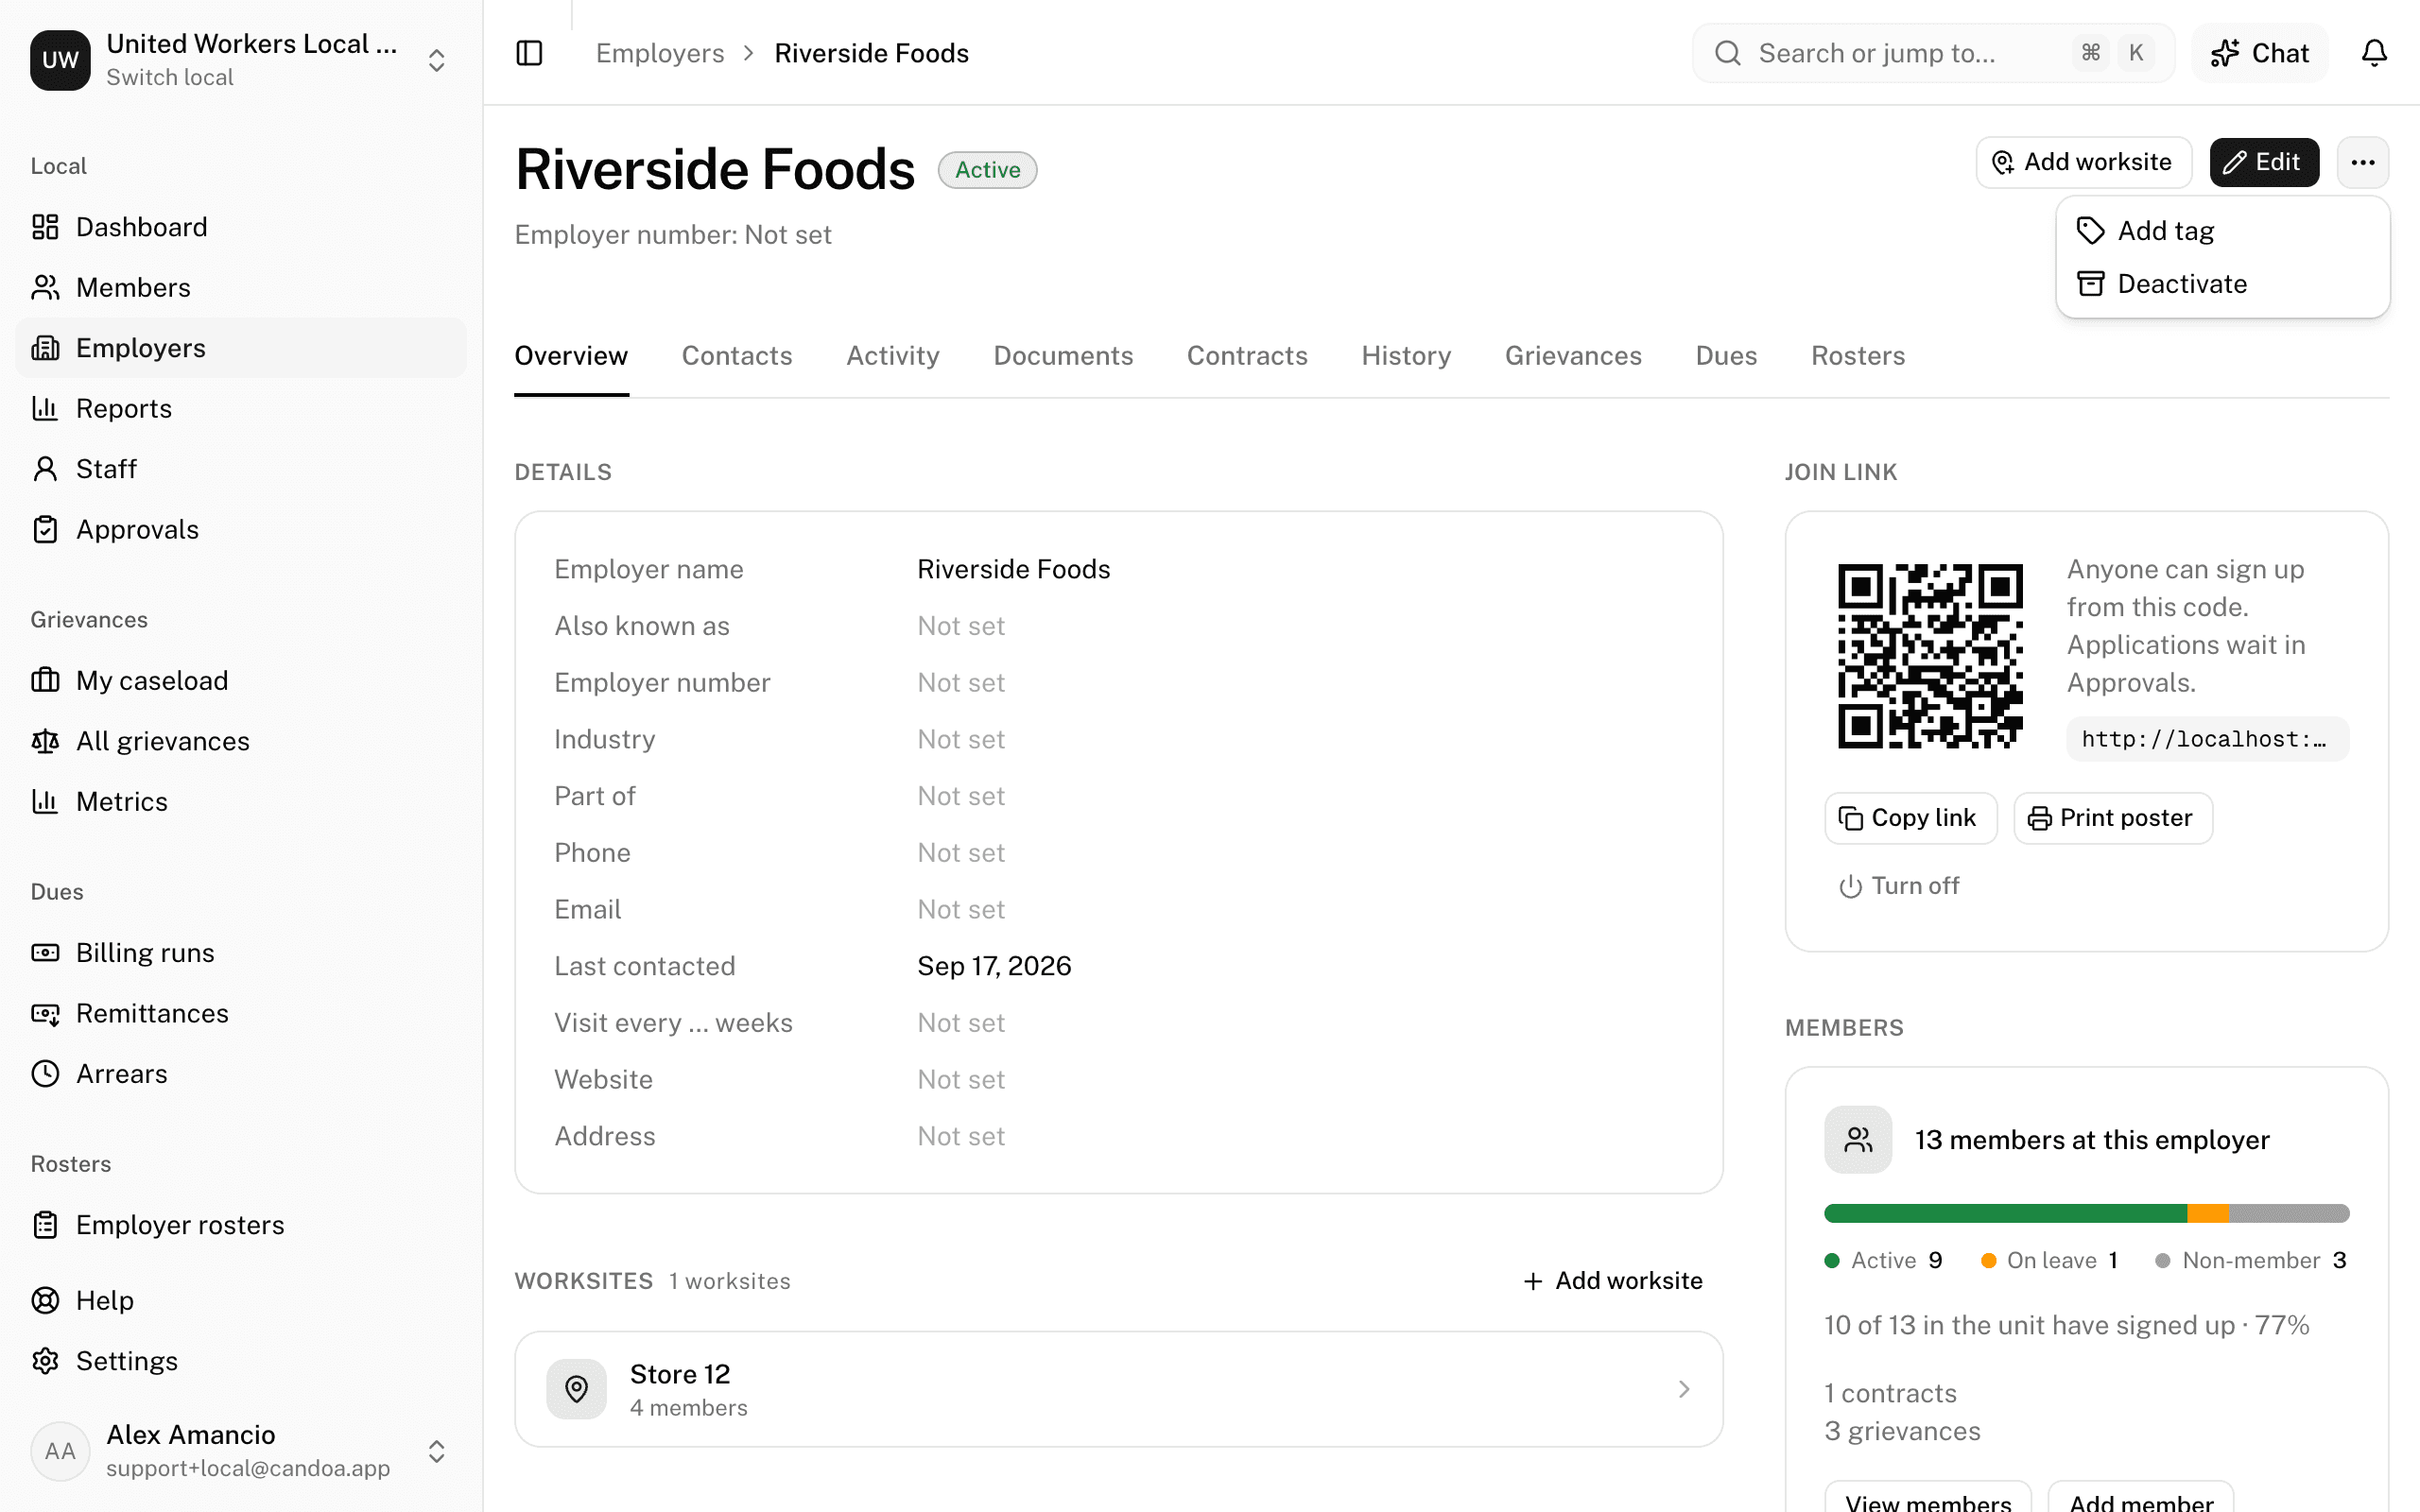
The top of the record stays the same wherever you are: the name, the Active or Inactive badge, the employer number with the city, the tags, the pinned notes, and the buttons (Add worksite, Edit, and the ⋯ menu). Under that, a row of tabs:
- Overview opens first: the Details and, for your local's own fields, More; the Worksites; the Chain when other employers are part of this one; the Departments; and, beside them, the Join link panel when your local has the Join add-on, and the Members panel with the counts.
- Contacts: the Stewards, Management (the company's managers the local deals with), and the Staff assigned here.
- Activity: the note box and the notes, then the timeline of everything that happened to the record.
- Documents: the employer's own paperwork on top, under This employer's documents, then From the library, what the local publishes for this employer. The paperwork shows only for permissions that can see documents on employers and worksites.
- Contracts: the agreements this employer signed, plus any master agreement it is covered by.
- History: every change to a field, who made it and when.
- Grievances: the cases filed at this employer. This tab is there when your local has the Grievances add-on.
- Rosters: the lists this employer has sent of who works there, newest first, with File a roster. This tab is there when your local has the Rosters add-on; see Employer rosters.
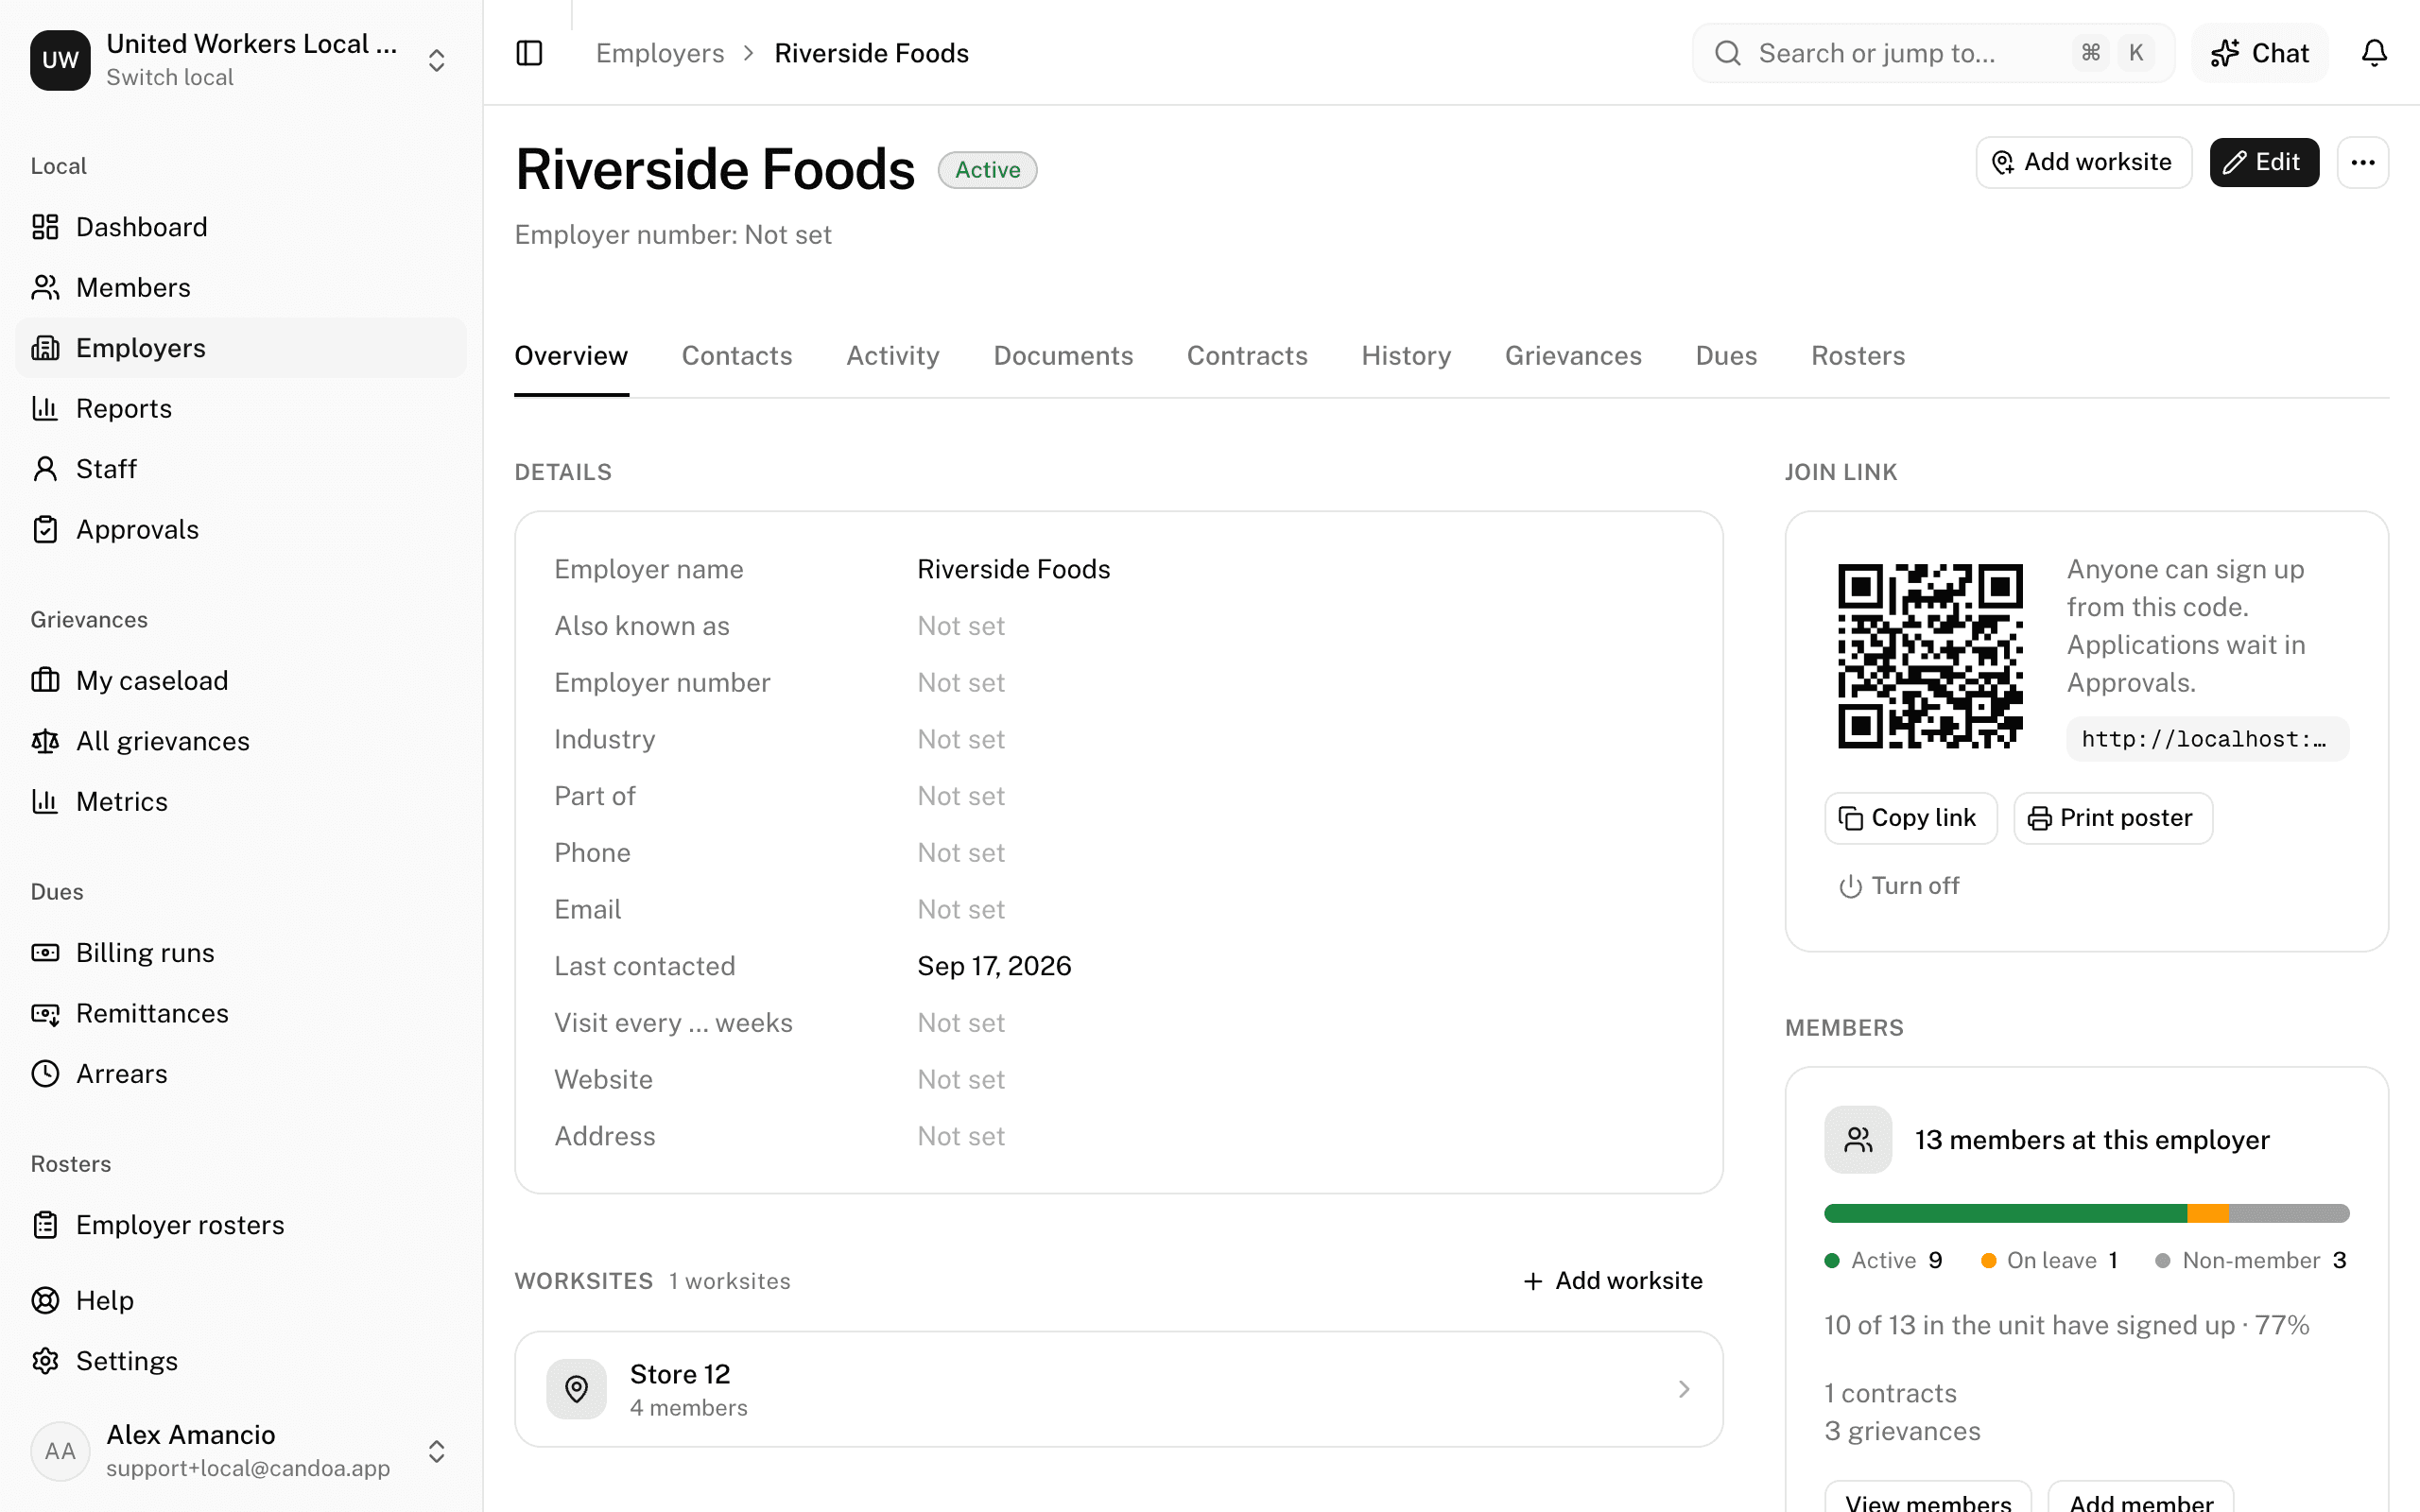
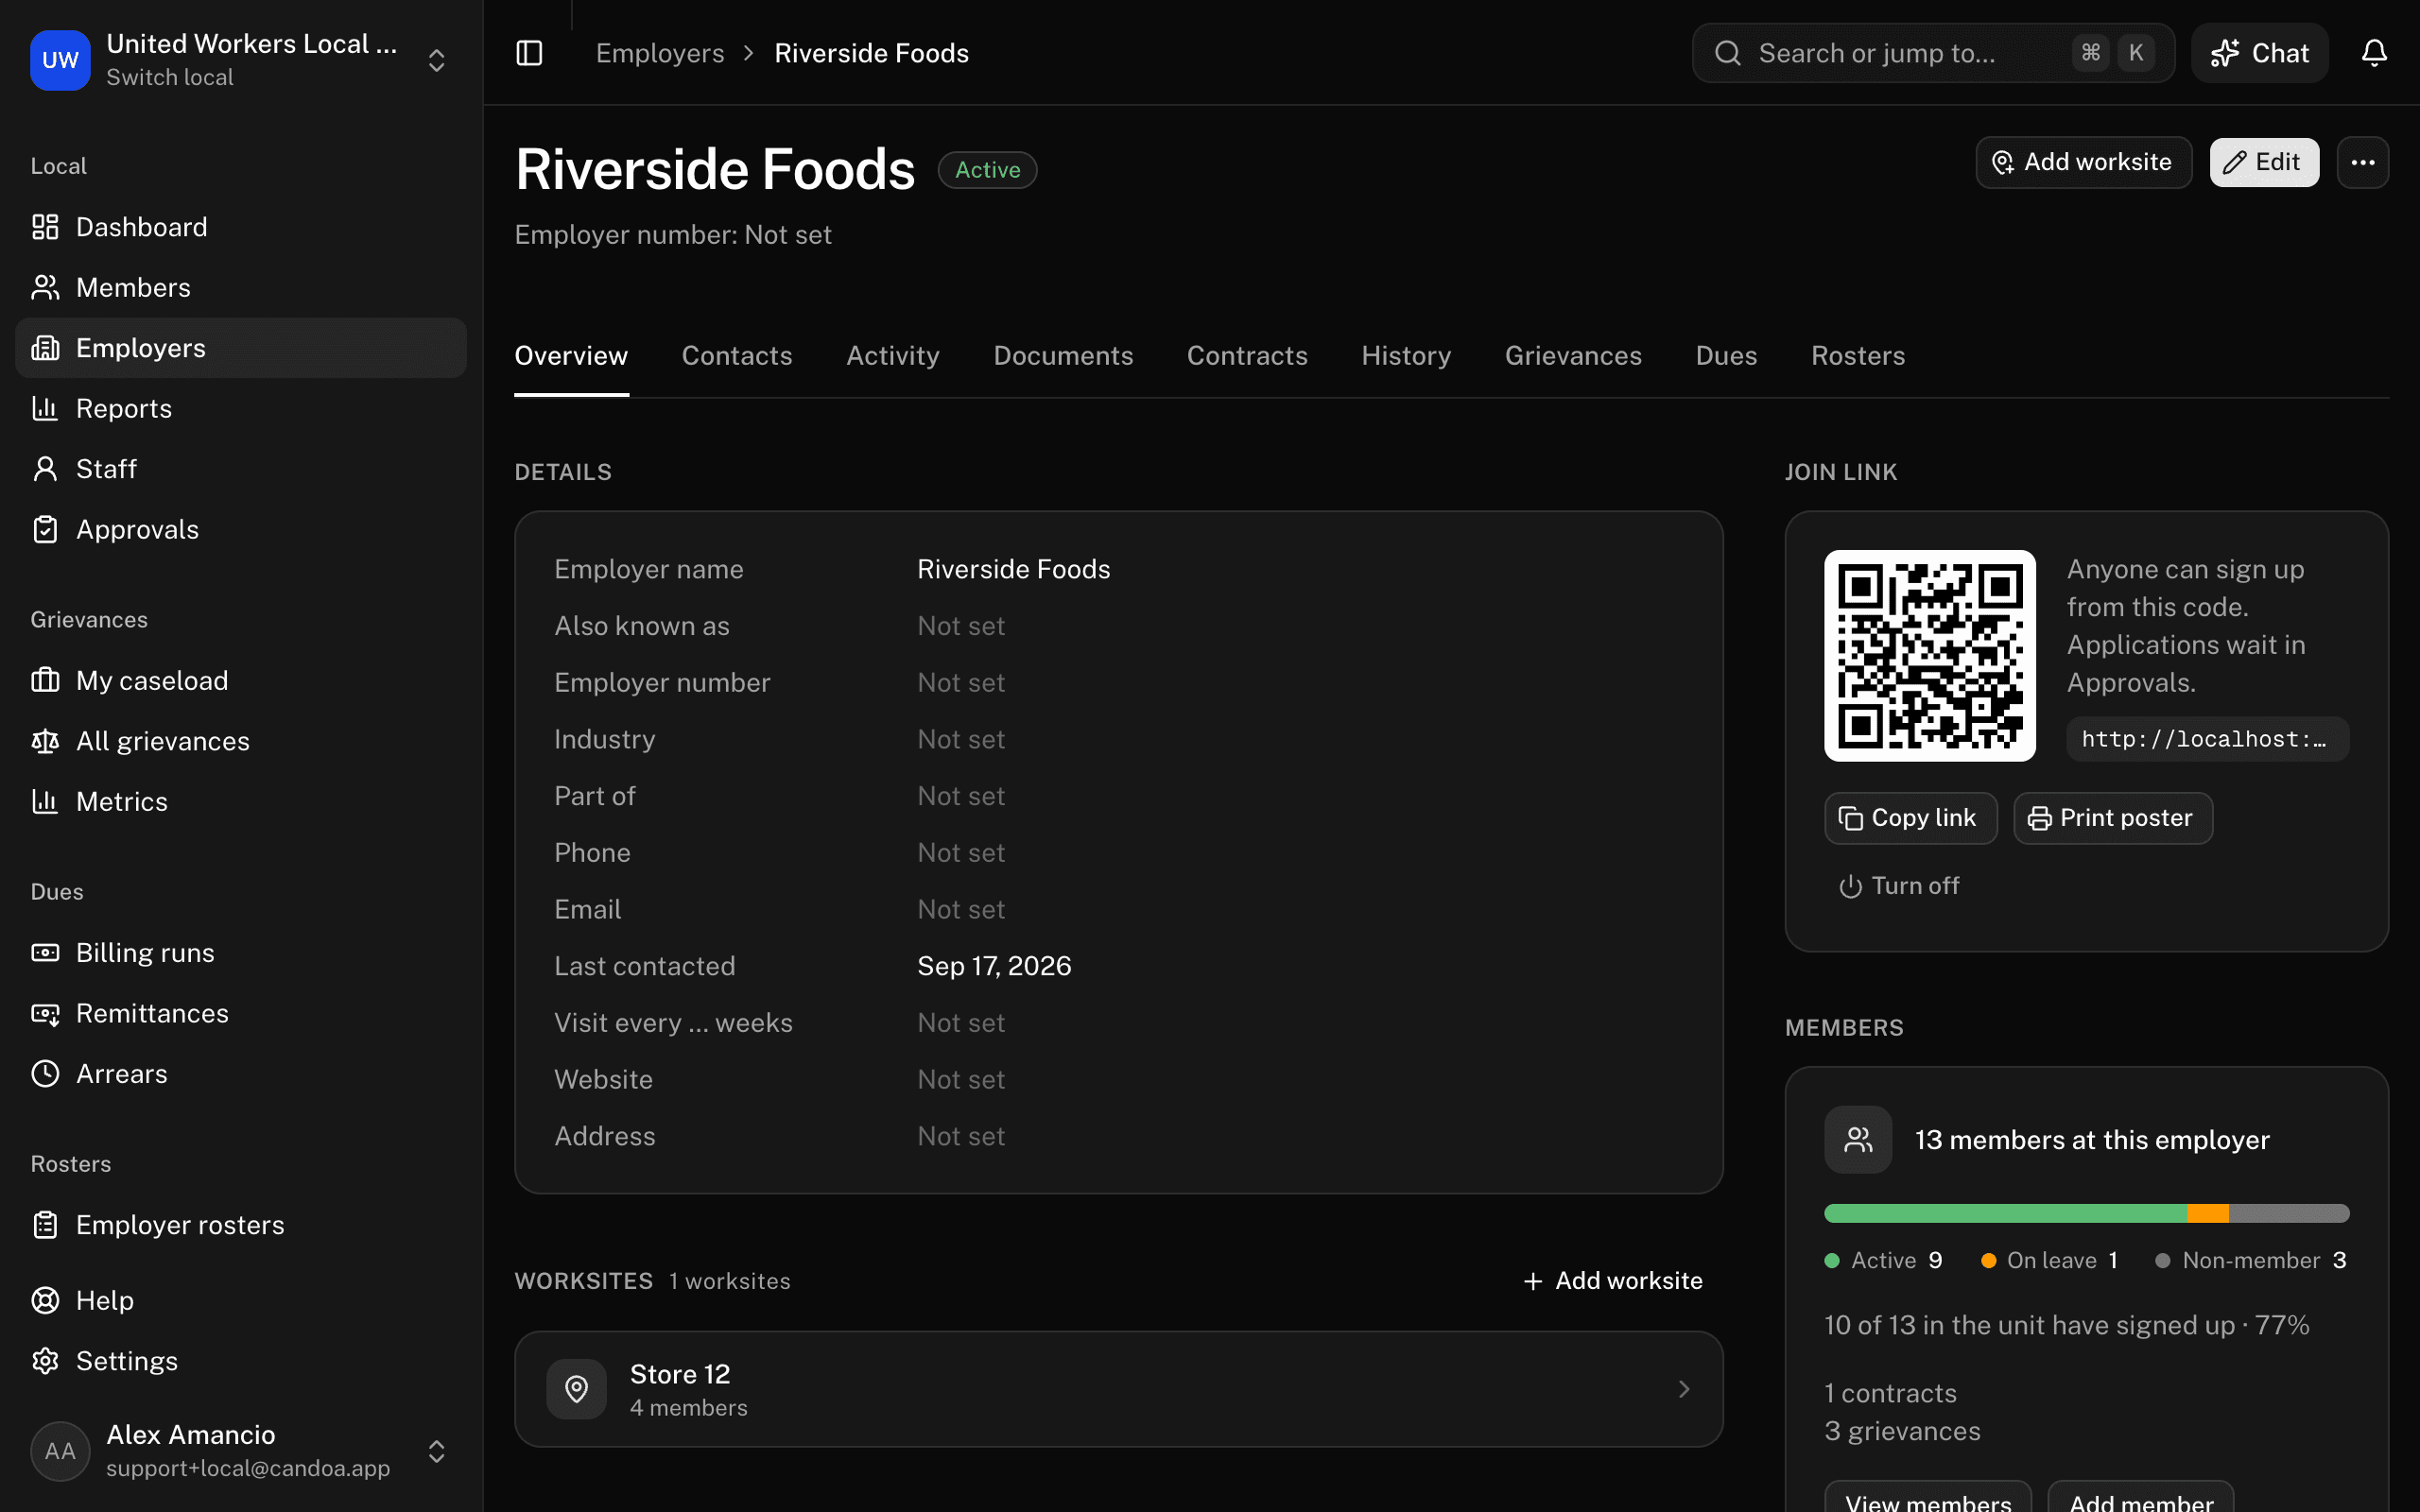
Each tab is its own address, so the back button, a bookmark, or a link from a reminder lands on the right one; Cmd-click a tab to open it in a new browser tab. With a tab focused, ← and → move to the next one. The palette lists them too: type Go to Contacts.
Add a member at this employer
In the Members panel on Overview, press Add member. Quick add a member opens over the page with this employer already chosen, so you only fill in the person; it clears for the next one after each add, and Done closes it. For every field, press Use the full form. See Add a member. Needs "Add members, edit records, change status".
See how much of the employer has signed up
The Members panel on Overview shows the roster here as a bar by status, with the counts under it. Above the bar, one line says how much of the bargaining unit has joined, such as "38 of 52 in the unit have signed up · 73%". The people who count as signed up are Active, On leave, and Suspended; the unit is those plus the Non-members, meaning the people in the unit who never joined. Retired and Withdrawn are in neither, because they have left the unit.
If the local doesn't record non-members here, the line says the share isn't known, rather than showing a figure that would always read as everyone.
Add an employer
- On the employers list press Add employer, or press n then e anywhere.
- Enter the Employer name. It's the only required field and must be unique in your local.
- Optionally add the Employer number (what payroll or your old system uses), Also known as, Industry, Part of (the chain it belongs to), phone, email, website, address, and custom fields.
- Press Add employer. The new record opens.
Staff limited to certain employers can't add one, since it would sit outside their view.
Edit an employer's details
- Press Edit at the top right, or press E. The form opens on the Overview tab, from whichever tab you were on.
- Change what you need and press Save. Proposers see Send for approval.
Set how often reps should visit
- Press Edit and fill in Visit every … weeks with a number of weeks, such as 4. Leave it blank when there's no expectation.
- Press Save. Proposers see Send for approval.
The cadence applies to every worksite of this employer that doesn't set its own; a worksite can override it on its own record, see Worksites. A visit is a note of kind Visit logged on the worksite or on one of its members. Once a worksite's last visit is older than the cadence, it shows under Visits overdue on the dashboard, and the employers list can filter on Visit overdue and show a Next visit due column; see The employers list. The Details section shows the cadence as Every 4 weeks.
Add a worksite
- Press Add worksite at the top right, or press W, from any tab. The dialog opens on the Overview tab.
- Enter the Worksite name, such as "Lancaster #6047", the Store number, and the address.
- Press Add worksite.
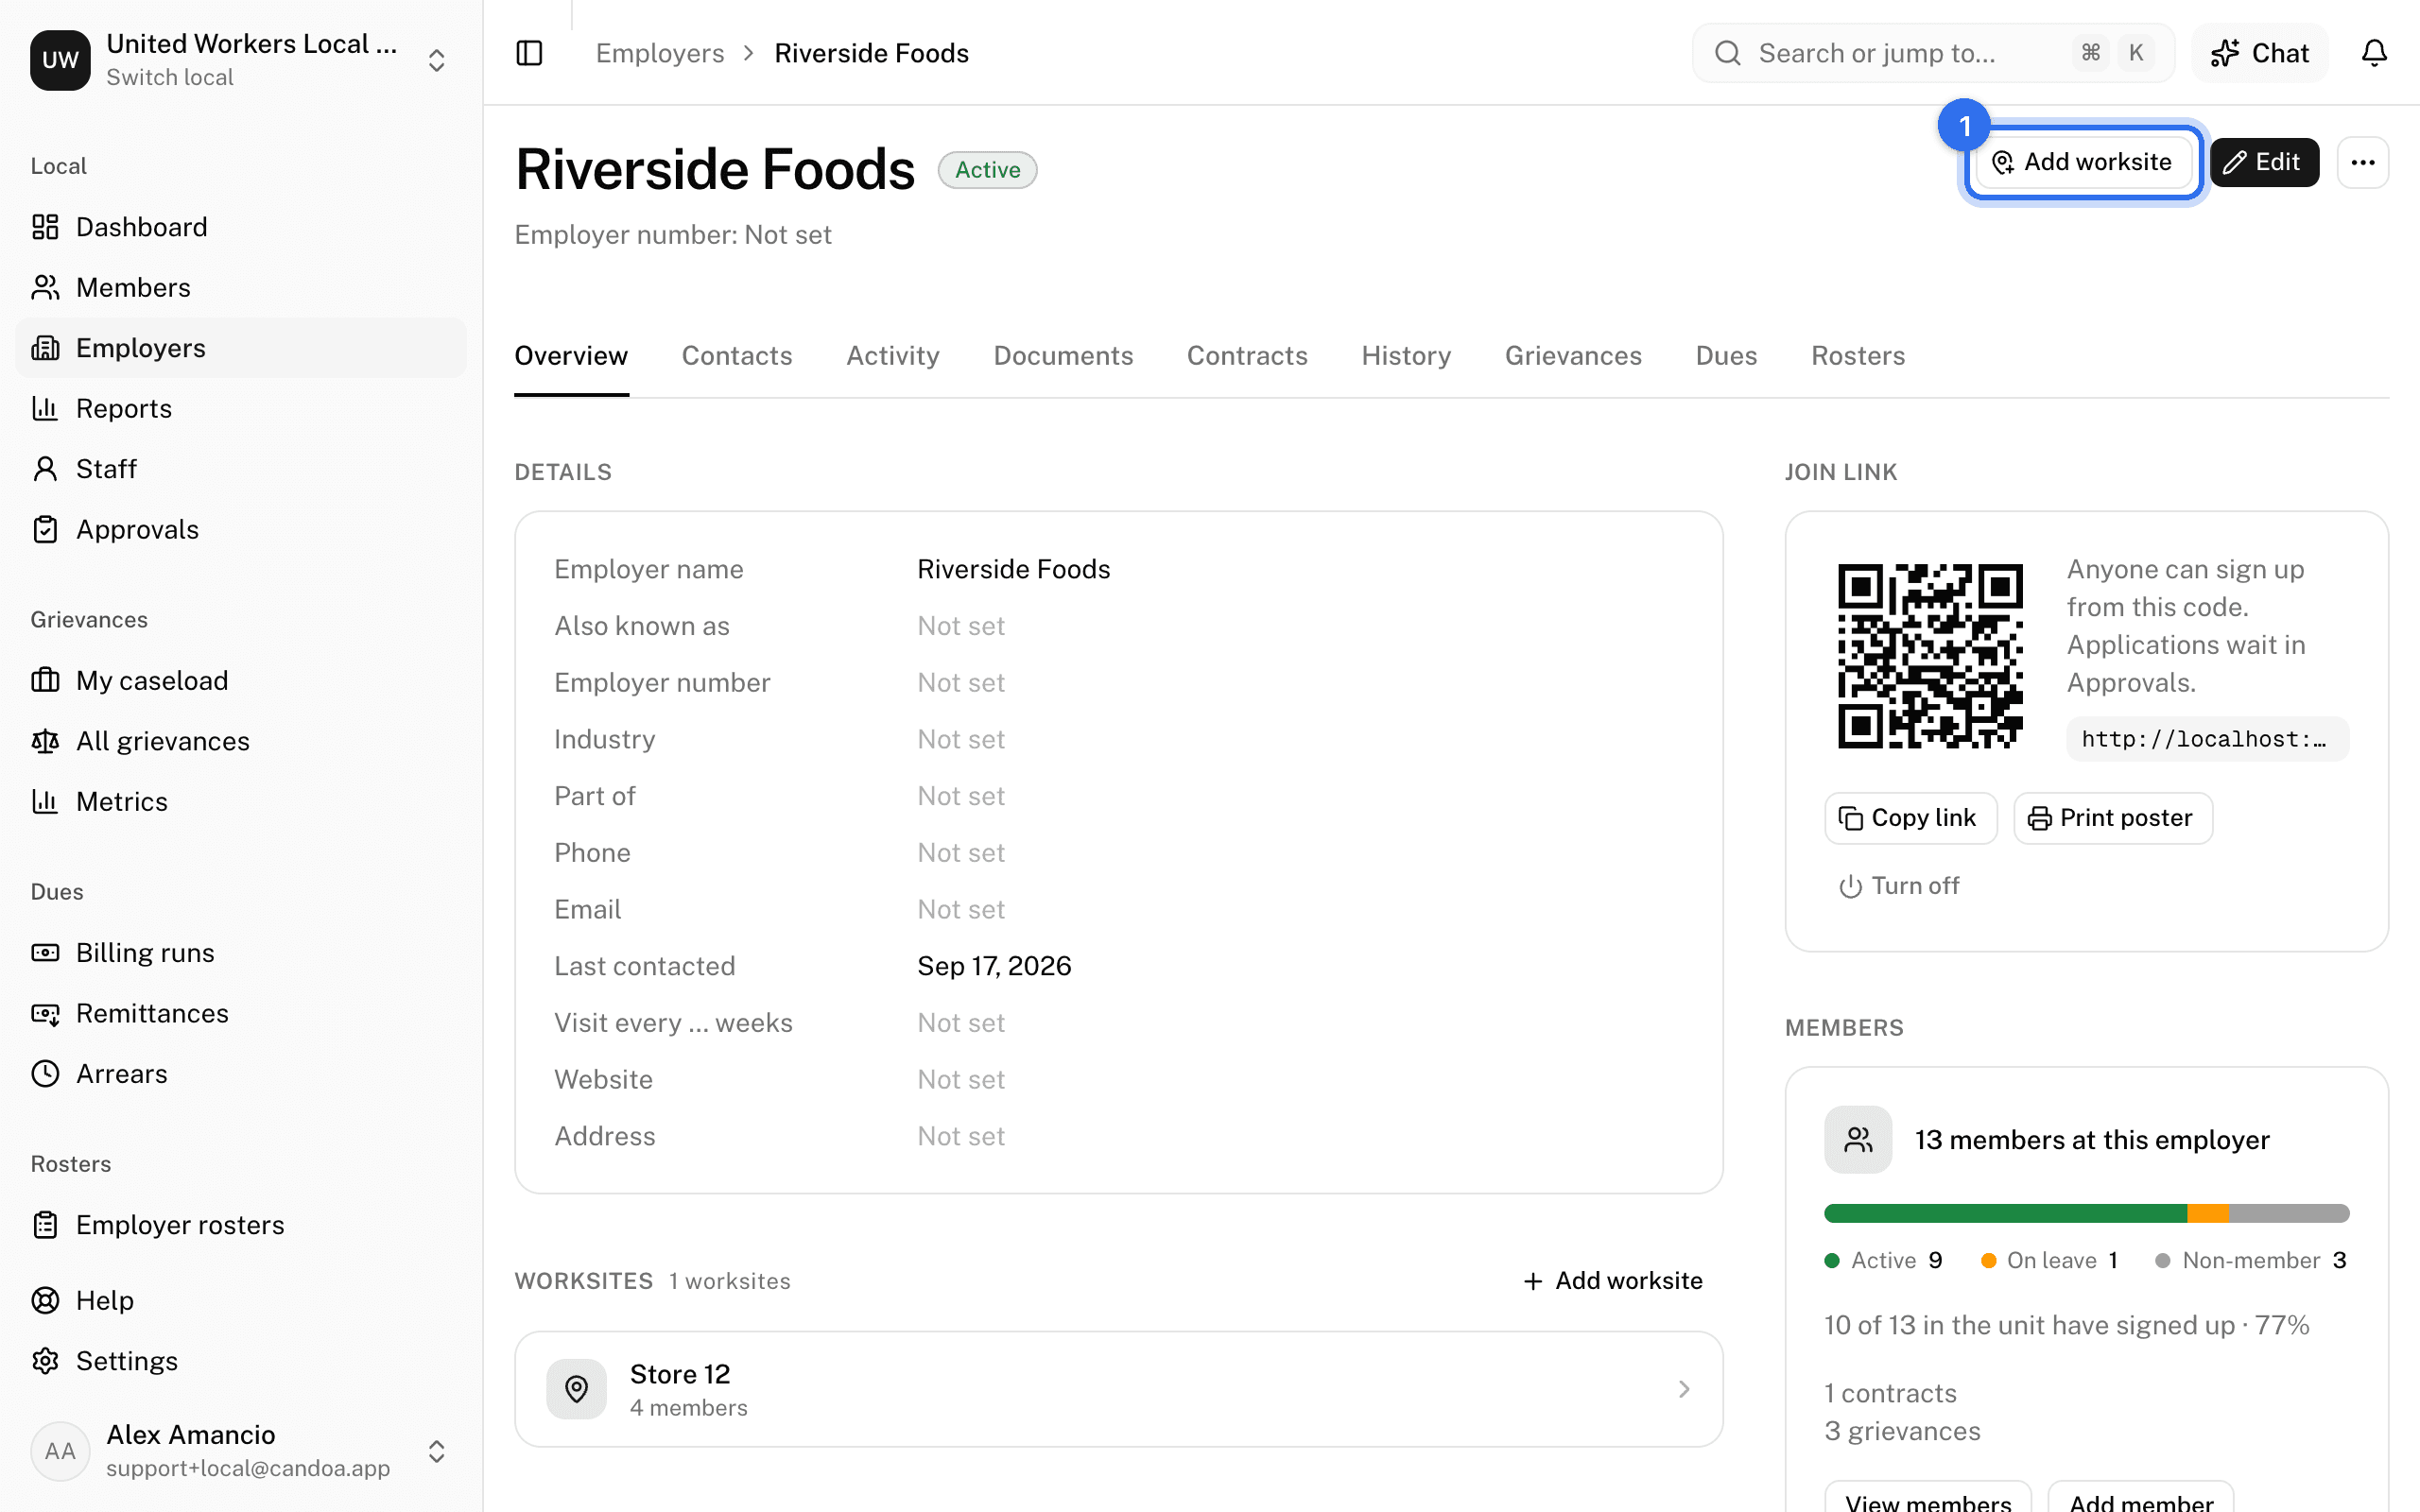
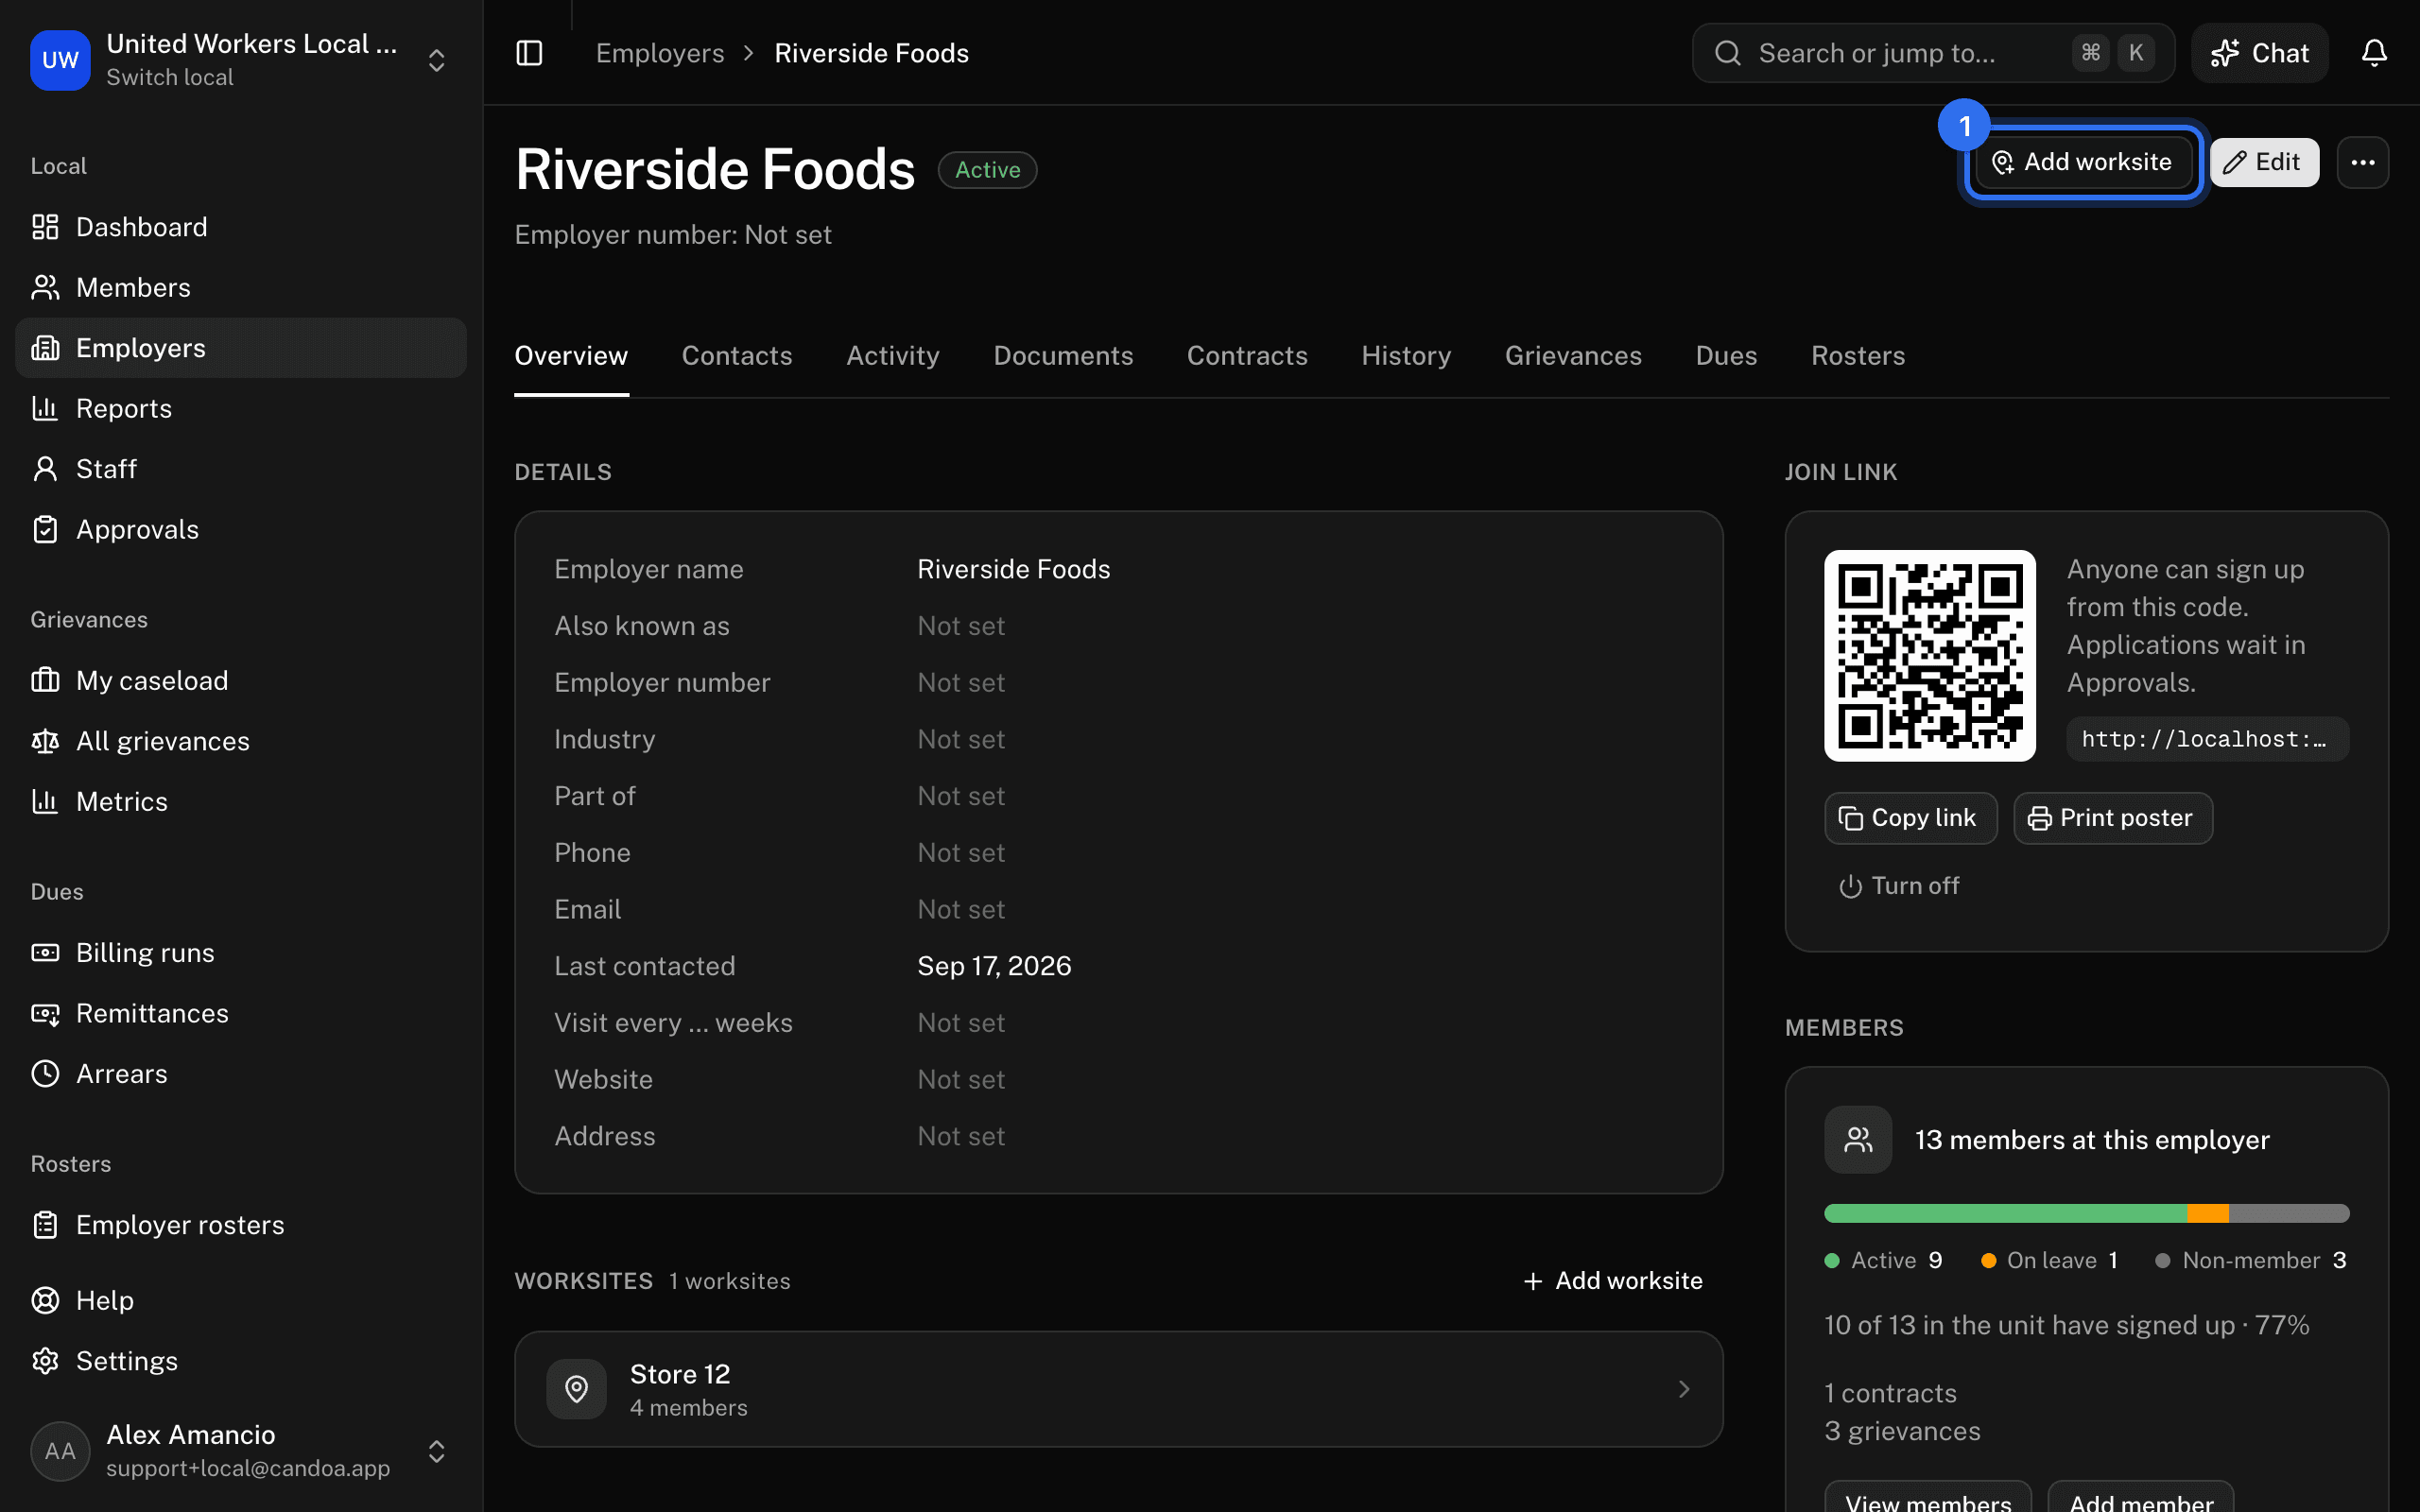
Each worksite in the Worksites section of the Overview tab shows its store number and member count. Click one to open it; see Worksites.
Add a department
- On the Overview tab, in the Departments section, press Add department.
- Enter the Department name, such as "Front End", and a Code.
- Press Add department.
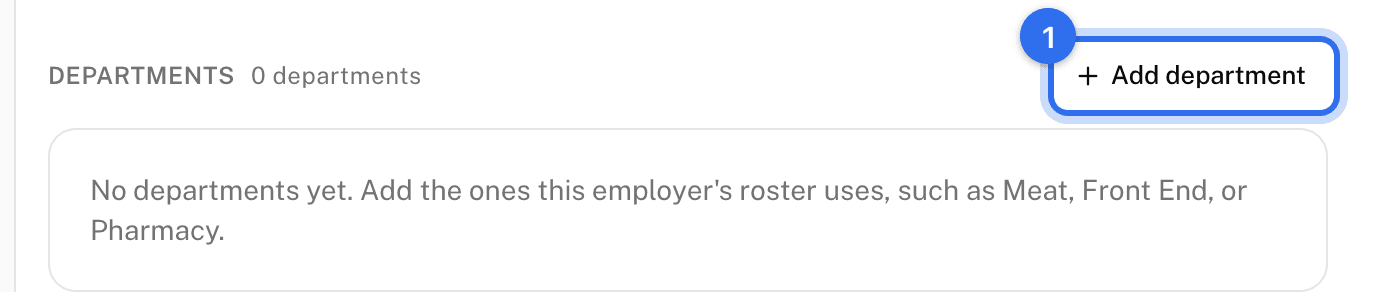
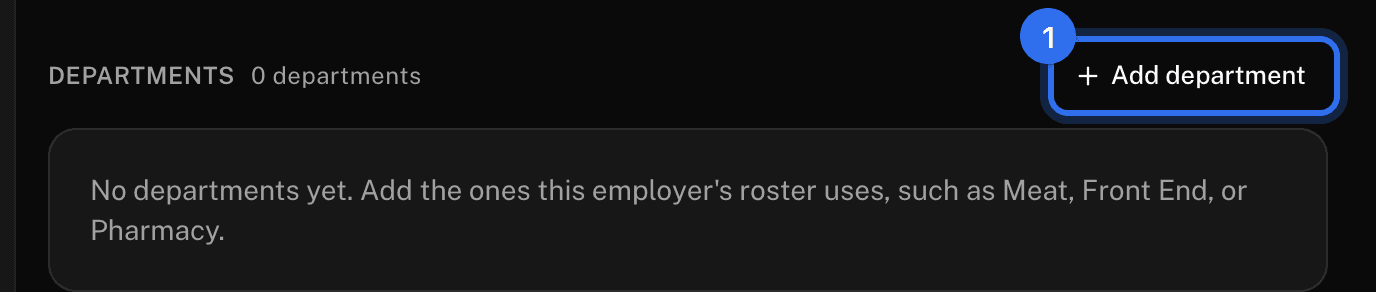
Members' jobs can point at a department. Retire keeps it on those members but takes it out of pickers; the trash button removes one no member uses.
Add a contract
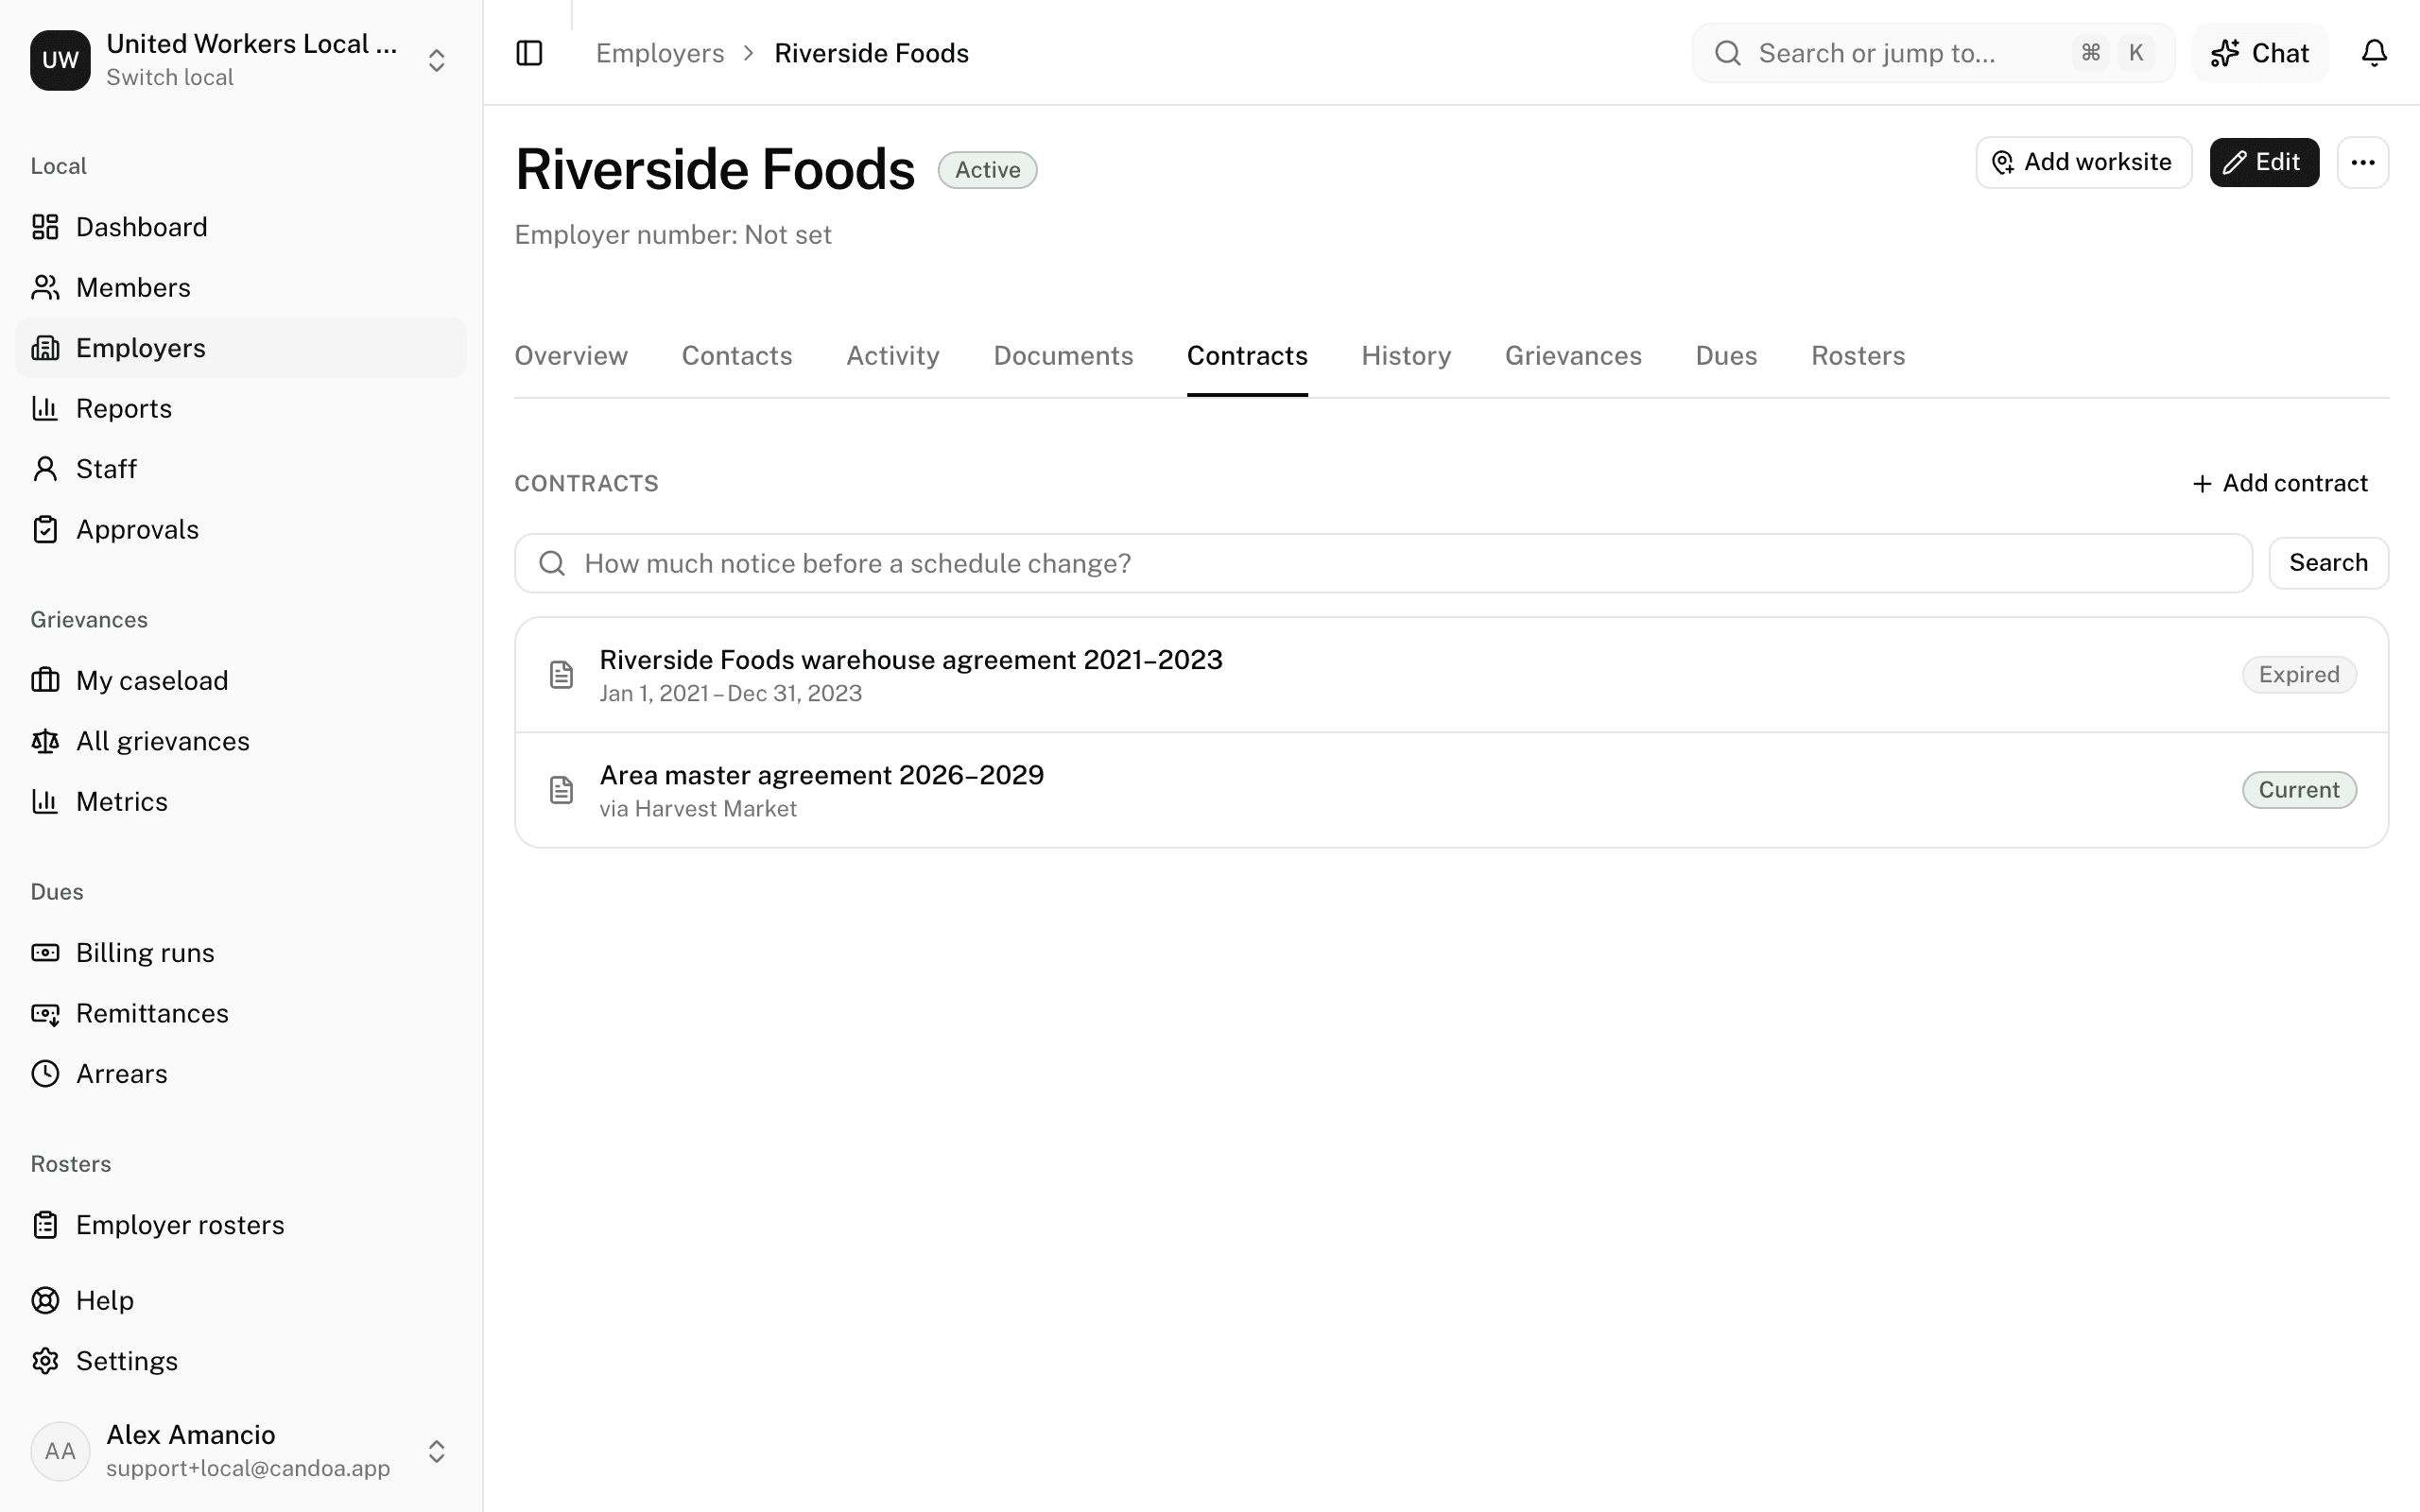
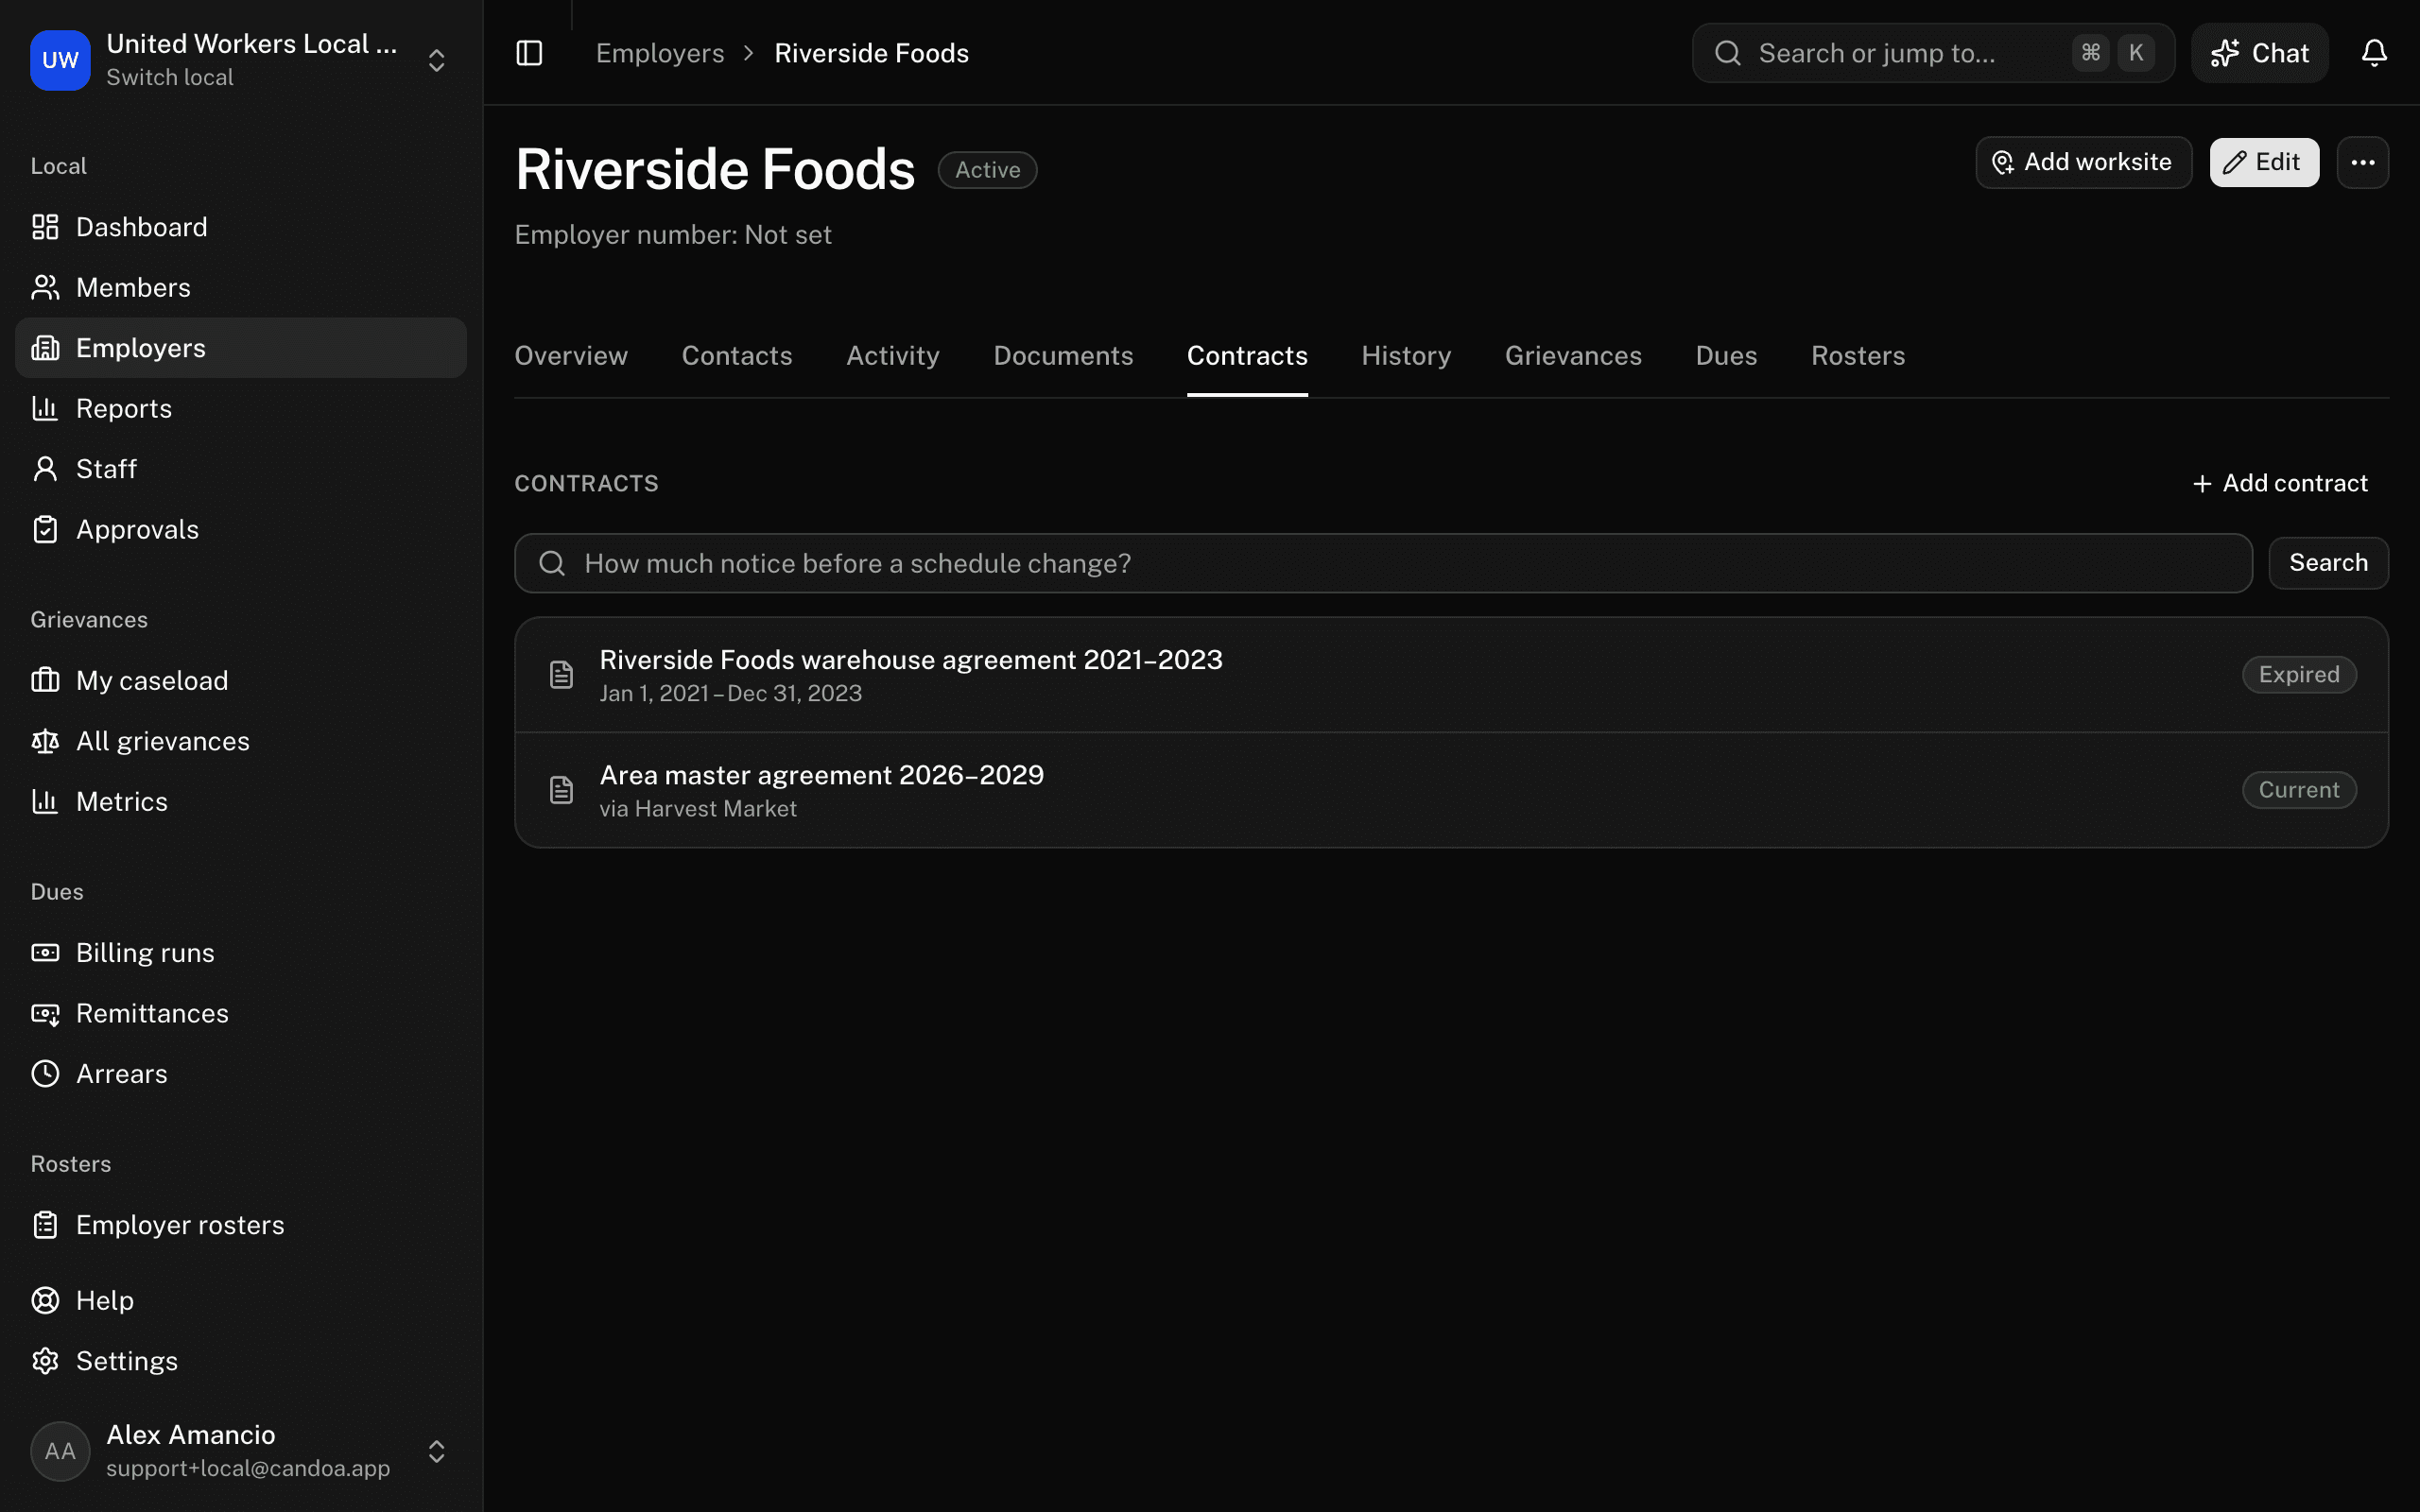
On the Contracts tab press Add contract. The contract form opens under Settings › Contracts with this employer chosen. See Contracts. The tab lists the agreements this employer signed plus any master agreement it's covered by, marked via the signing employer.
Record a steward
- On the Contacts tab, in the Stewards section, press Add steward.
- Pick the Member, the Worksite or Whole employer, and the Since date. Tick Head steward if they lead the stewards here.
- Press Add.
To end a stewardship, open its menu and choose End; the person stays listed under Show past.


Add a manager
- On the Contacts tab, in the Management section, press Add manager.
- Enter the First name, Last name, Title (such as "Store Manager"), the Worksite or Whole employer, phone, email, and a note.
- Press Add manager.
When someone moves on, edit the manager and untick Still in this role; they stay for the record. Remove manager deletes them.
To bring in many managers at once, for every employer, import them from a spreadsheet; see Import employers from a spreadsheet.


Assign a staff member to this employer
- On the Contacts tab, in the Staff section, press Assign staff.
- Pick the person and, if it applies, the worksite. Tick Primary for the first person to call about this place.
- Press Assign.


Make a join link or poster
Needs the Join add-on. On the Overview tab, in the Join link panel, press Make a join link, then Copy link or Print poster. See Signing up members.
See the members here
On the Overview tab, in the Members panel, press View members. The roster opens filtered to this employer, with every filter, column, tag, and bulk action available.
Add a tag, a note, or a document
- Add tag in the ⋯ menu picks from the local's tags; once the employer has one, the + beside it in the header adds another.
- Add note in the Notes section of the Activity tab, or press N from any tab: it opens the Activity tab with the note box ready. Pick Note, Call, Visit, Email, or Meeting. Notes can carry a follow-up date and be pinned above the tabs, where they show on every tab.
- Drop files on the Documents tab, up to 25 MB each.
These work the same as on a member; see A member's record.
Documents have their own permissions, shared by employers and worksites. Out of the box, owners, admins, and agents see an employer's documents and can add, relabel, and delete them; stewards and read-only staff open the Documents tab and see only the From the library section. An owner or admin changes this in Settings › Permissions with the rows "See documents on employers and worksites" and "Add, relabel, and delete documents on employers and worksites". See Permissions.
Add a document the local publishes here
The This employer's documents section is the employer's own paperwork, what the local keeps about it. Under it, From the library is what the local publishes for it: the documents that belong to this employer, then the whole local's, each of those marked Whole local. A document of this employer also shows on every one of its worksites. Anyone who can open the employer opens or downloads from the row's menu.
Owners and admins press Add document in the From the library section; the form opens with this employer already picked under Where it shows, and a Worksite field lets you narrow it to one store. Rename, Move to…, and Delete document appear only on the rows that belong to this employer; a document marked Whole local is edited in Settings › Documents. See Documents.
See when the local last reached this employer
Last contacted in the Details section of the Overview tab is the most recent call, visit, email, or meeting logged on the employer, on any of its worksites, or on any of its members. A plain note doesn't count. The same date is a column and a filter on the employers list, so "stores nobody has visited in 90 days" is one filter; see The employers list.
Read everything that happened, in order
The Activity section, under the notes on the Activity tab, is the employer's timeline, newest first: notes and contacts, stewards who started or stopped, files, tags, proposed changes and their decisions, and grievances filed and closed here when the local has the add-on. Press Show to see one kind; older lines load as you scroll down. It works the same as on a member; see A member's record.
Read what changed and when
The History tab lists every change to a field, grouped by save: who, when, and each field's old and new value. History is the fields; Activity is everything, fields or not.
See the grievances filed here
The Grievances tab lists every case filed at this employer, open cases first and the soonest due on top, with the same search box, filter chips, and columns as All grievances. Click a row to open the case. New grievance is there for permissions that can file. The tab is there when your local has the Grievances add-on; see Case lists.
Deactivate an employer
Open the ⋯ menu at the top right and choose Deactivate, from any tab. Everything stays, but the employer leaves the pickers, so nobody files a new member or grievance against it. Reactivate brings it back. This is the normal way to retire an employer.
Delete an employer
Open the ⋯ menu and choose Delete employer, then confirm. It only works when nothing points at the employer: no members of any status, no contracts, no grievances, no published documents, counting its worksites too. Otherwise the option is gone and the Overview tab says to deactivate instead. Deleting removes the employer and its worksites for good.
These pages are the help for Candoa, the software a local runs its members, employers, and grievances on.
Set up your localUpdated 2026-09-19