Documents
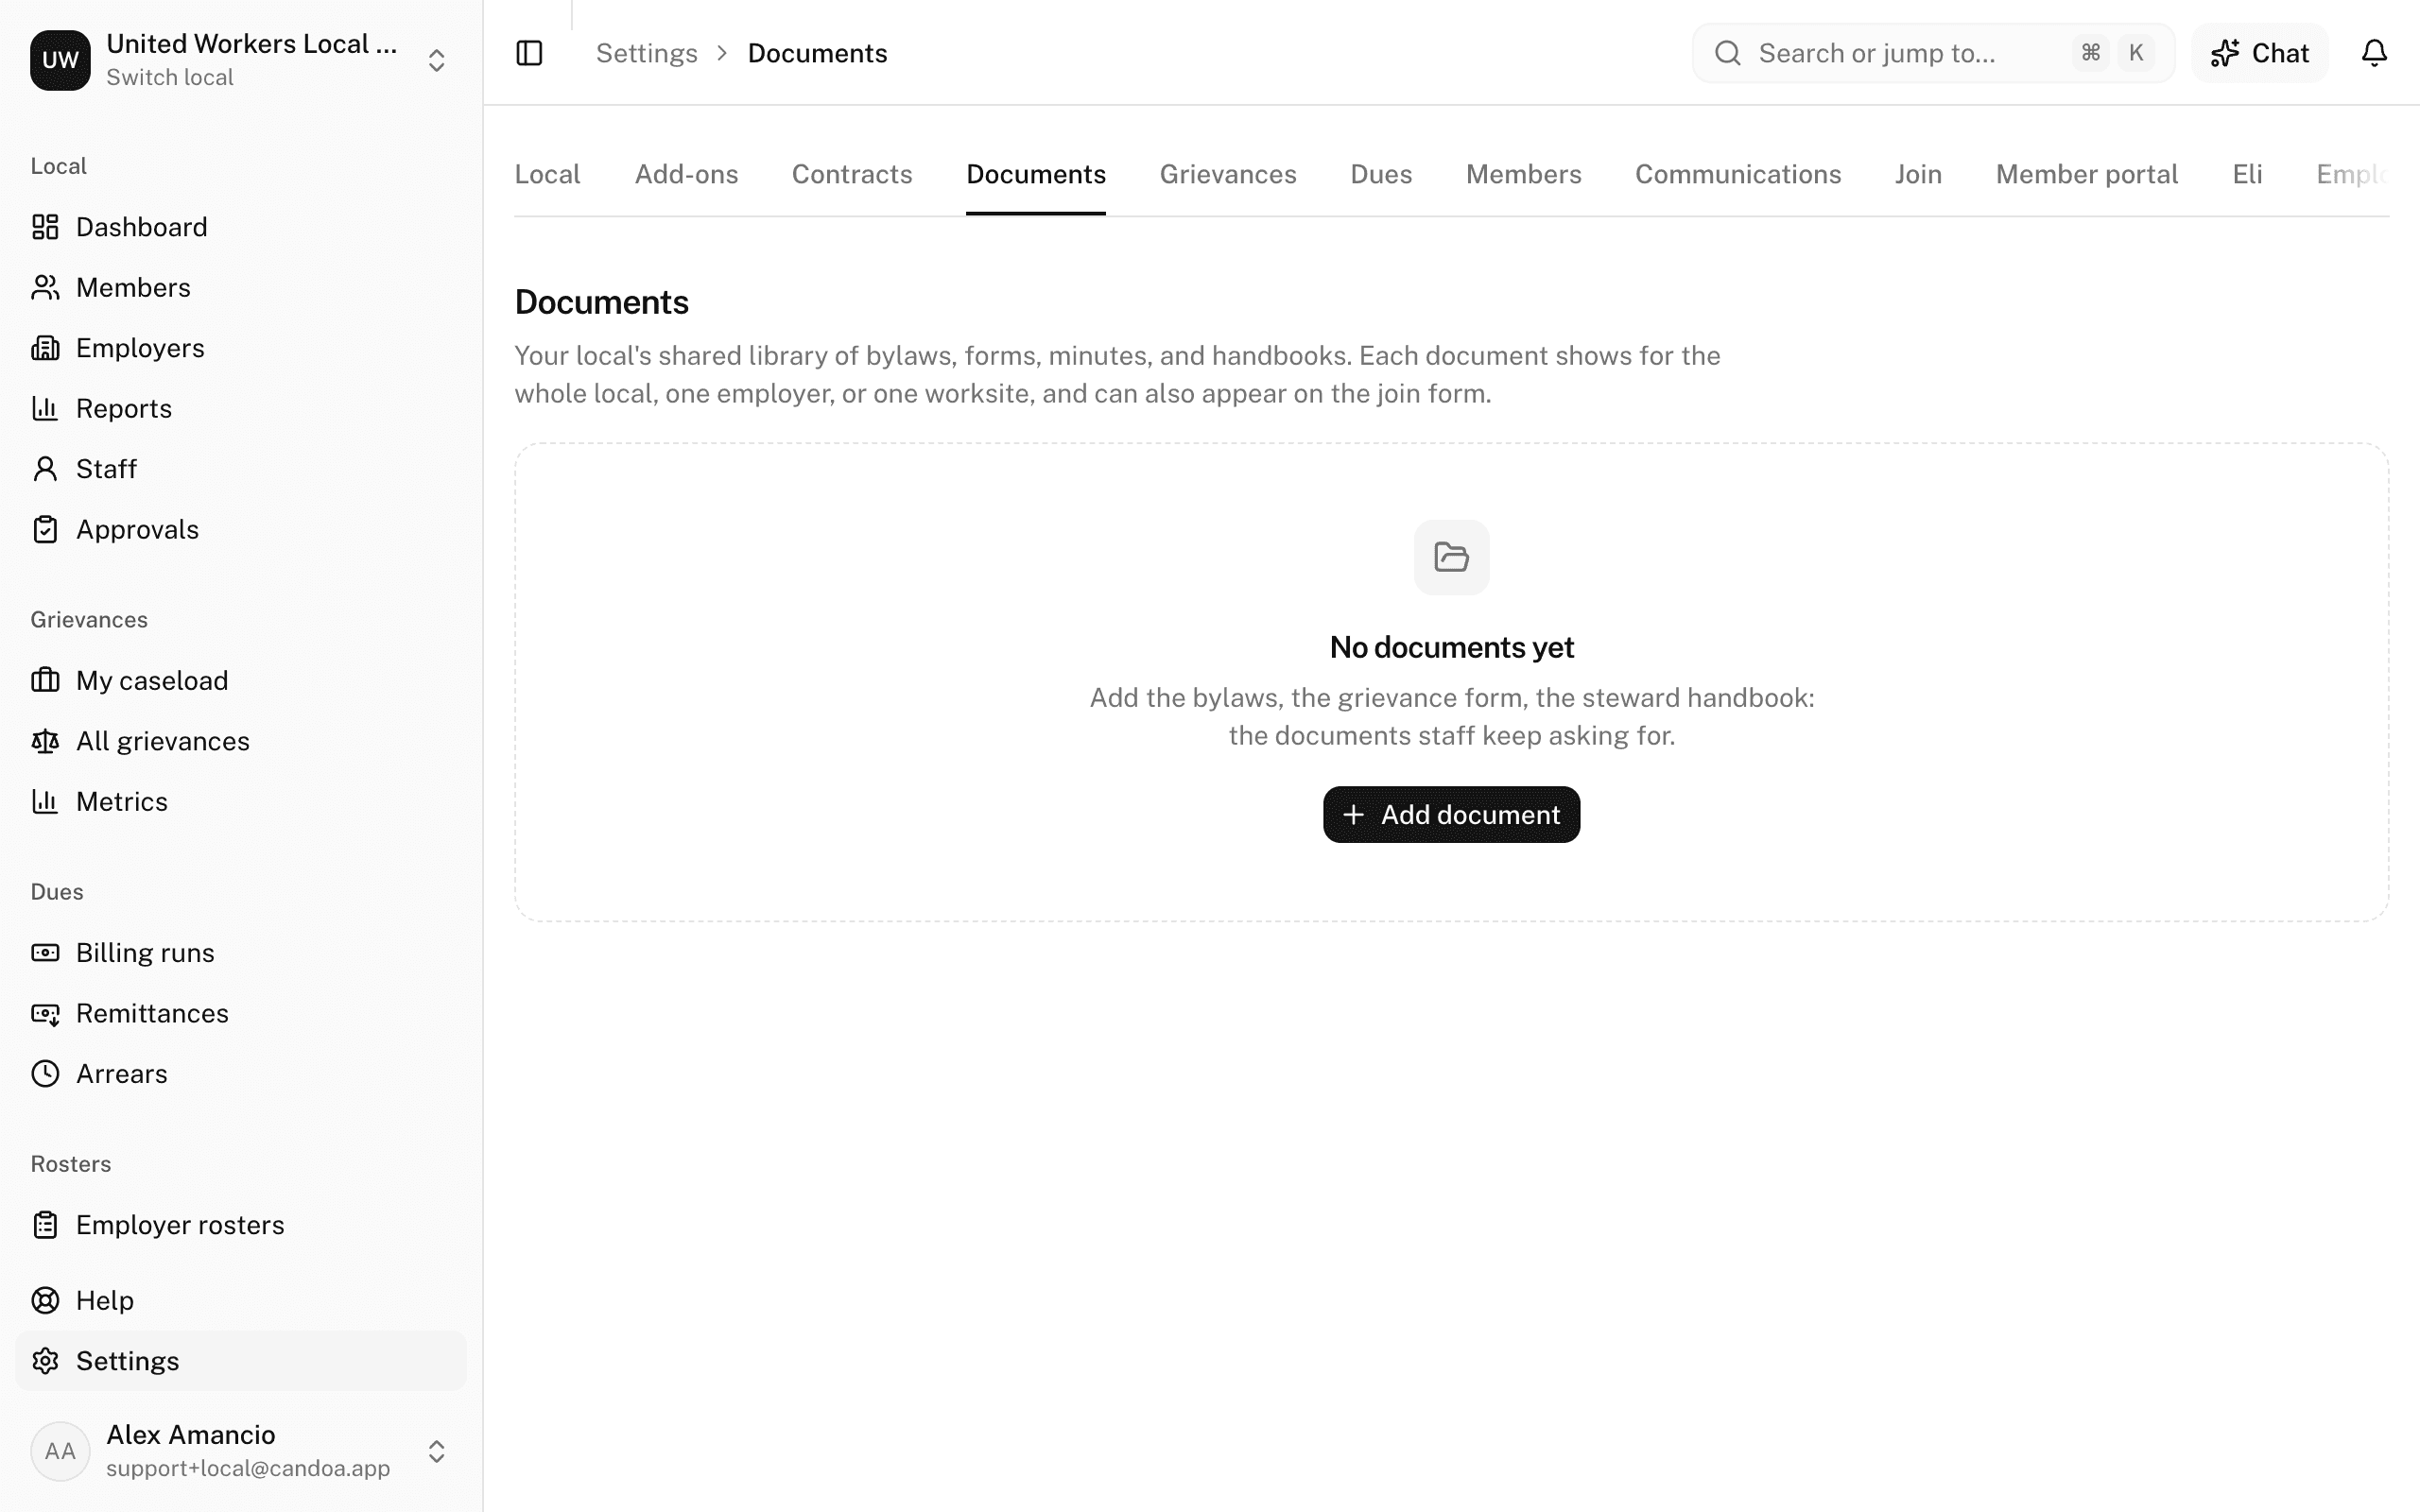
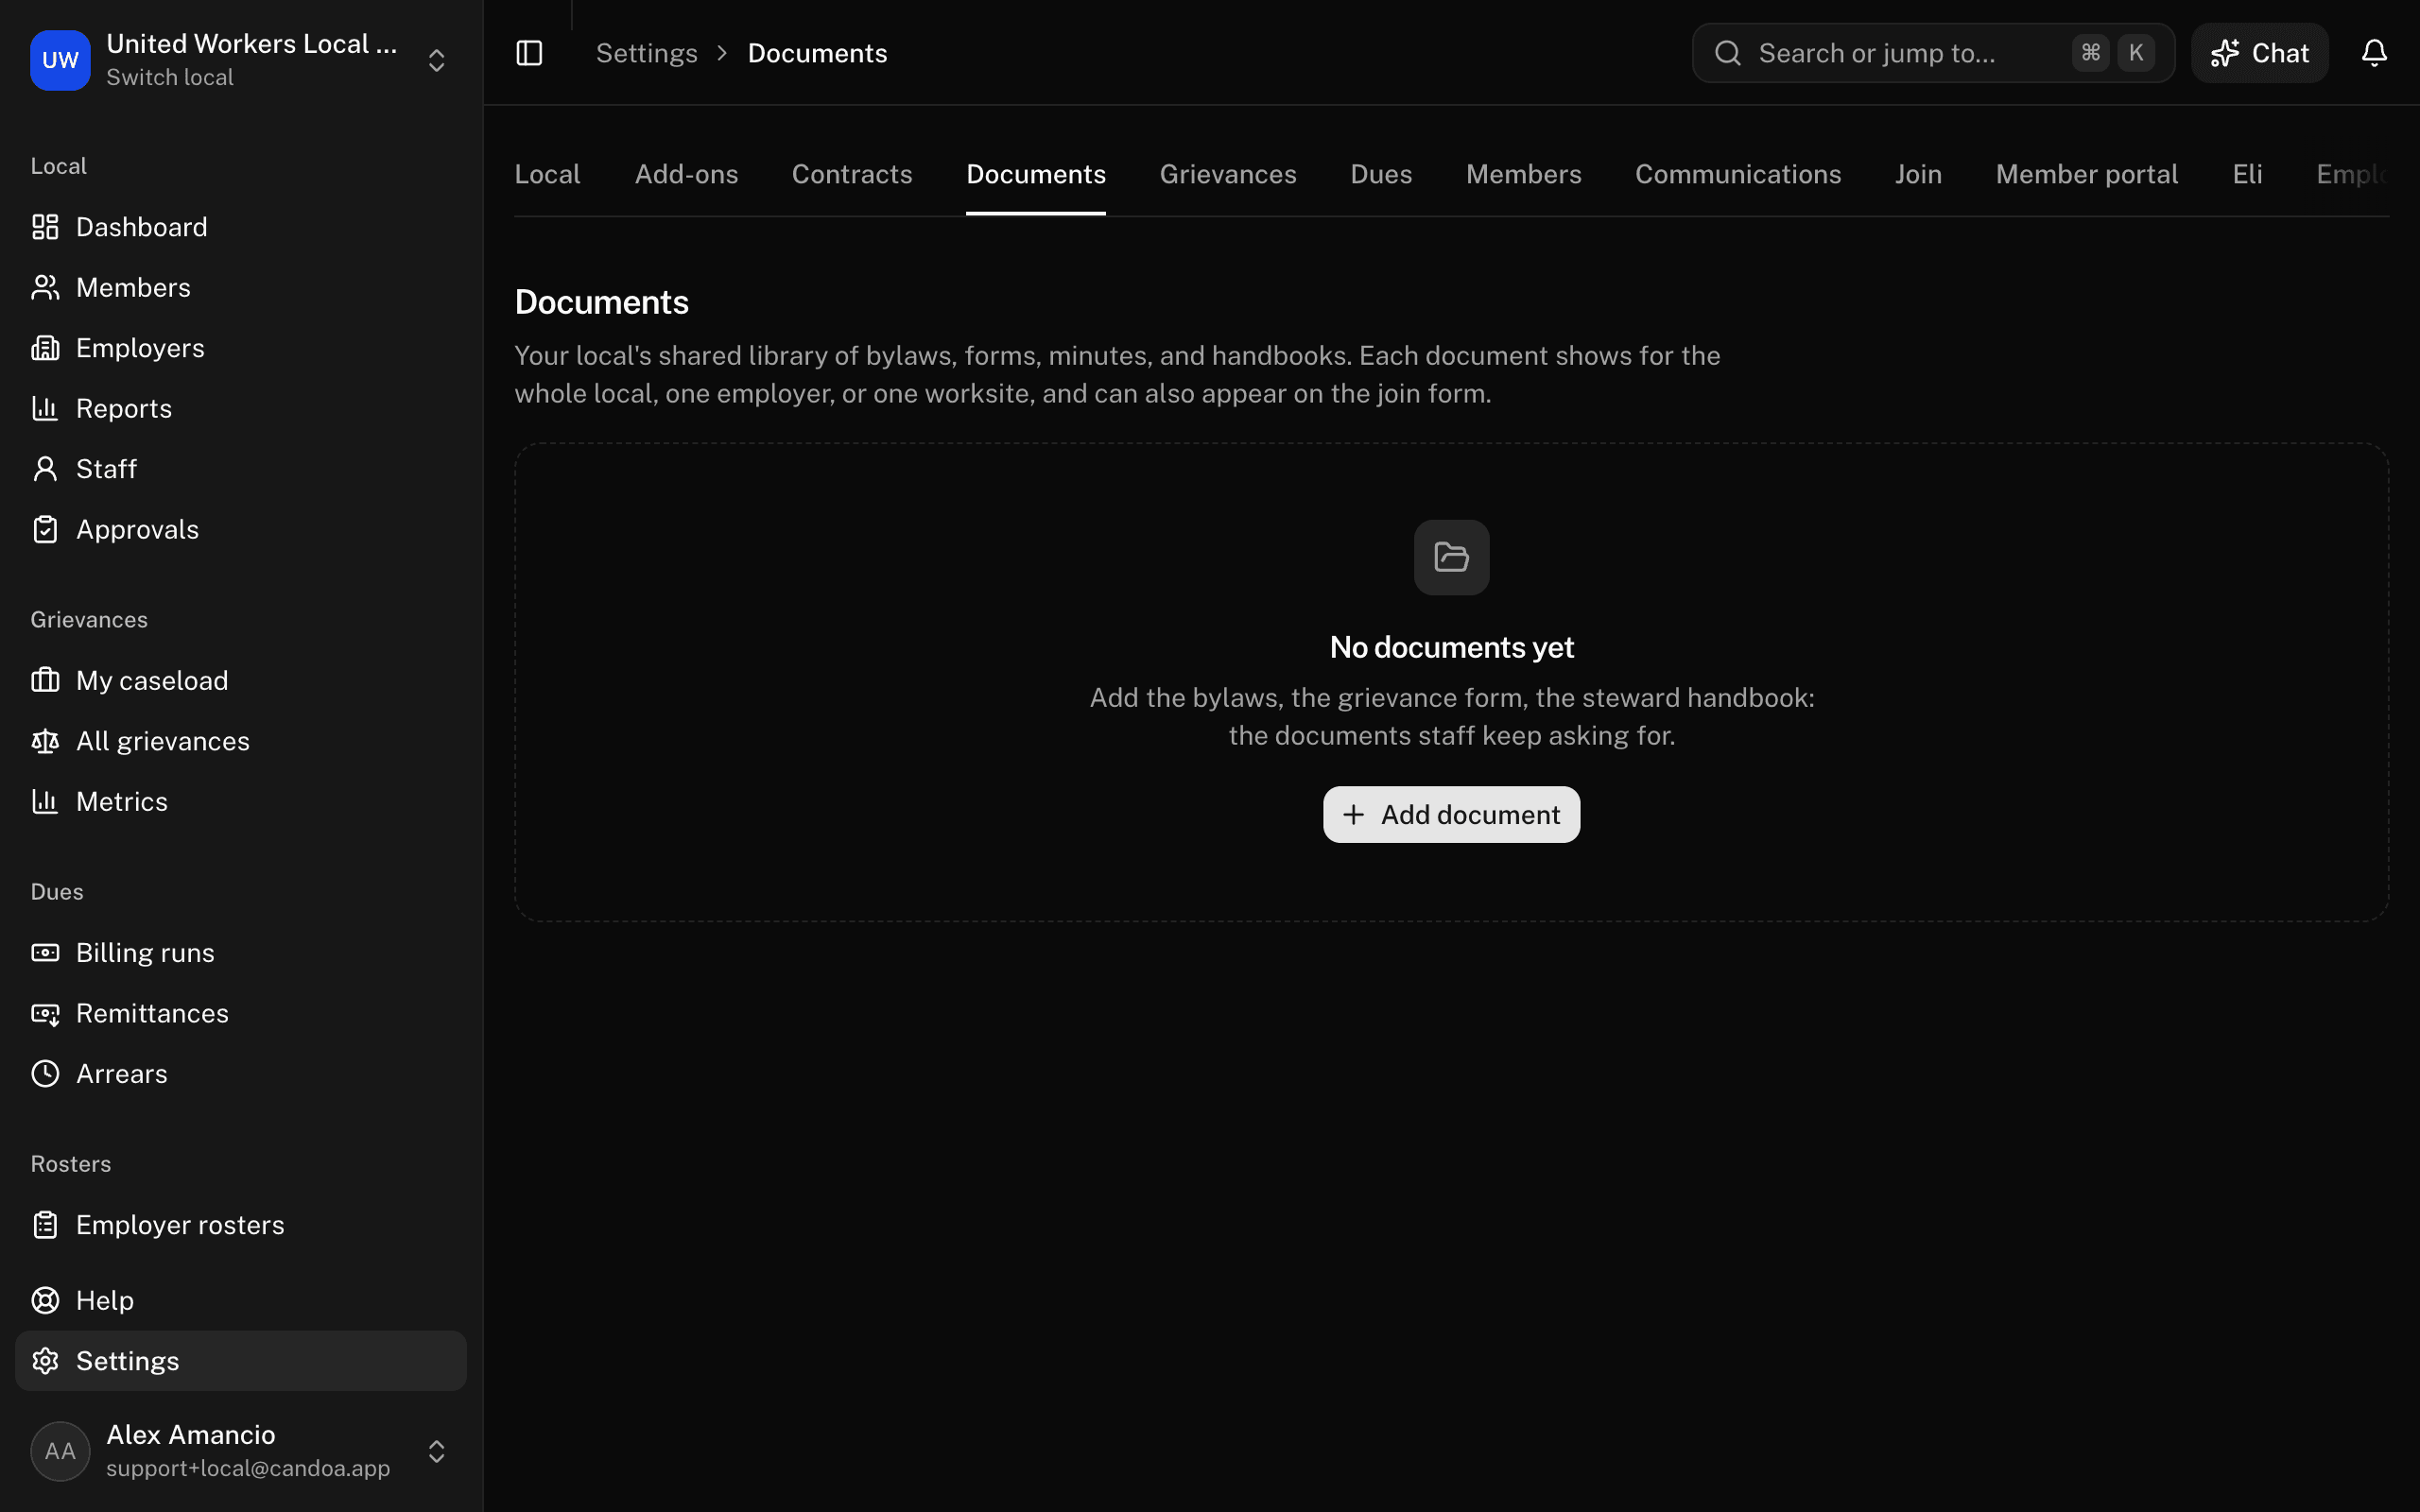
Keep the documents the local publishes, such as the bylaws, forms, minutes, and handbooks, in one library, for the whole local, one employer, or one worksite.
What a document in the library is
A document in the library is one the local publishes rather than one record's own paperwork: the bylaws, the grievance form, the dues authorization card, the letterhead, the steward handbook, the minutes of the last membership meeting, the store's posting rules. A letter about one member or a signed agreement with one company goes on that record instead, under its Documents tab; a library document is what the local wants people to find on a record.
Every document belongs to one of three places, shown in the library's Where it shows column:
- Whole local: it shows on every employer and every worksite.
- One employer: it shows on that employer and on each of its worksites.
- One worksite: it shows on that worksite only.
An employer's record and a worksite's record each have a Documents tab. Its first section, This employer's documents or This worksite's documents, is the record's own paperwork; under it, From the library lists the documents that apply there, the record's own first, then what comes from above with a small mark saying where it belongs ("Whole local", or the employer's name on a worksite; that name is a link to the employer's own Documents tab). A document that comes from above is opened and downloaded there but edited only where it belongs.
The library is under Settings › Documents. Every entry has a title, a category, the place it shows, the file itself, an optional note, and, when your local has the Join add-on, whether it is shown on the join form (see "Show a document on the join form" below). Owners and admins add, rename, refile, move, and delete documents. Anyone who can open Settings can search the library and open or download a document; anyone who can open an employer or a worksite sees its documents there. You can also reach the library from the command palette (Cmd+K), by typing "Documents".
The categories are fixed: Bylaws, Forms, Contracts, Minutes, Handbooks, and Other. The list is grouped by them, in that order.
Find a document
- Open Settings › Documents.
- Type part of the title or the file name in the search box. The list narrows as you type.
- To see one category only, pick it from All categories.
- To see one place only, pick it from Everywhere: Whole local, or an employer and then Whole employer or one of its worksites. The place filter shows what belongs exactly there, not what it inherits.
Each row shows the title, the note, the file name and size, who added it and when, and where it shows. The place is a link to that employer's or worksite's Documents tab. With the Join add-on, a row that is on the join form carries a Join form mark.
Open or download a document
Click the title to open the document in a new tab. For the other choice, open the row's menu (the ⋯ at the end of the row, or right-click the row) and pick Open or Download. Download saves the file under its original name. The same two choices are in the From the library section of an employer's or a worksite's Documents tab.
Add a document
Owners and admins only.
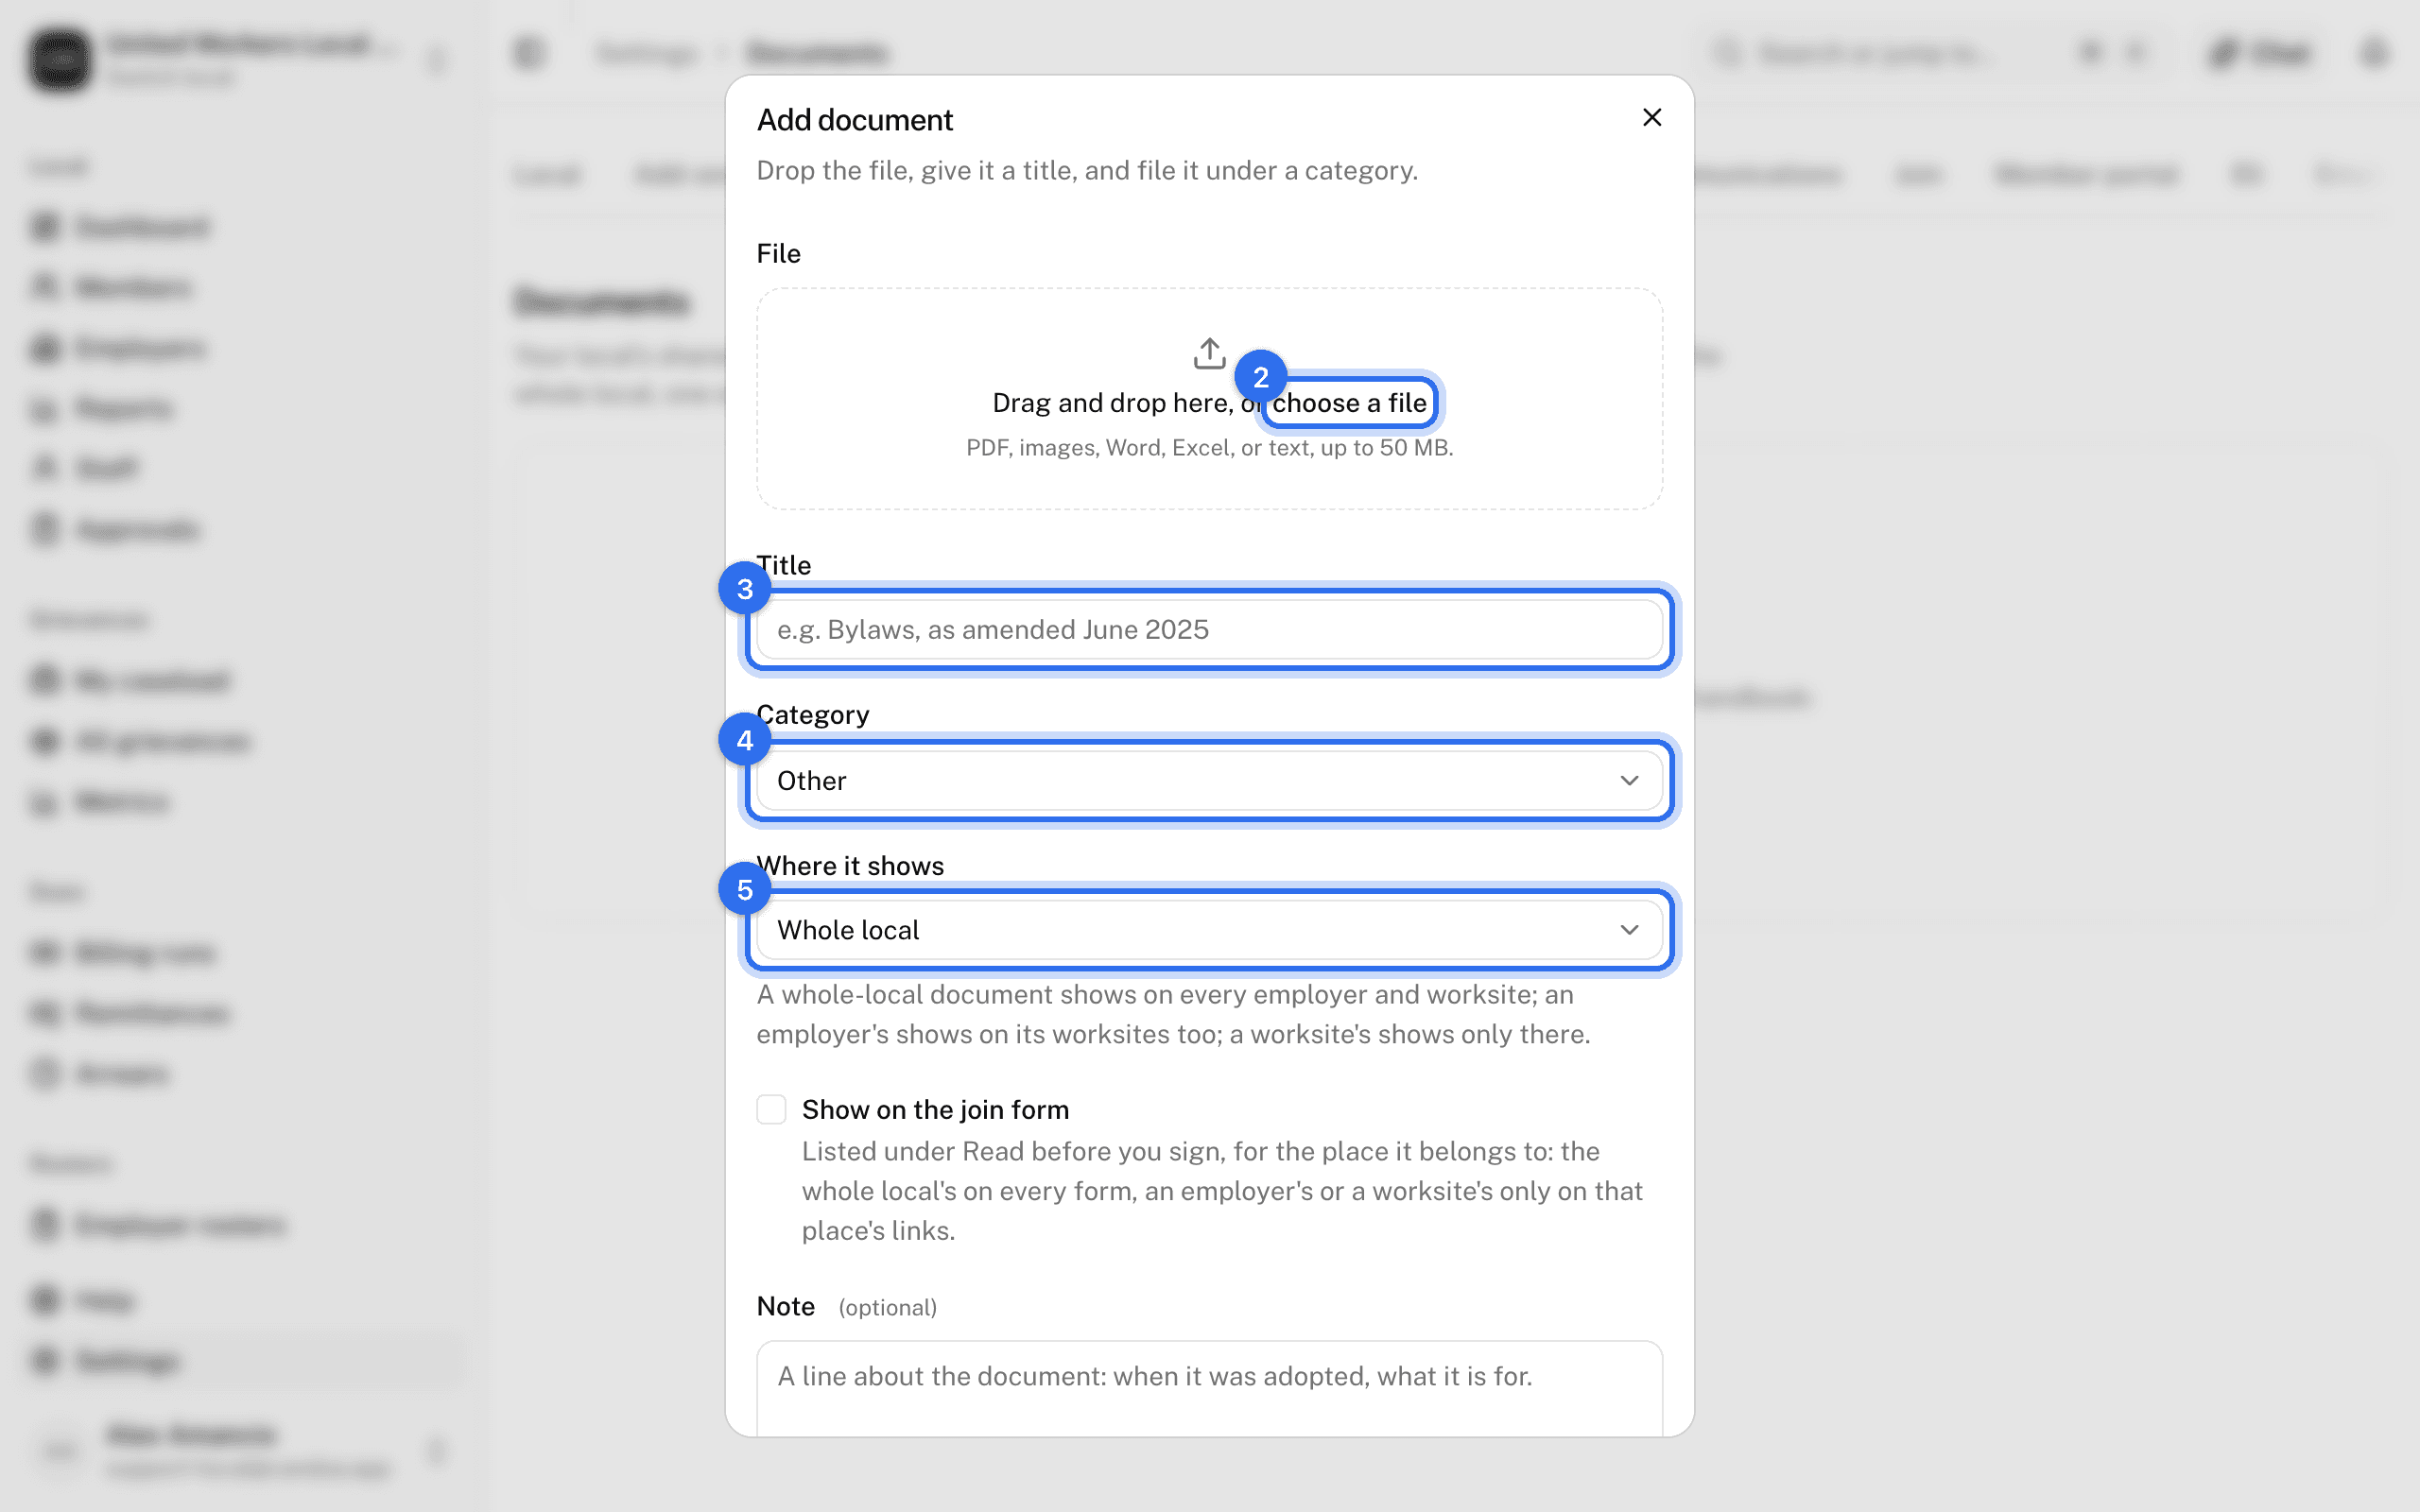
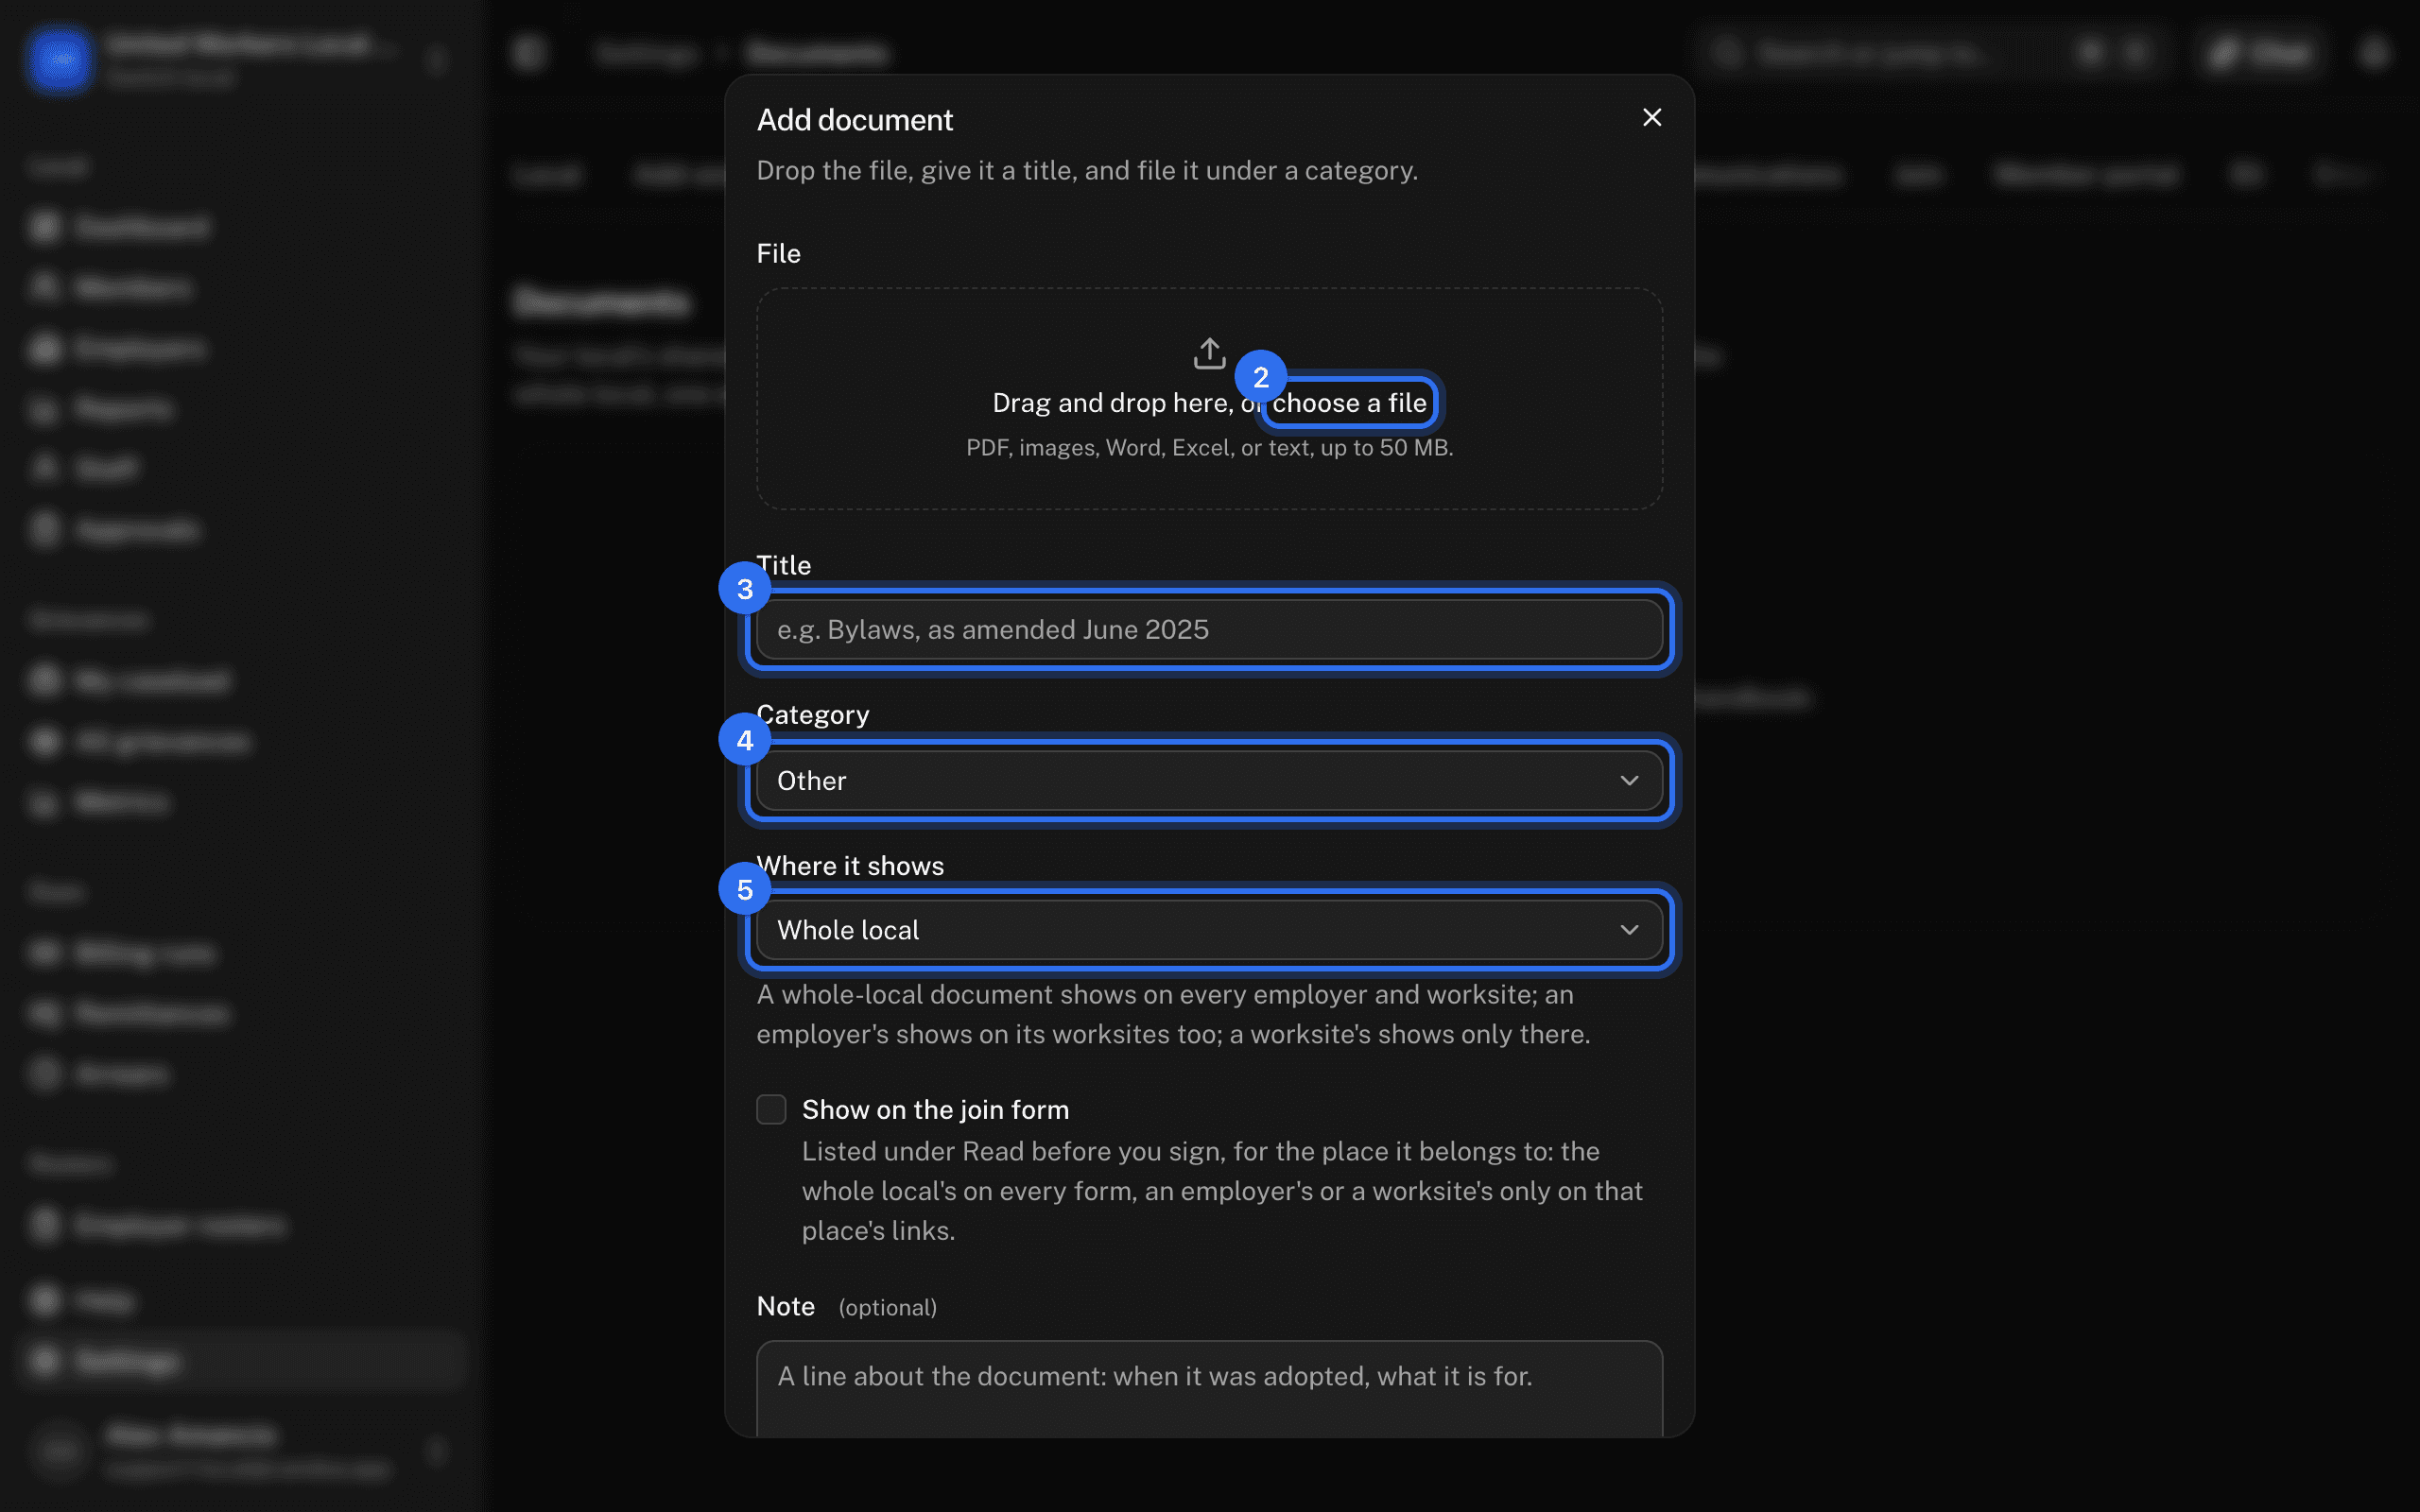
- Open Settings › Documents and press Add document.
- Drag the file into the box, or click choose a file. PDF, images, Word, Excel, and text files are accepted, up to 50 MB.
- The Title starts as the file's name; change it to what staff will search for, such as "Bylaws, as amended June 2025".
- Pick the Category.
- Under Where it shows, leave Whole local, or pick an employer. Once an employer is picked, a Worksite field appears: leave Whole employer, or pick one worksite.
- With the Join add-on, tick Show on the join form if people signing up should read it first; see "Show a document on the join form" below.
- Add a Note if the next person should know something: when it was adopted, what it is for.
- Press Add document.
You can also press Add document in the From the library section of an employer's or a worksite's Documents tab; the same form opens with that place already picked.
If uploads are switched off for your Candoa, the box says so and nothing can be added until a file store is connected.
Rename a document
Owners and admins only. On the row's menu pick Rename, change the Title or the Note, and press Save. The file itself does not change.
Change a document's category
Owners and admins only. On the row's menu pick Change category and then the category. The row moves to that group right away.
Move a document to another place
Owners and admins only. On the row's menu pick Move to…, choose Whole local or an employer and, if you like, one of its worksites, and press Move. From then on the document shows in the new place and on everything under it, and stops showing where it was. The file, the title, and the note stay as they were. On an employer's or a worksite's record, Move to… offers the whole local, that employer, and its worksites.
Show a document on the join form
Owners and admins only, while your local has the Join add-on; without it there is no join form and this menu item is not there. A person signing up should be able to read what they are joining: the bylaws, a summary of their contract, the dues schedule. A document marked to show appears on the join form under Read before you sign, above the consents, and opens in a new tab when tapped. Nobody has to open it before signing.
- Open Settings › Documents and find the document.
- On the row's menu pick Show on the join form. The row gets a Join form mark. To stop showing it, pick Take off the join form on the same menu.
You can also tick Show on the join form while adding a document, and use the same menu item in the From the library section of an employer's or a worksite's Documents tab.
Where a document belongs decides which forms it appears on:
- Whole local: on every join form, including the sign-up screen on a staff device and the paper card screen.
- One employer: only on that employer's join link and poster, and on those of its worksites.
- One worksite: only on that worksite's join link and poster.
On a public join form each document opens through a link that works for an hour; a person who takes longer reloads the page to get fresh ones. Staff taking a join on their own device see the same list. Nothing about where the file is kept is shown to the applicant. See Join settings for the rest of the form.
Delete a document
Owners and admins only. On the row's menu pick Delete document and confirm. The document leaves the library and every record it showed on at once; the file stays recoverable for 30 days, after which it is gone for good. Deleting an employer or removing a worksite deletes the documents that belonged to it.
These pages are the help for Candoa, the software a local runs its members, employers, and grievances on.
Set up your localUpdated 2026-09-15