Set up a new local
Create the local, add employers, import members, invite staff, and finish. Only the first step is required.
A local is one union local: its members, employers, contracts, staff, and settings. Everything in Candoa belongs to a local, and nothing crosses between locals.
The first time you sign in without belonging to a local, Candoa walks you through setup. Only the first step is required; everything else can be done later from Settings. The person who creates the local becomes its Owner, who can do everything and can't be demoted by anyone else.
Accept an invitation instead
If someone already invited your email to their local, a card titled "You've been invited" appears above the first step. Press Accept to join that local instead of creating a new one.
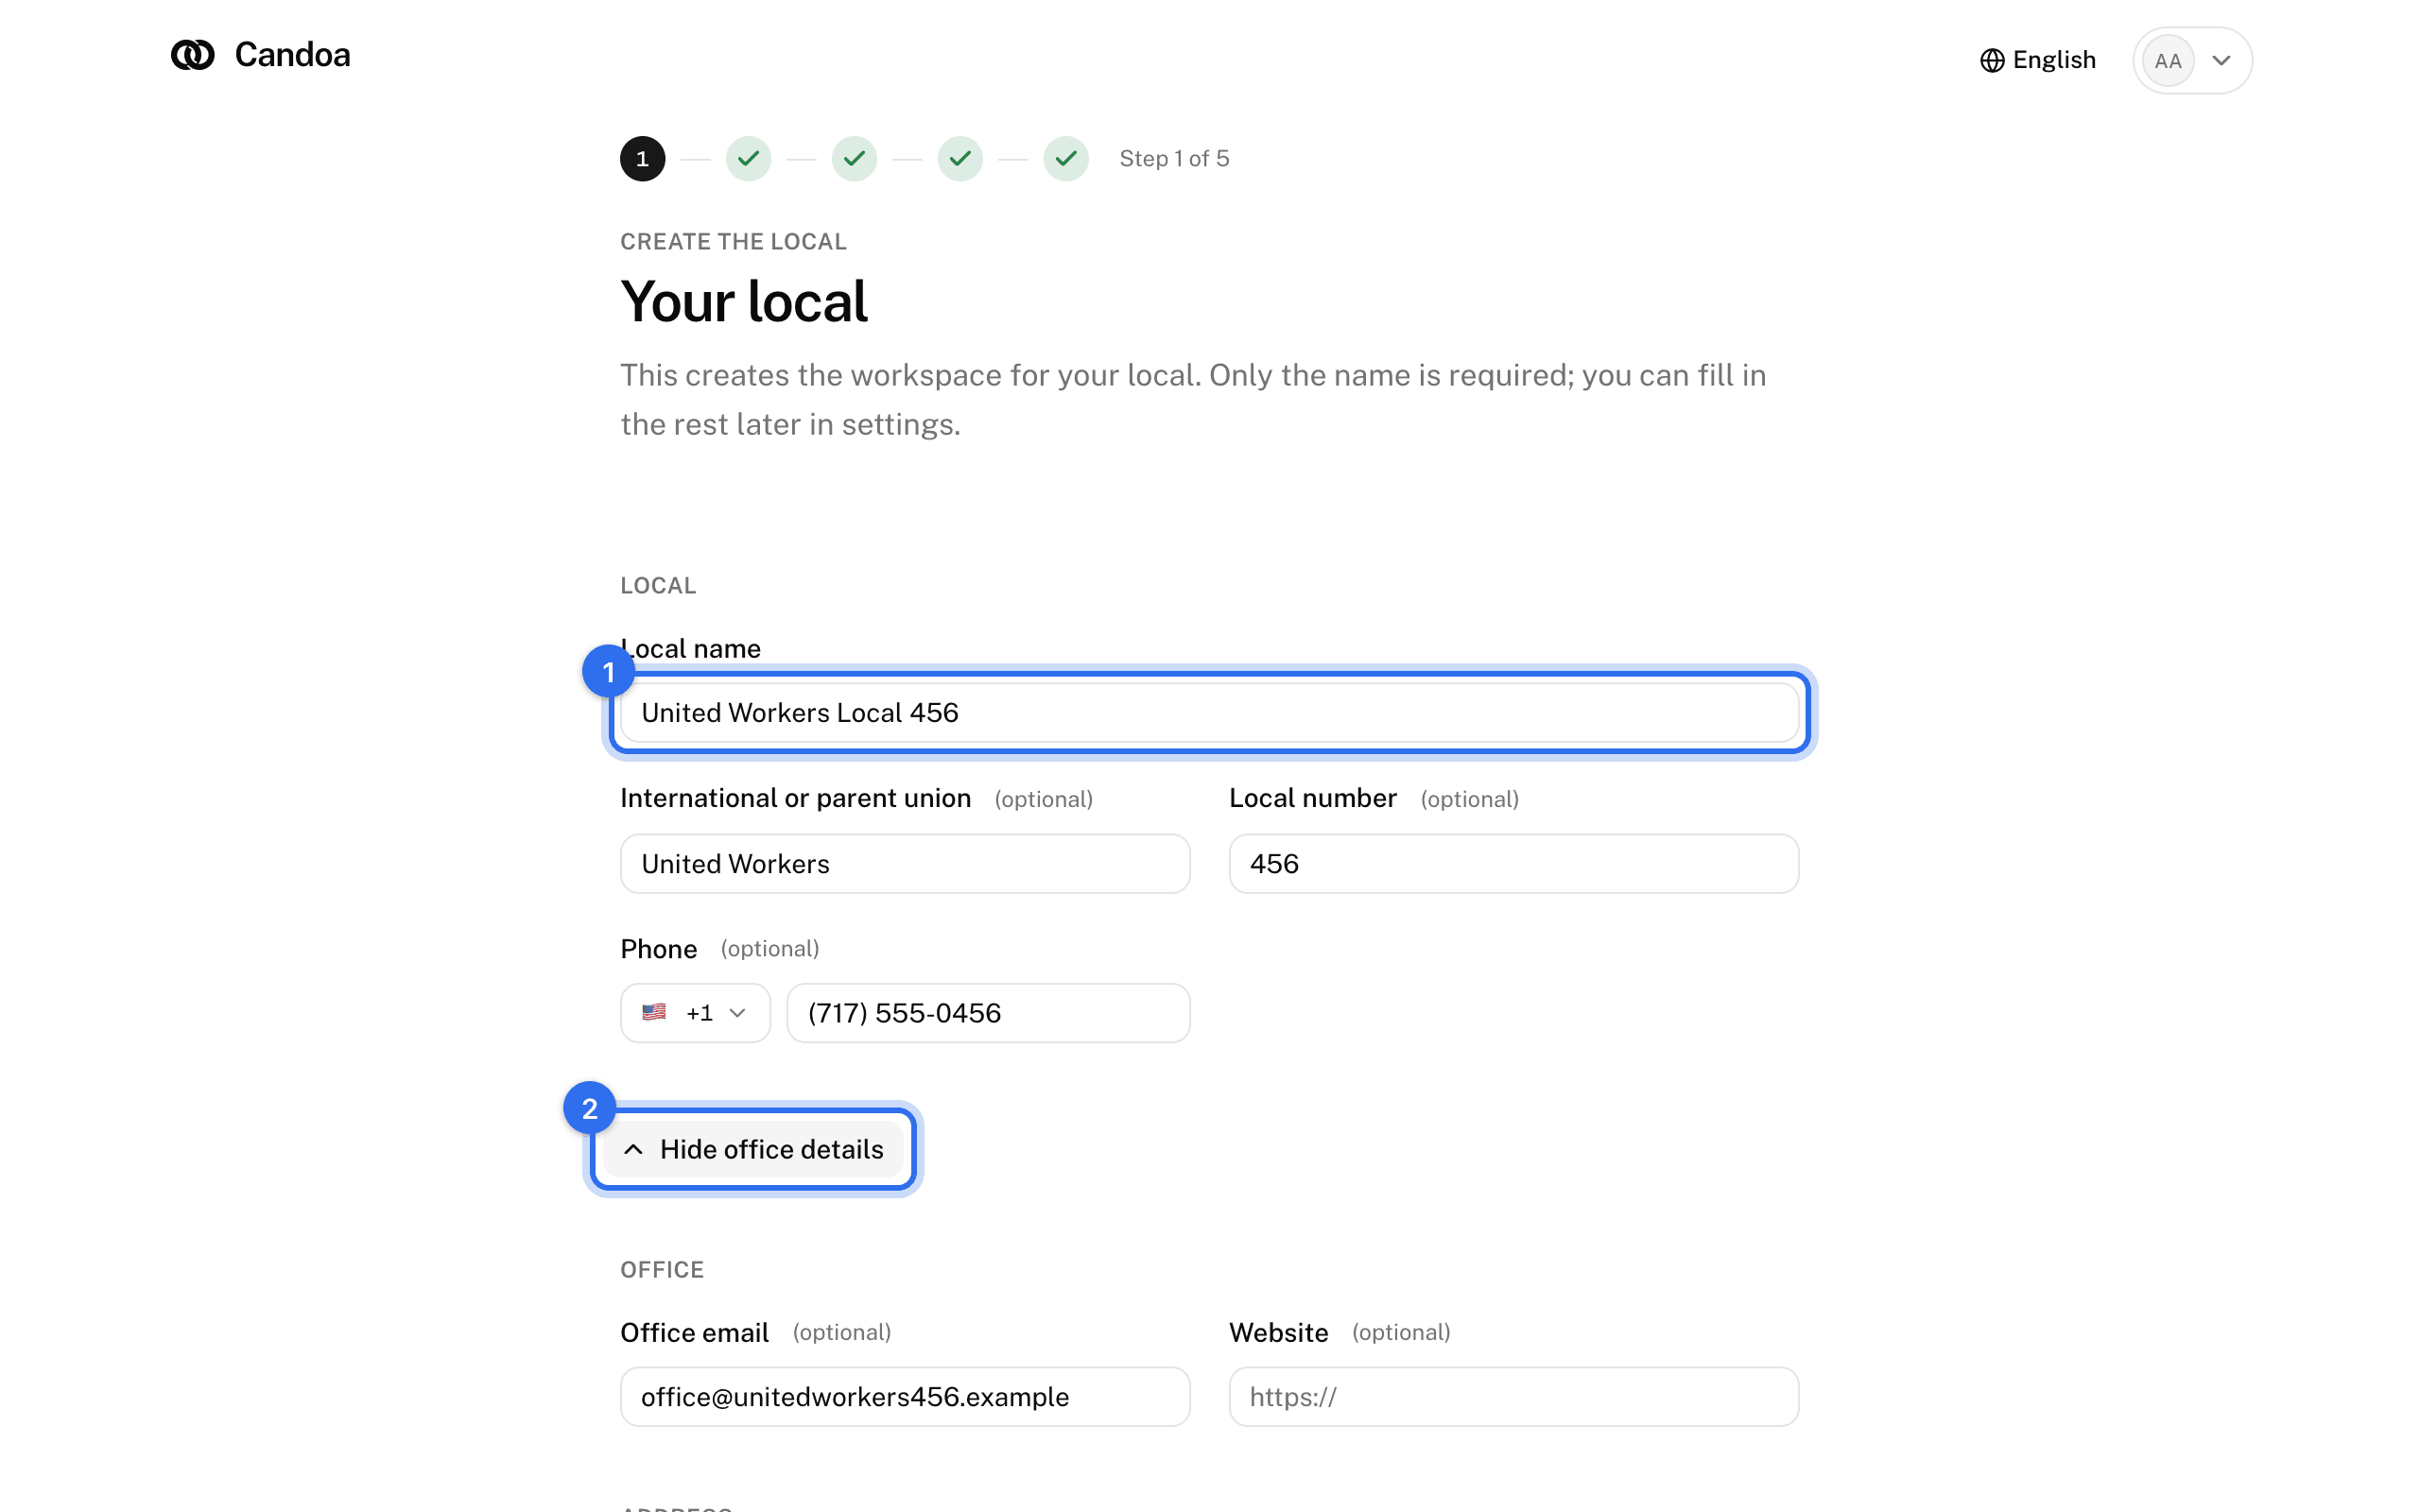
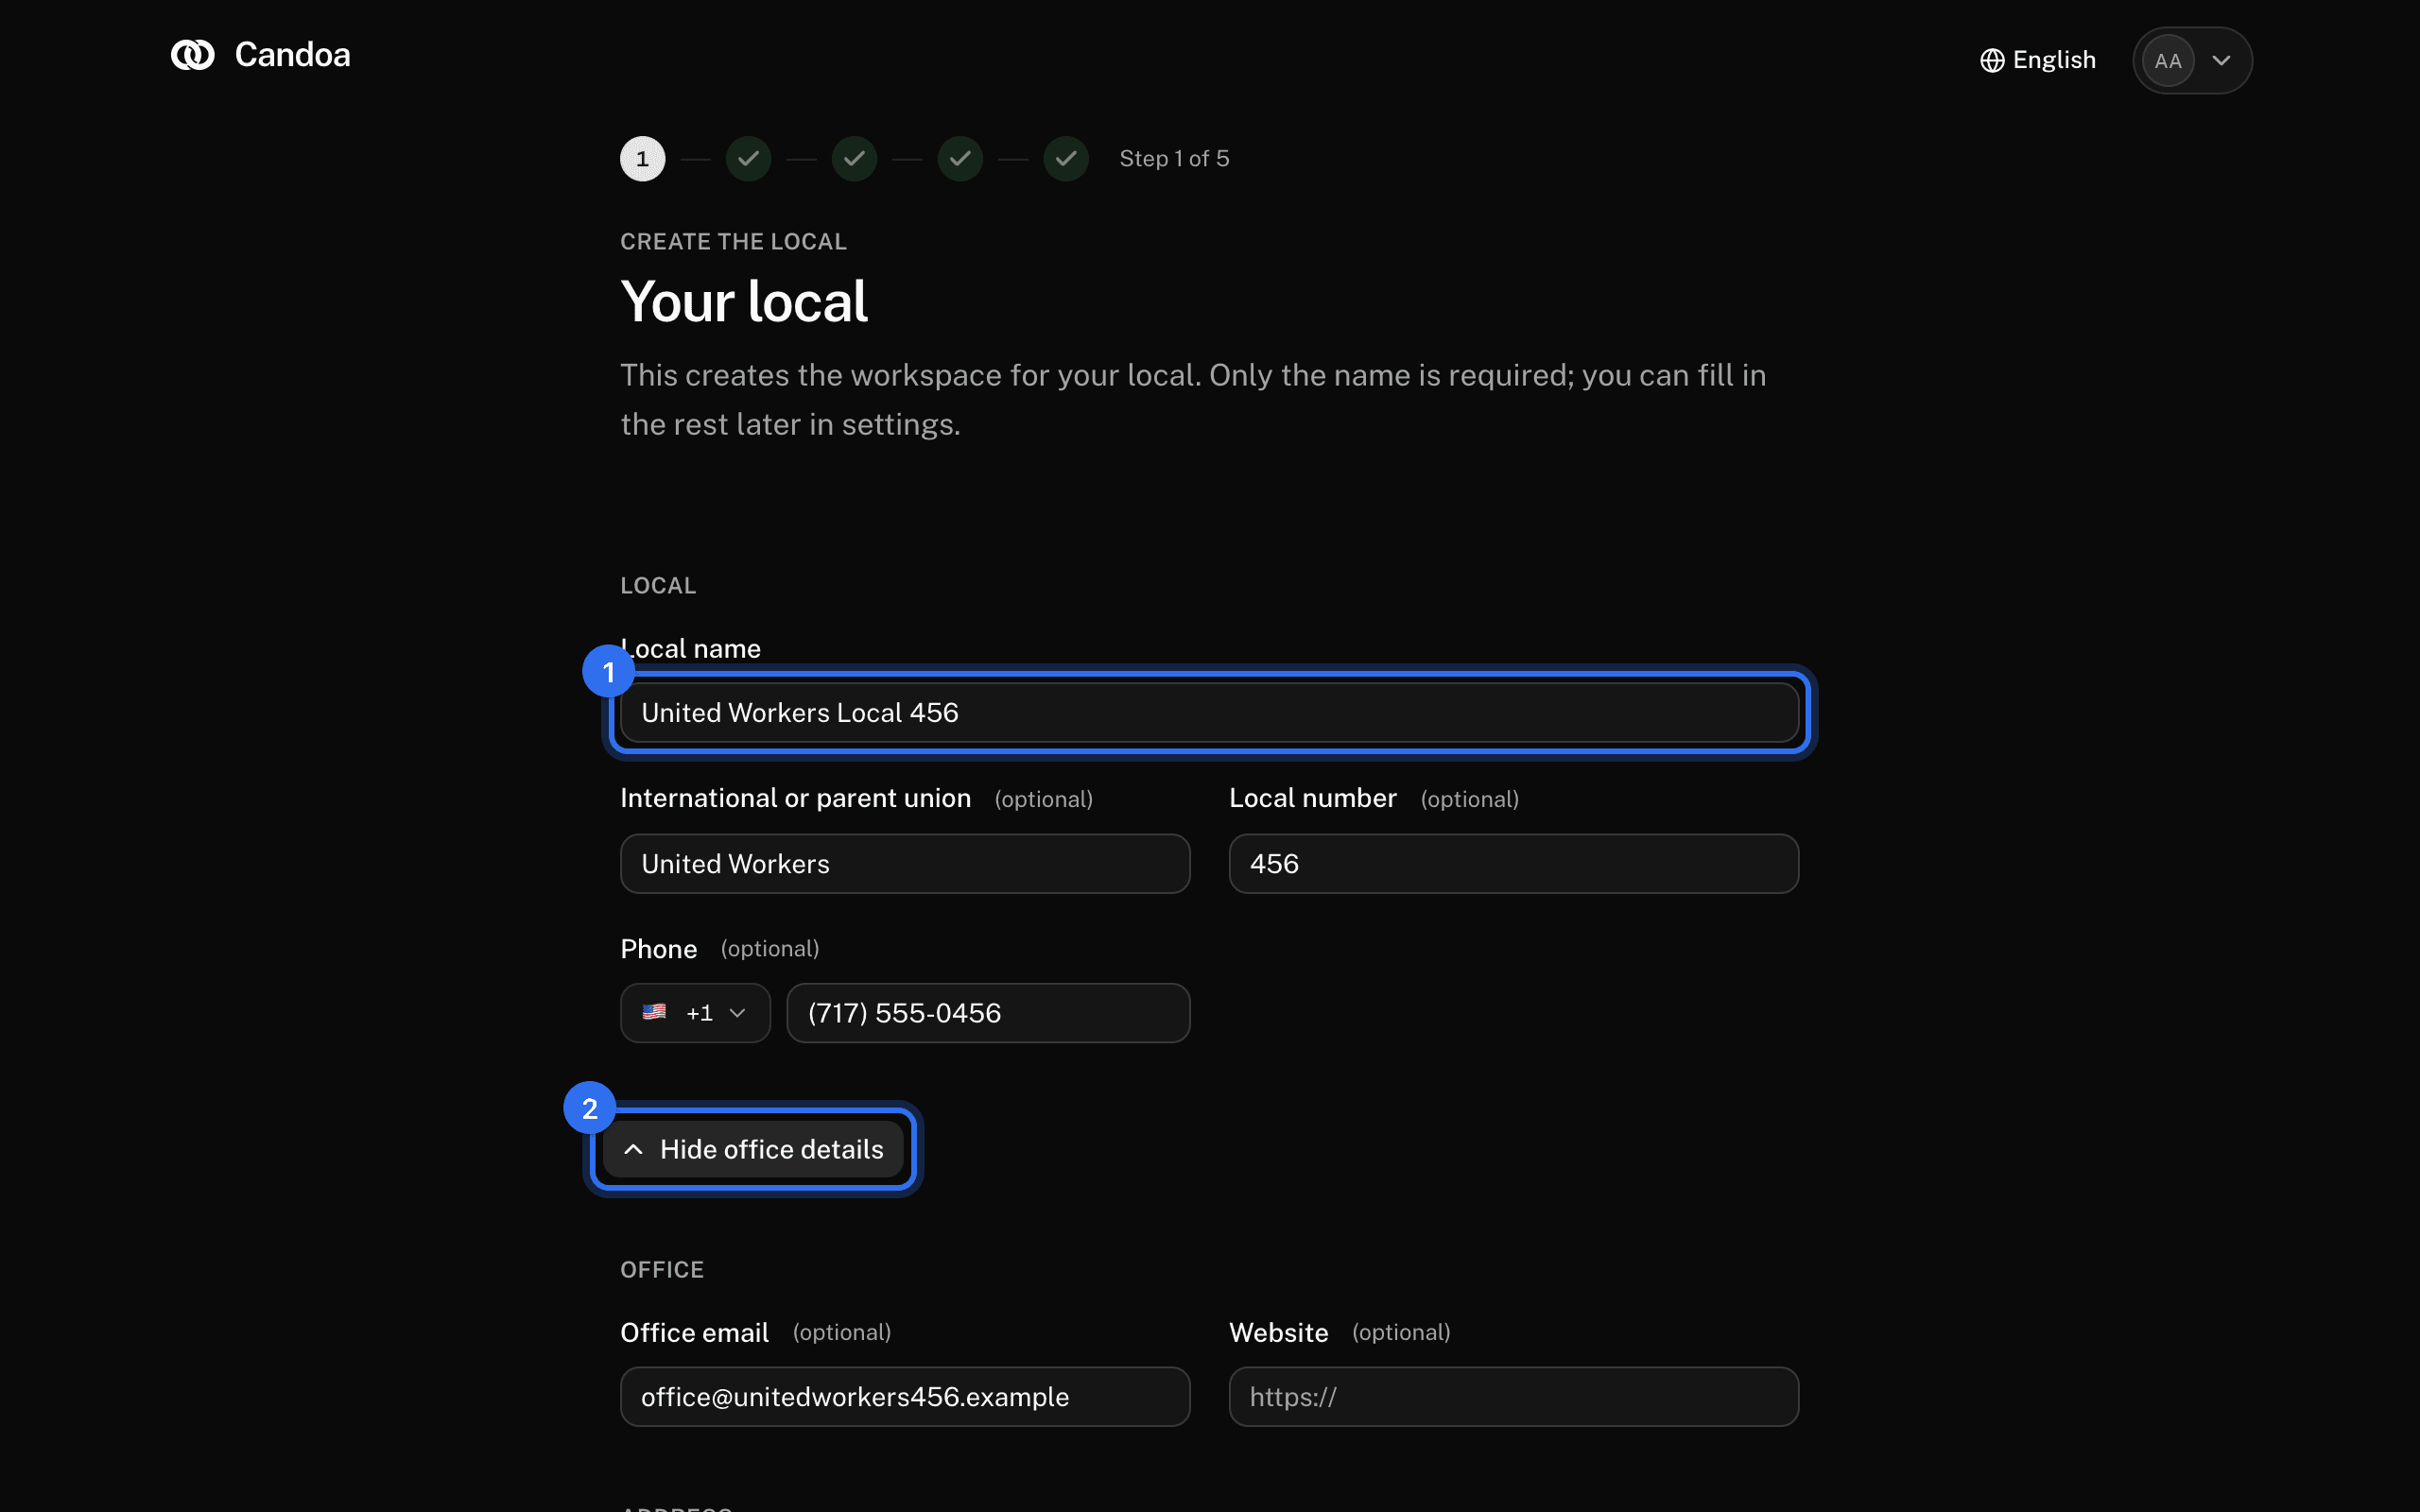
Create the local
- Enter the Local name. It's the only required field.
- Optionally add the International or parent union, the Local number, a Phone, and press Add office details for the office email, website, and address.
- Press Continue.
Add employers and worksites
- Press Add employer and enter its name and number.
- Under each employer press Add worksite for each store or site.
- Press Continue. You can skip this: importing members creates employers and worksites from their columns.
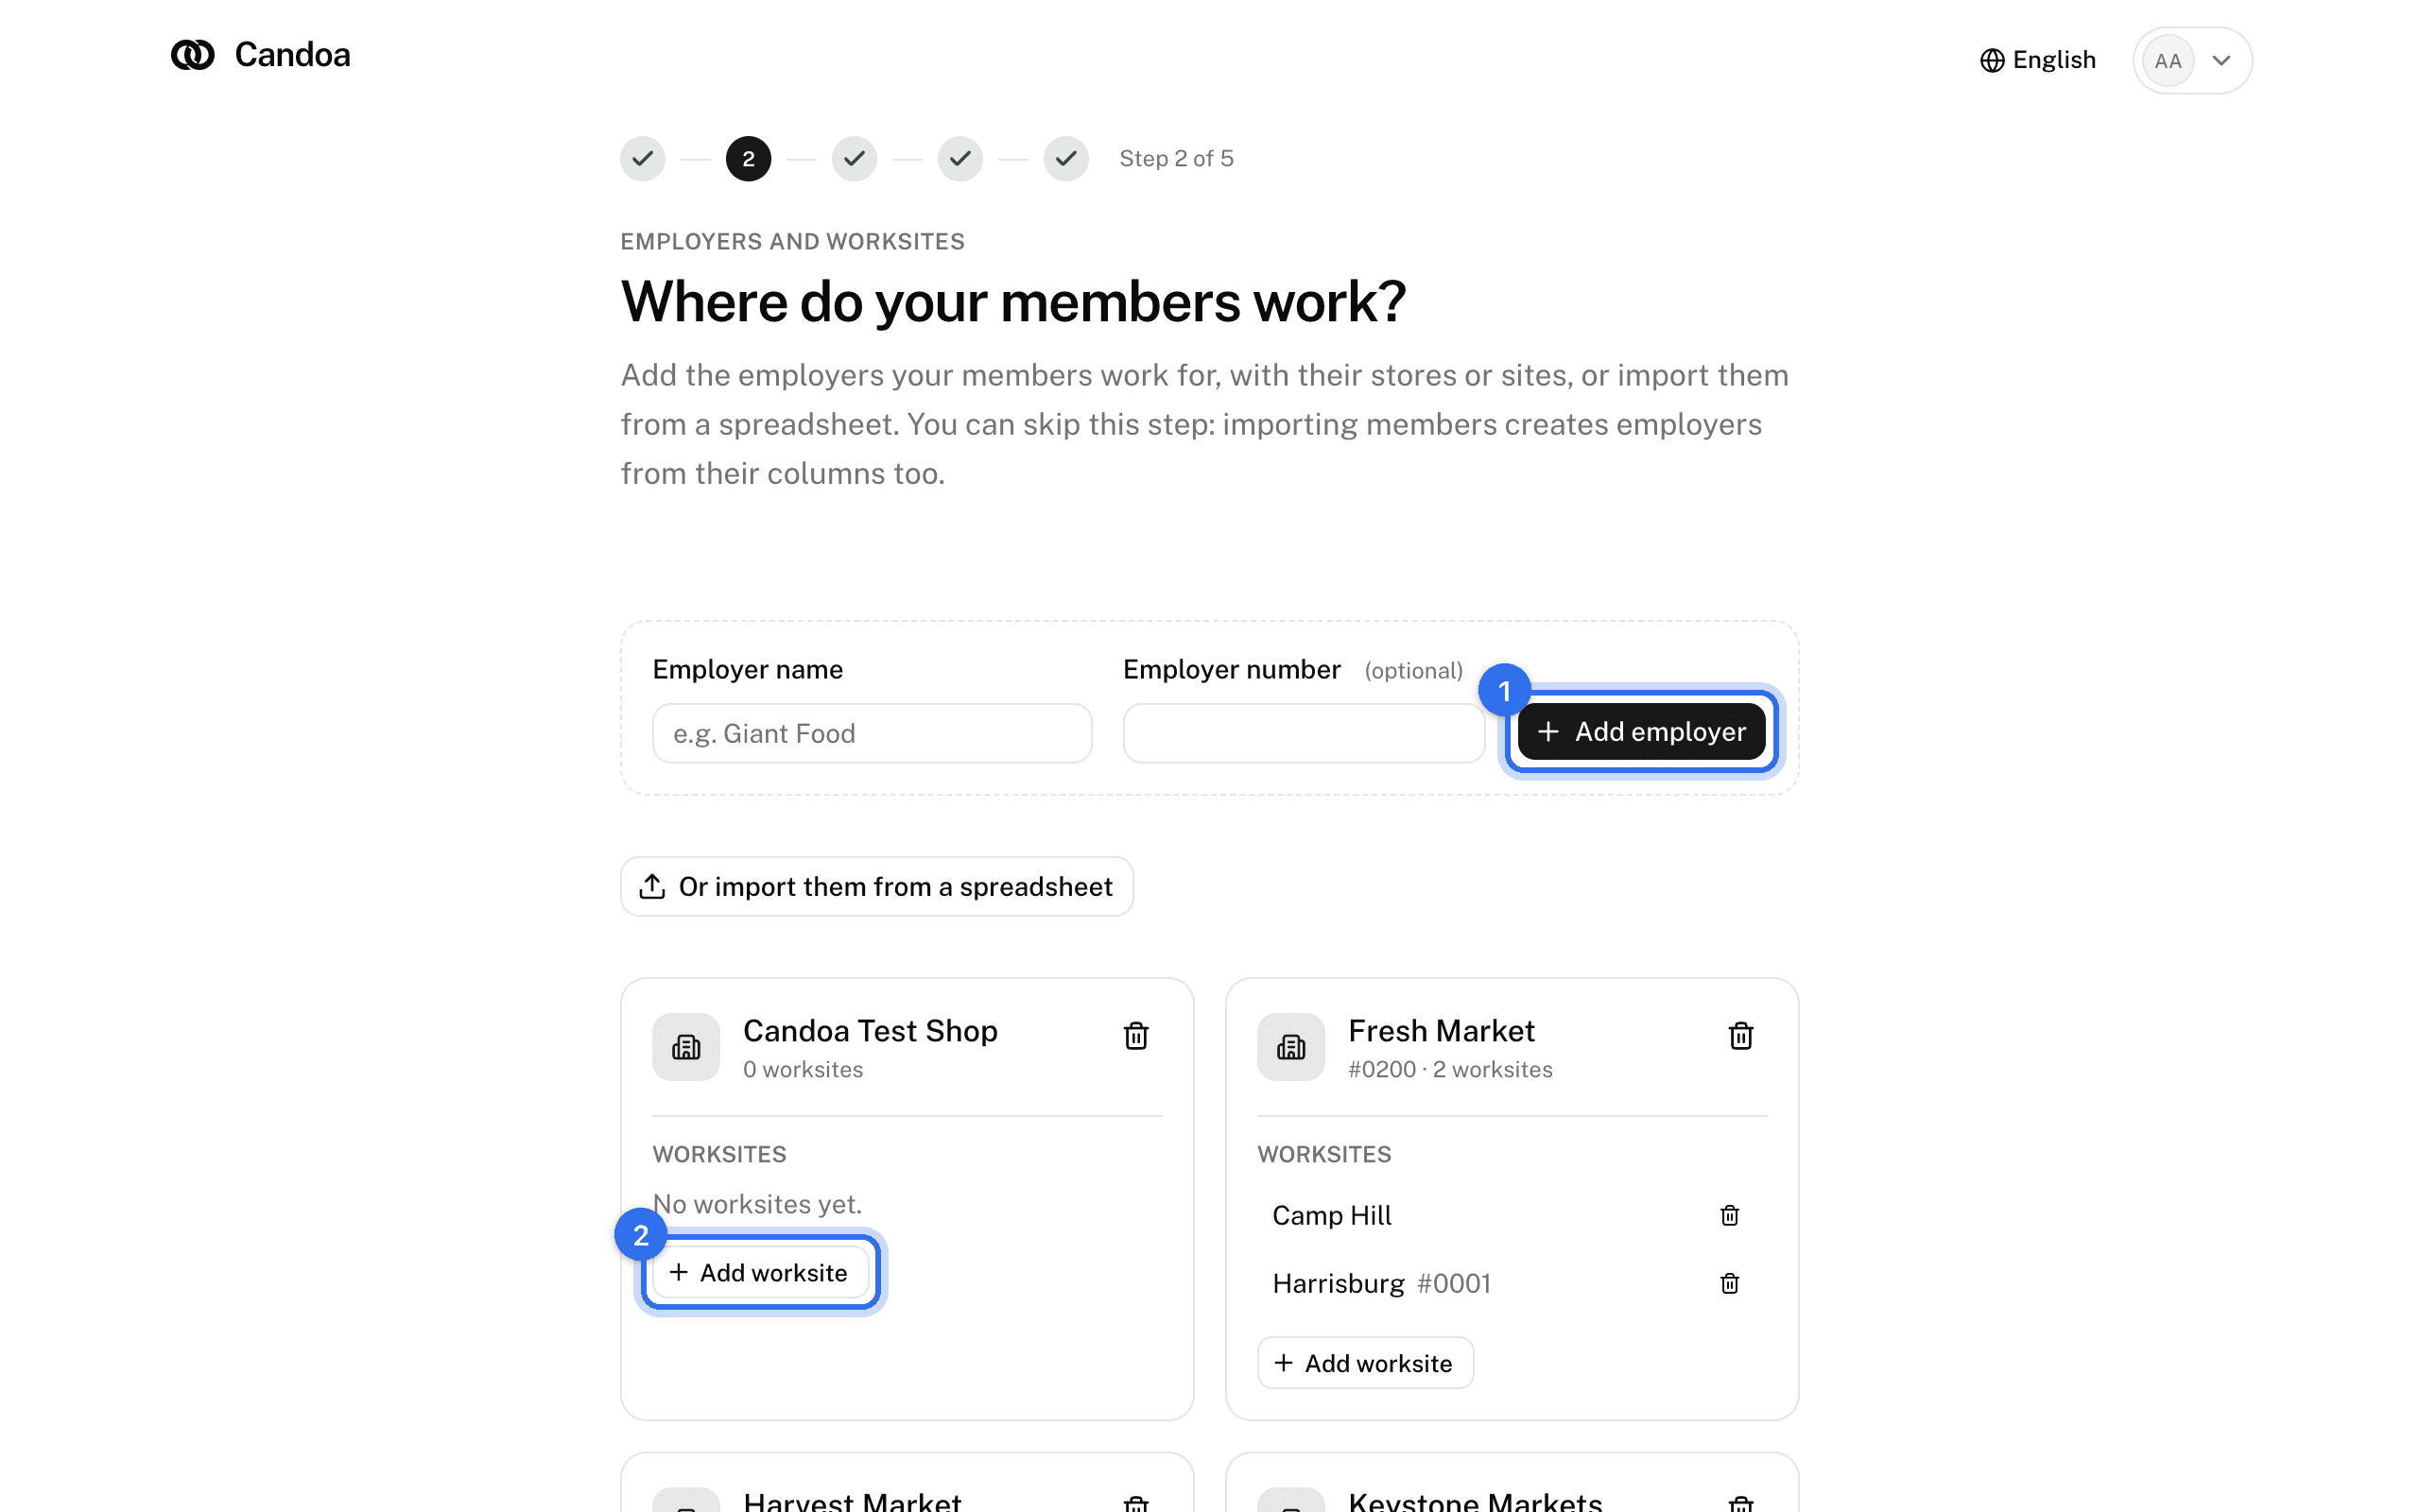
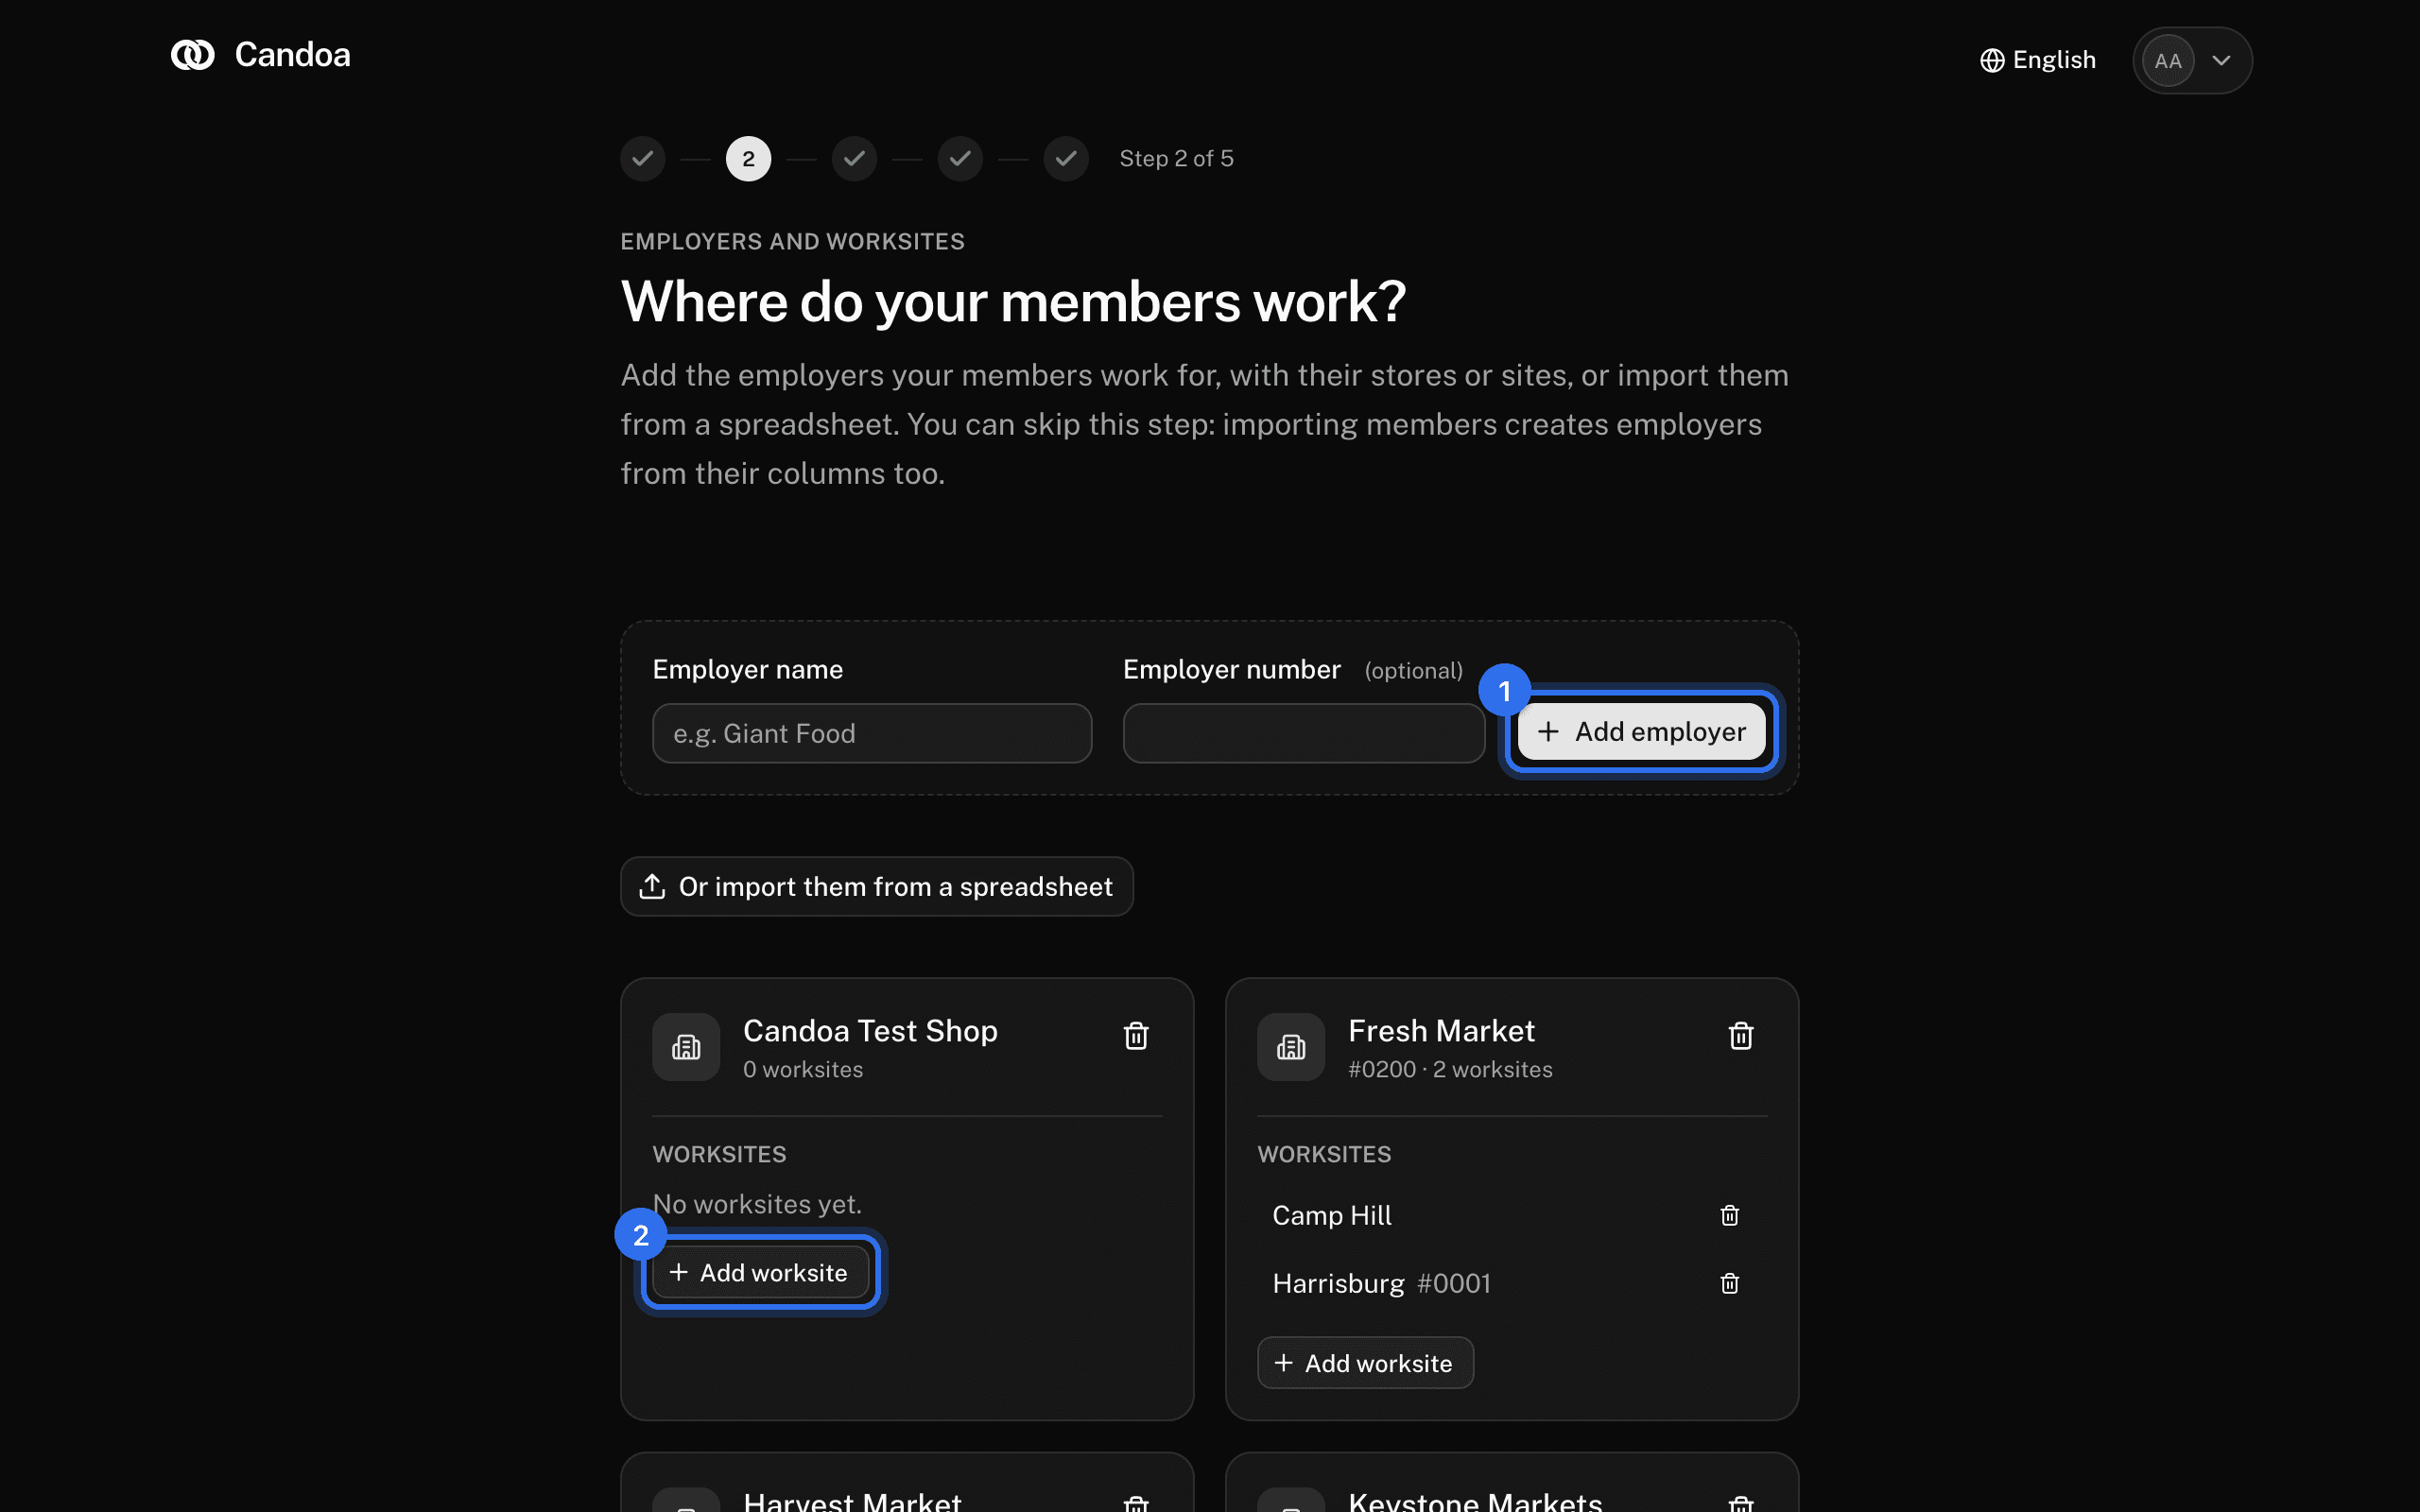
To bring in every employer and worksite at once, or the managers you deal with there, press Or import them from a spreadsheet and follow Import employers from a spreadsheet. Add them one at a time instead goes back to the form.
Import members
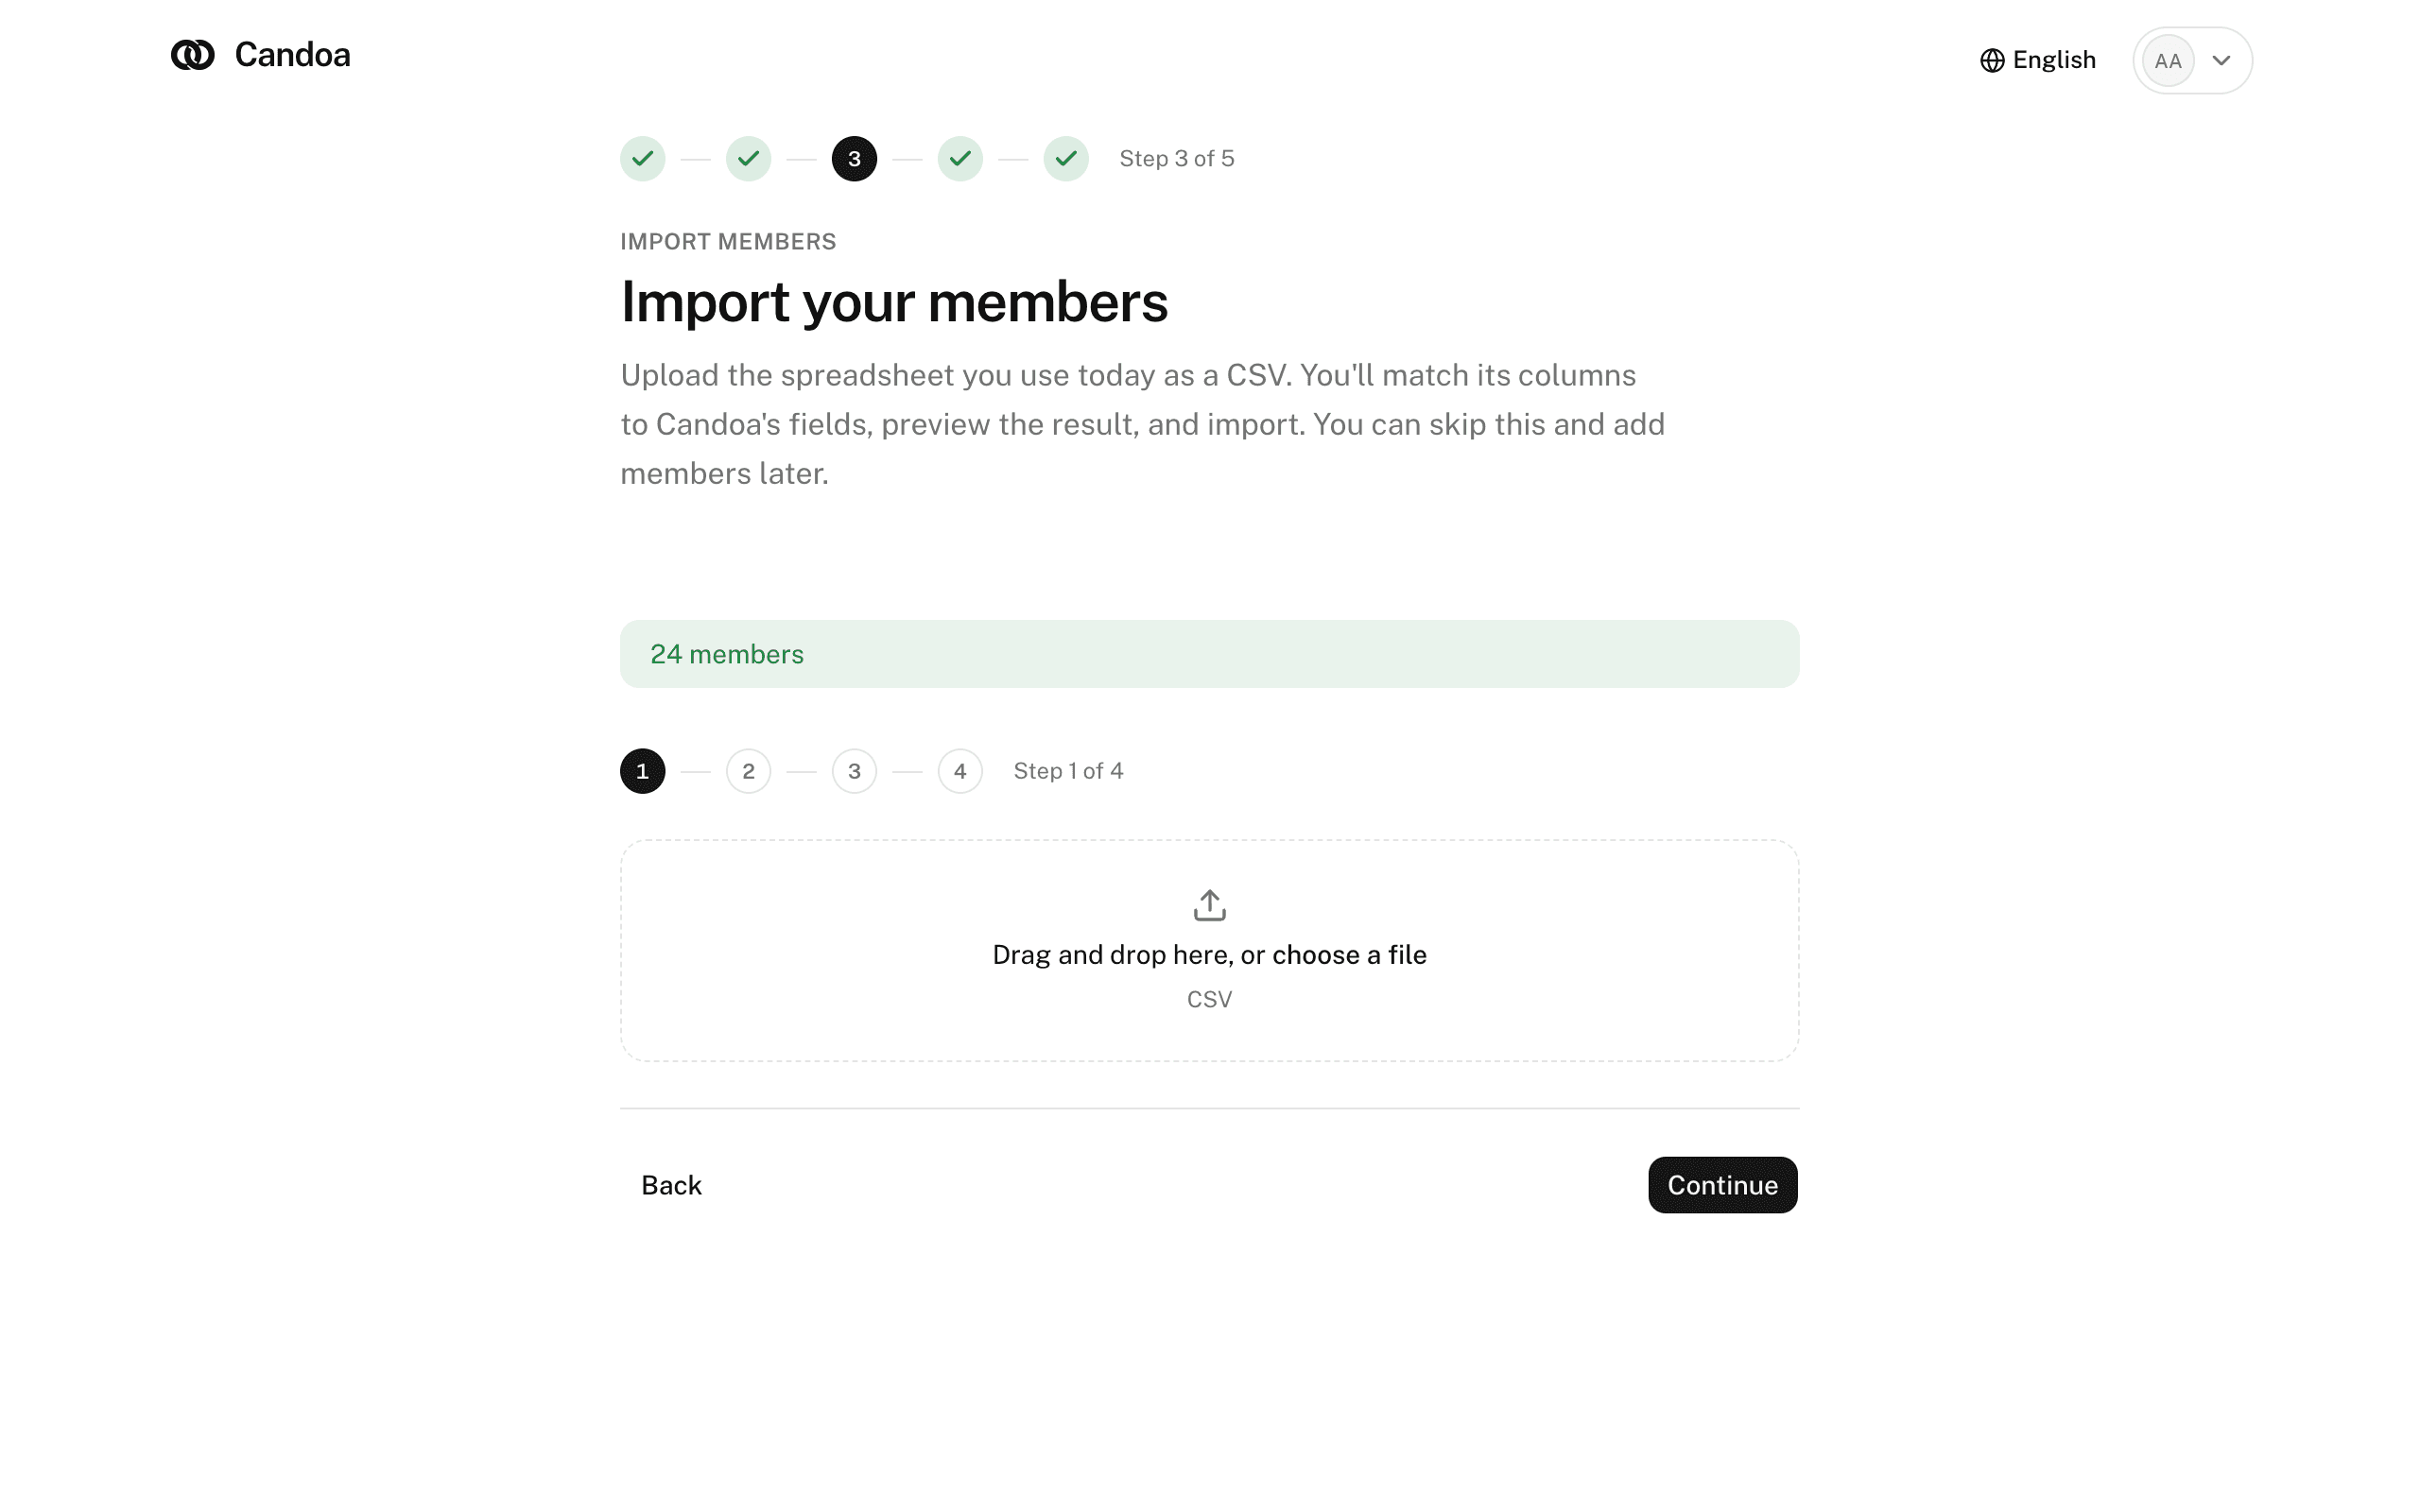
Upload the spreadsheet you use today as a CSV, match its columns, preview, and import. See Import members from a spreadsheet. Press Continue to skip it and add members later.
Invite staff
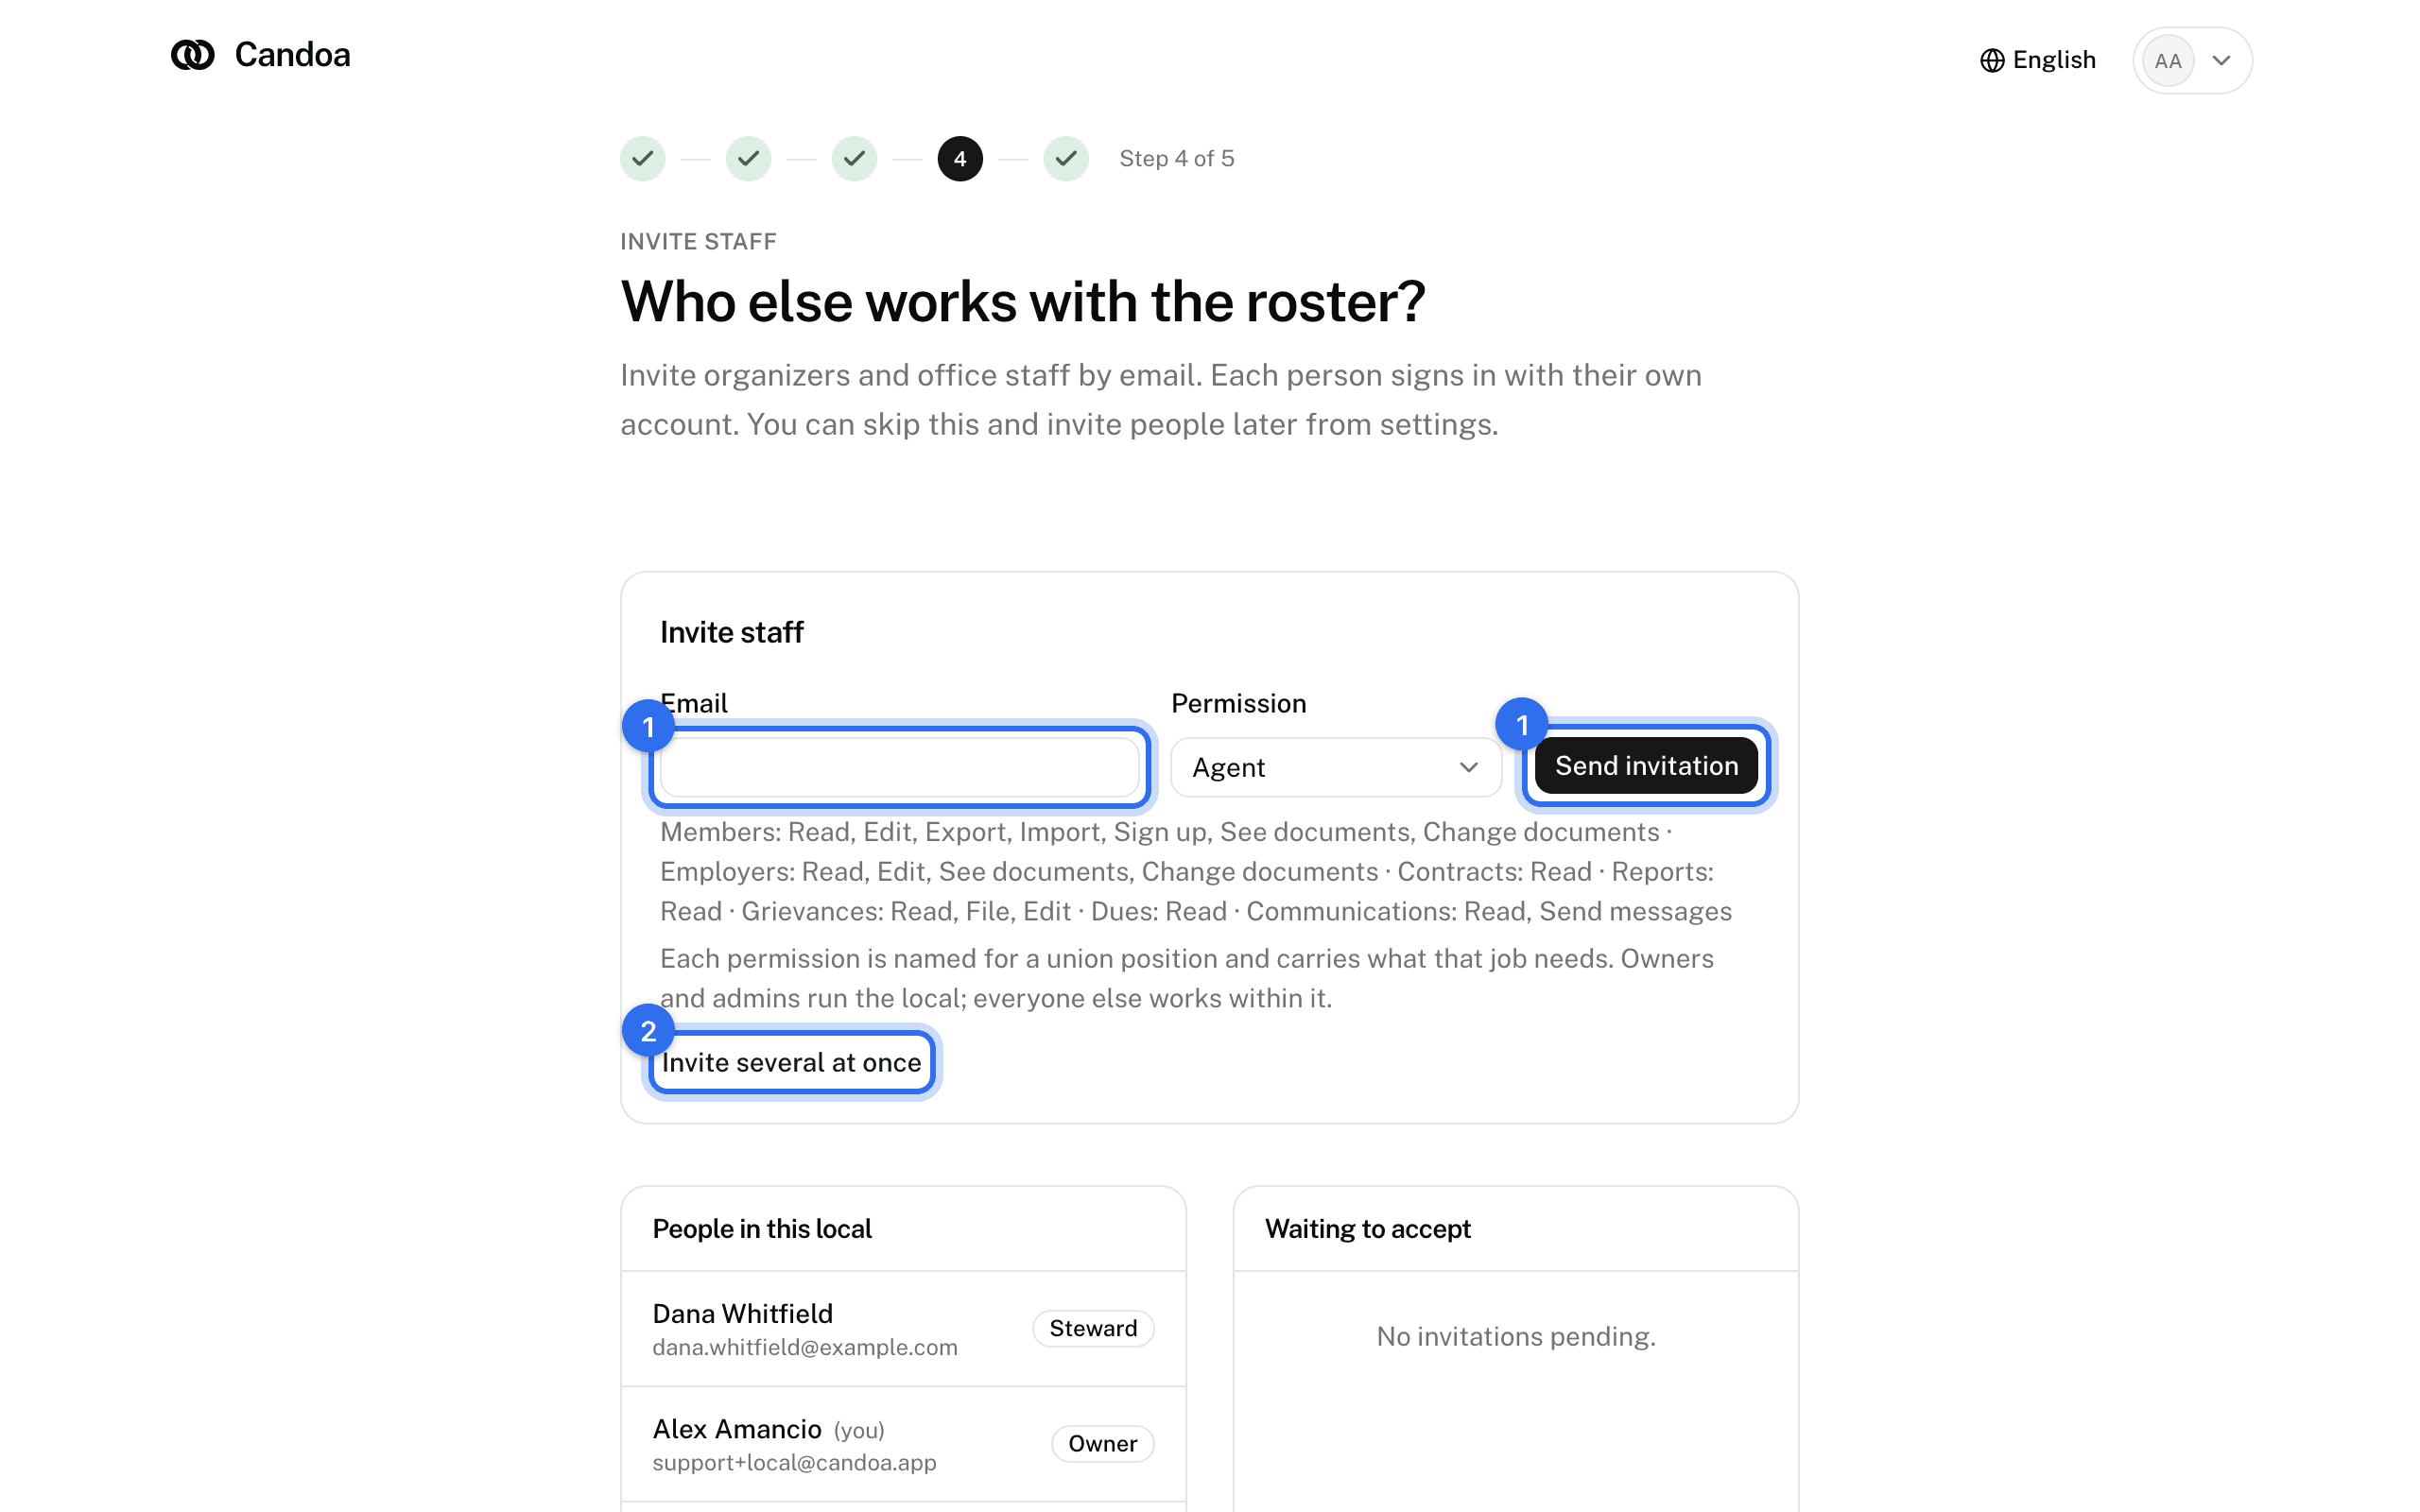
- Enter each person's Email and pick a Permission, then press Send invitation. See Staff for what each permission can do.
- To invite the whole team at once, press Invite several at once and paste a list of emails, or choose a CSV with Email, Name, and Permission columns. See Invite several people at once.
- Press Continue. You can invite people later from the Staff screen.
Finish setup
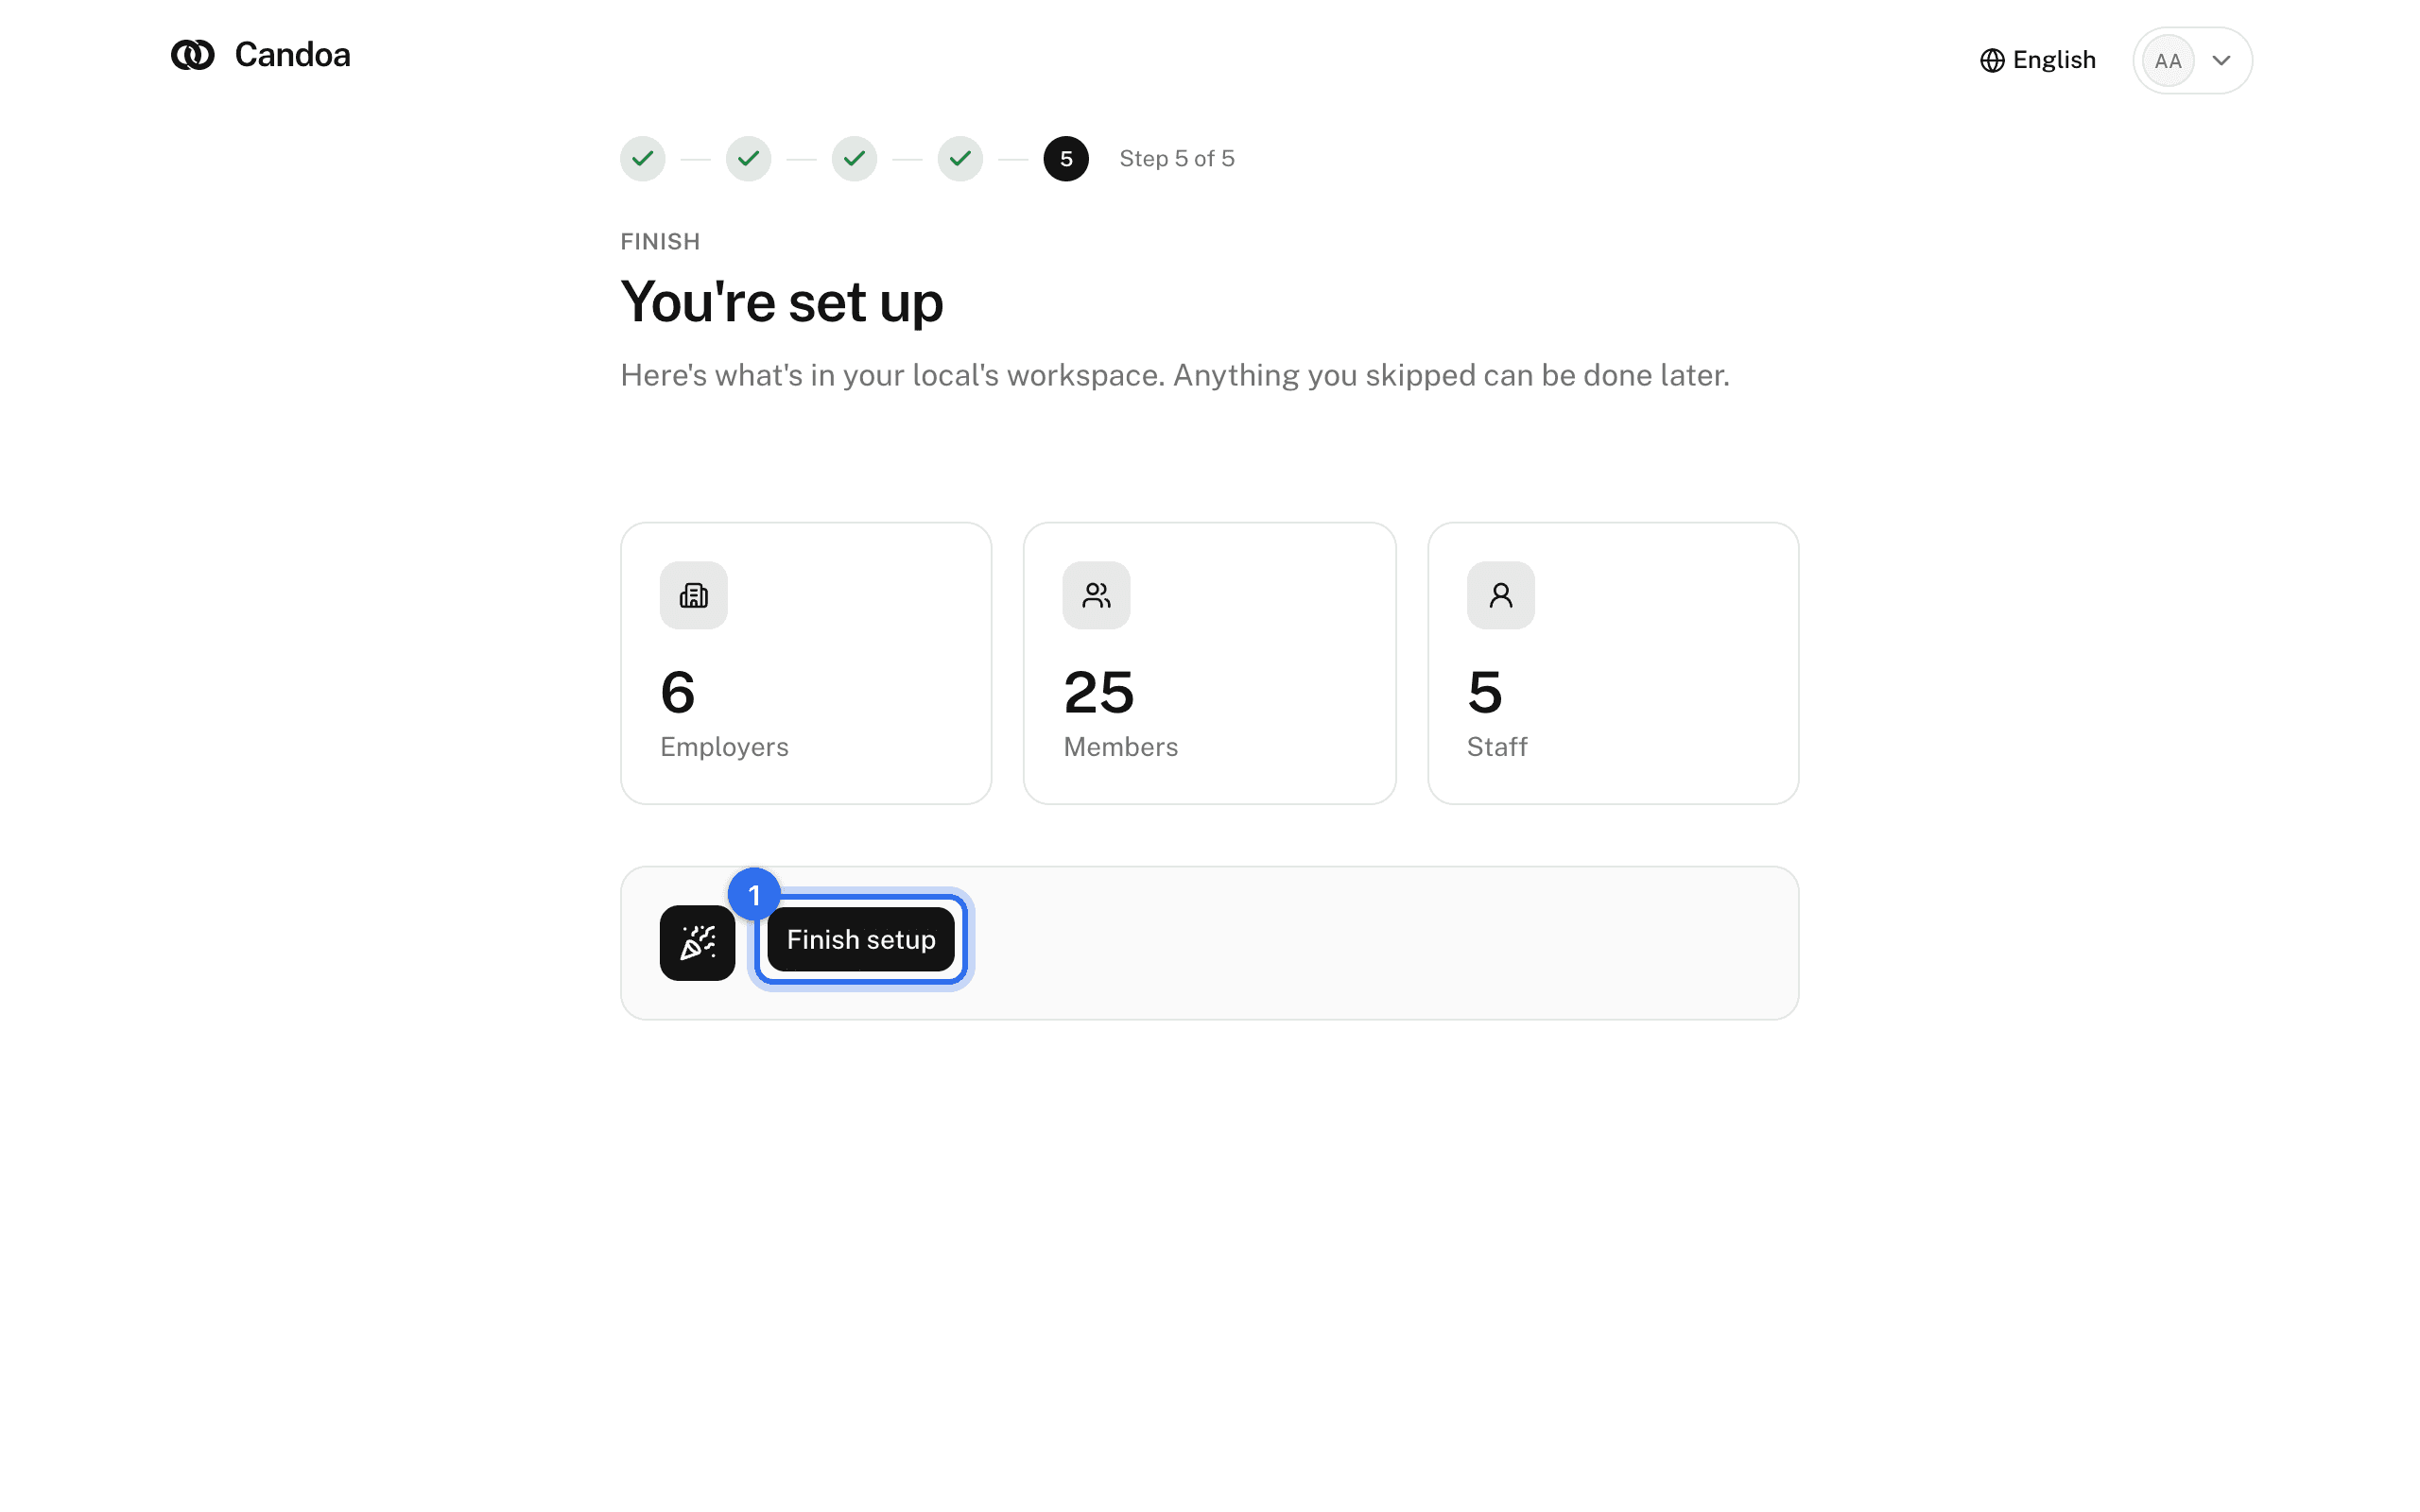
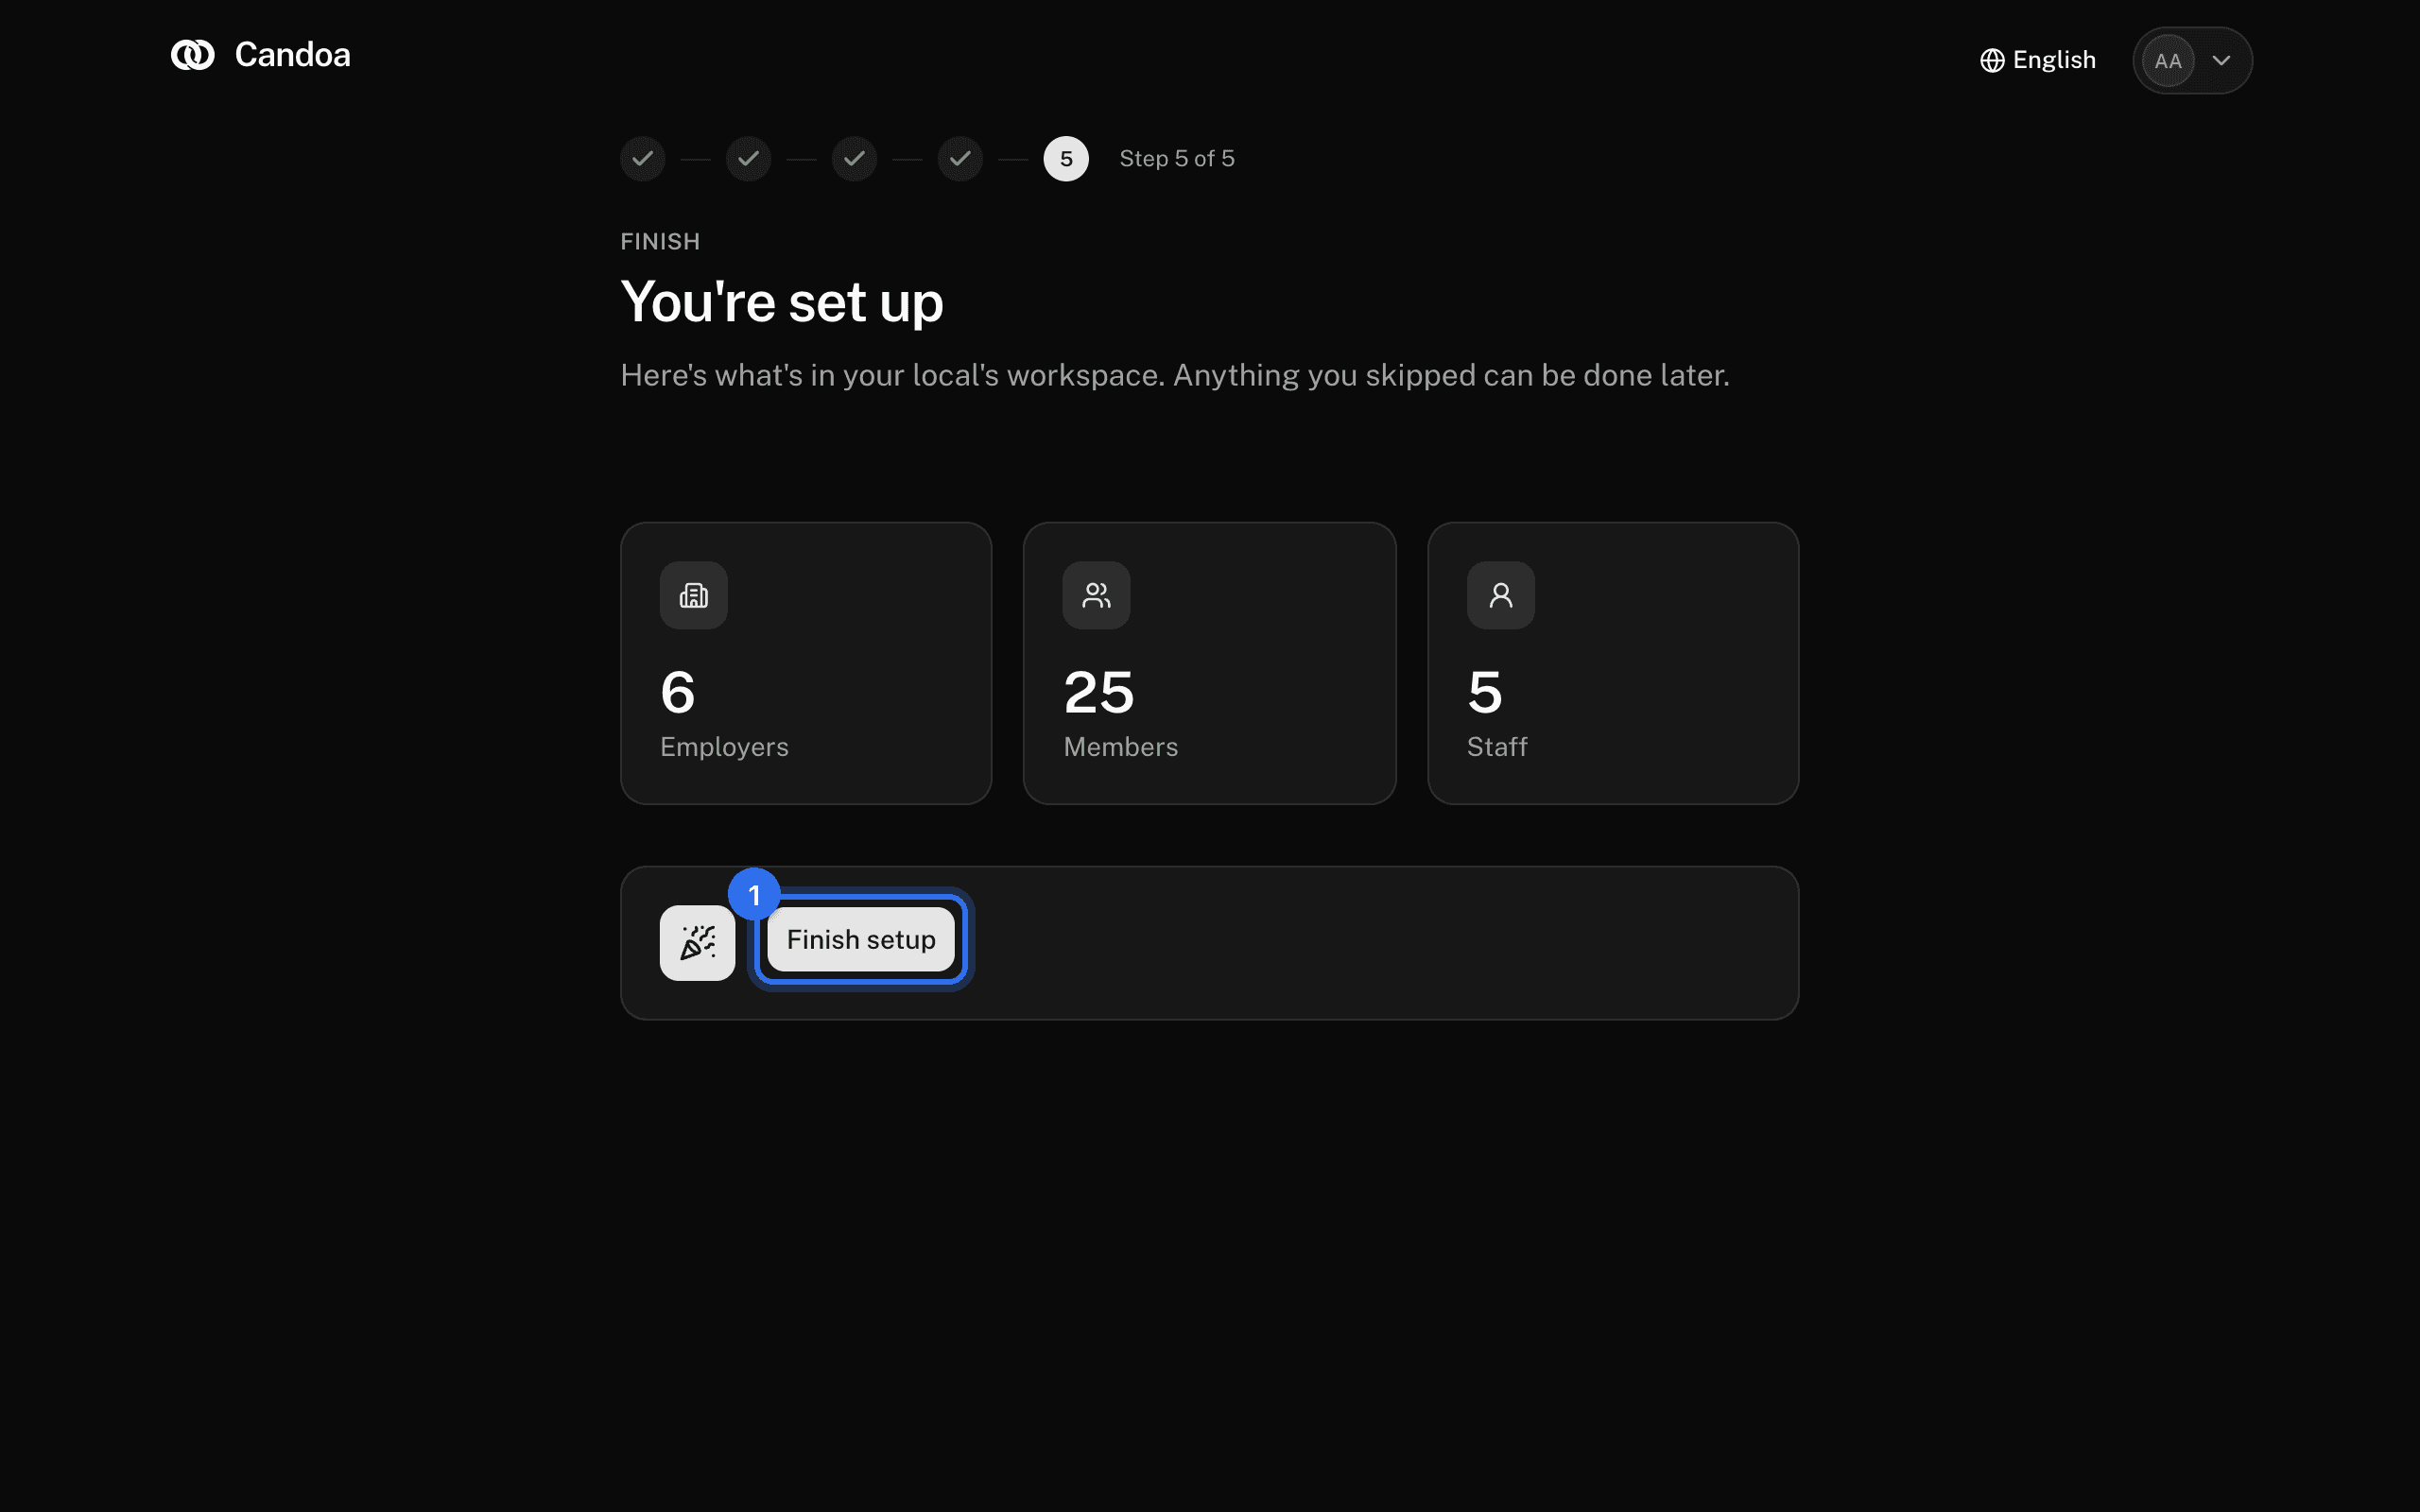
Check the counts of employers, members, and staff, then press Finish setup. Your workspace opens.
Come back to unfinished setup
Setup tracks what exists, not which steps you visited. If you close the browser partway, signing in brings you back until you press Finish. Once in the app, a banner offers Finish setup until it's done.
These pages are the help for Candoa, the software a local runs its members, employers, and grievances on.
Set up your localUpdated 2026-09-19