The members list
Find a member, filter the roster, choose columns, save a view, change many members at once, and download a CSV.
The members list is the local's roster: every member, of every status, one row per person. It's where the office answers "who do we have," finds a person, and changes many people at once. For what a member is and what the statuses mean, see A member's record.
Open the members list
Click Members in the sidebar, or press g then m. Everyone can see it. Editing, exporting, and importing depend on your permission.
Find a member
- Click the search box at the top of the list and type a name or member number. Former member numbers match too.
- Click the row to open the member, or Cmd-click the name to open it in a new tab.
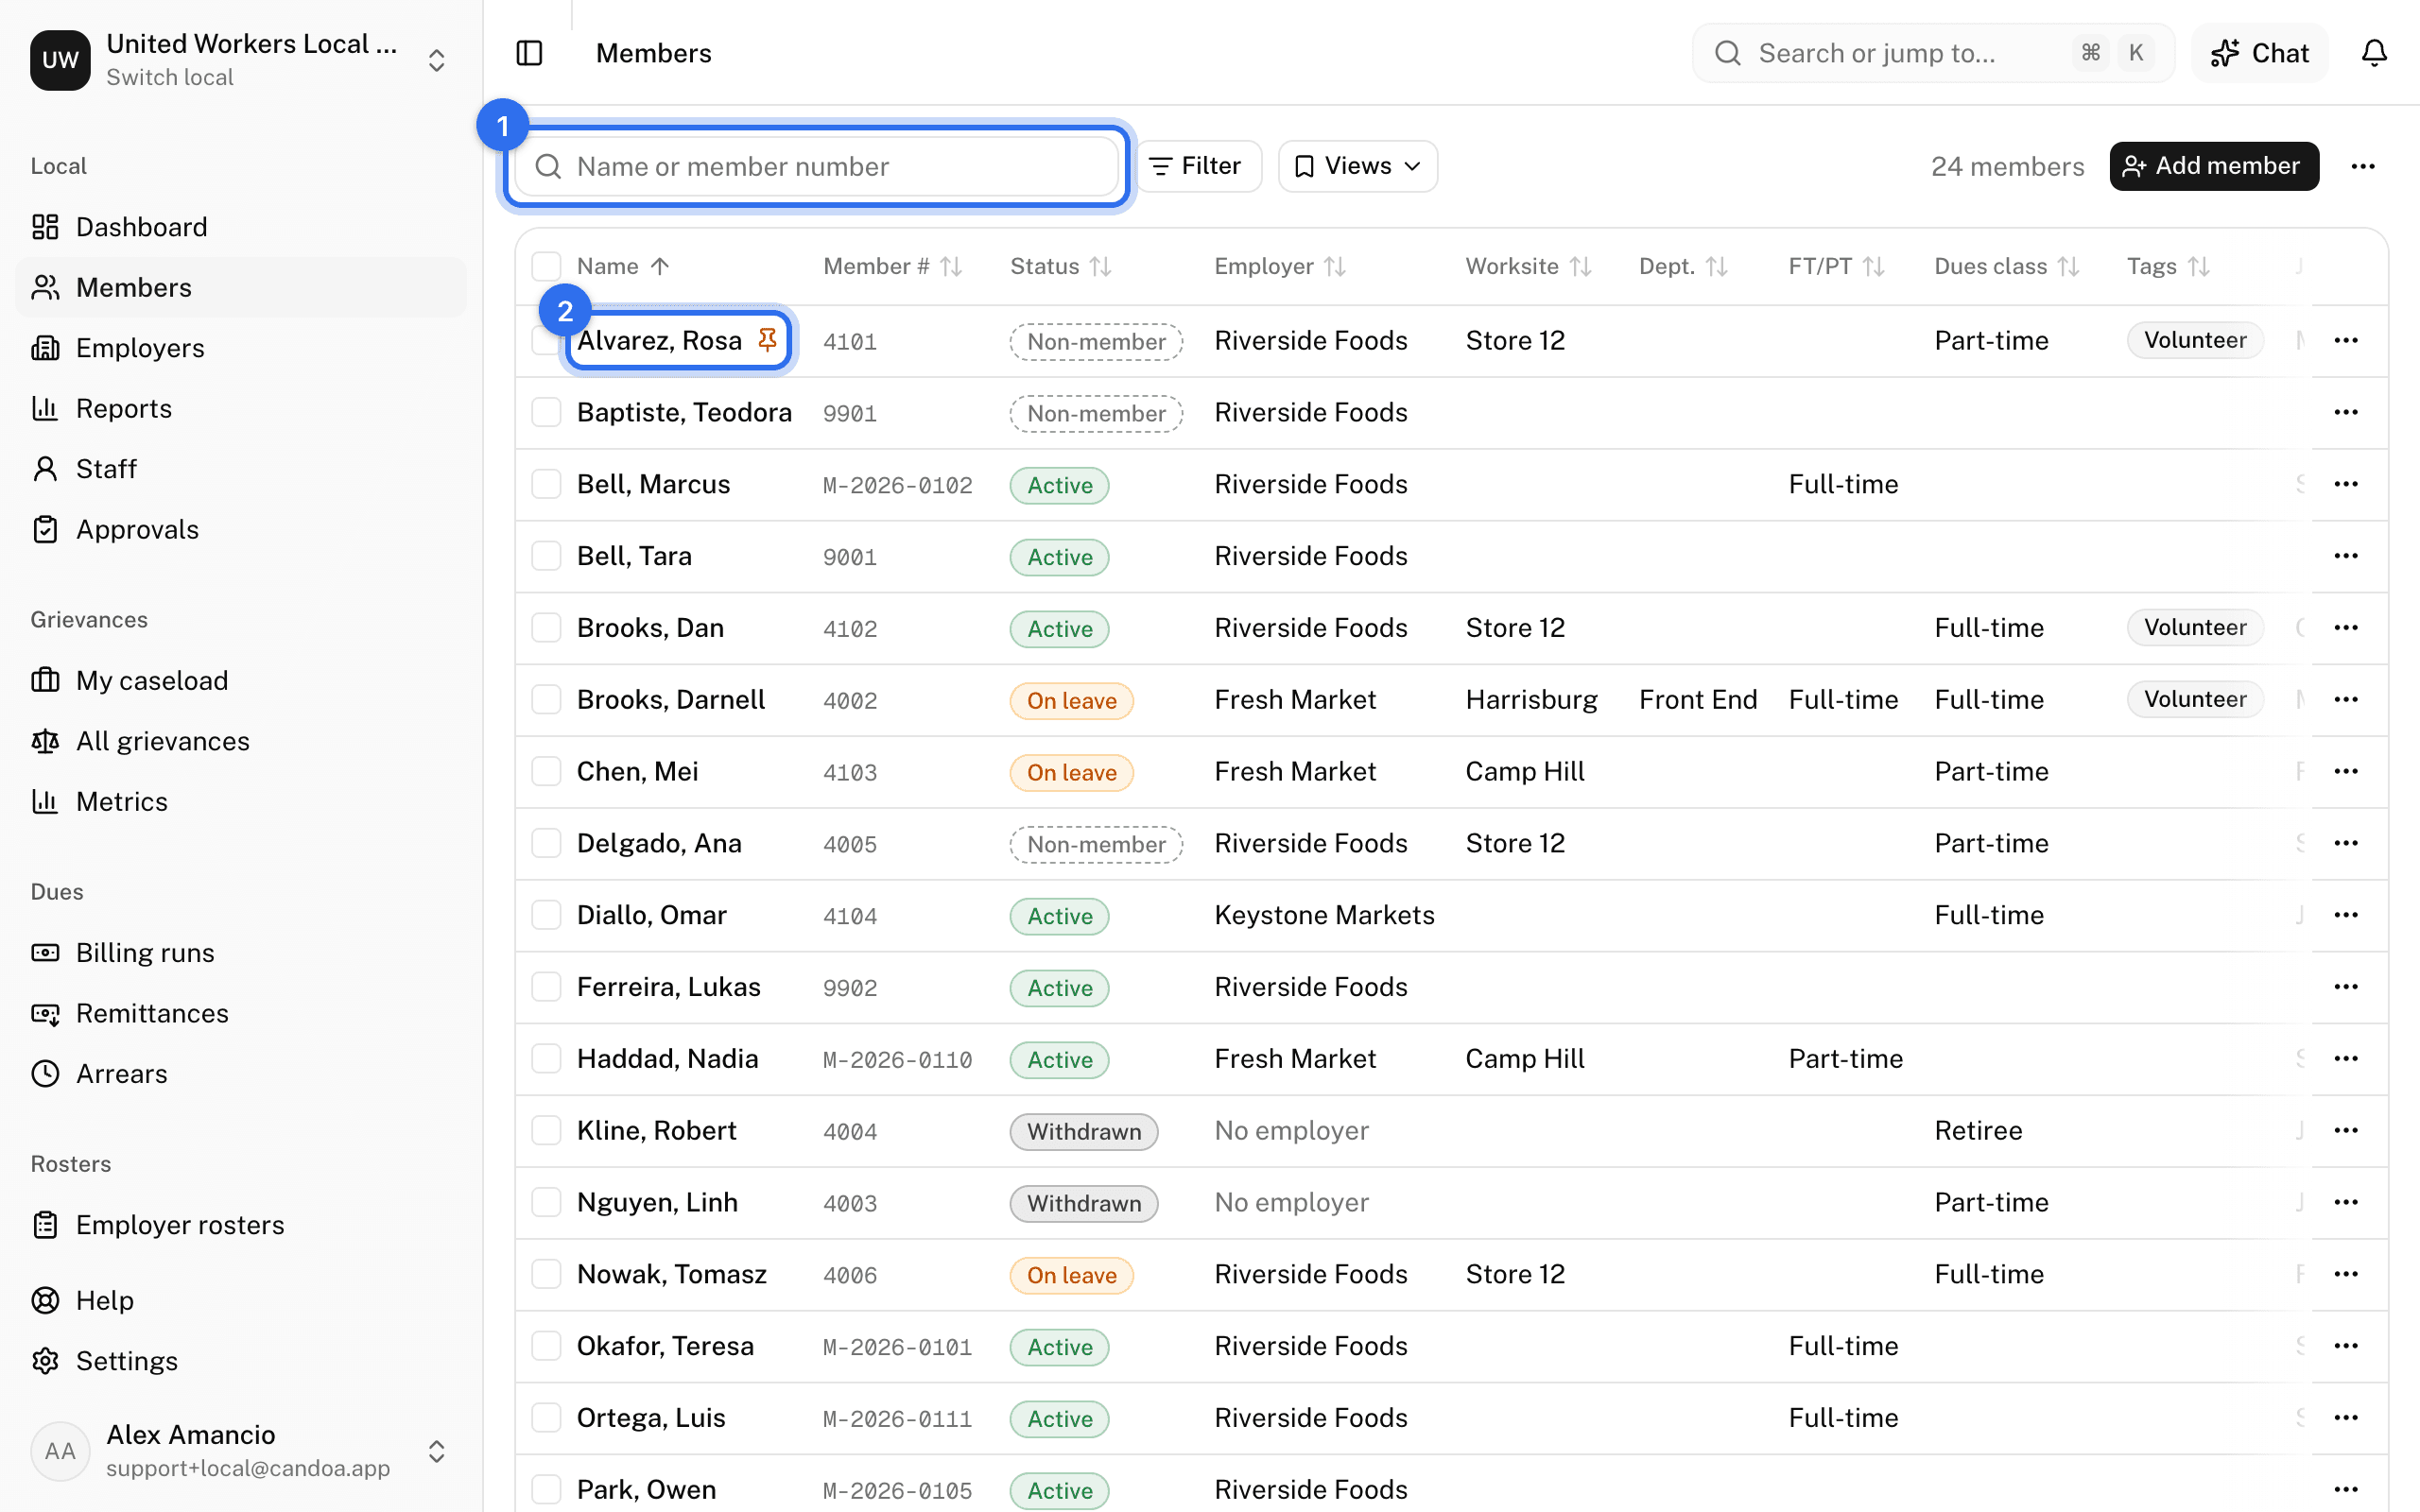
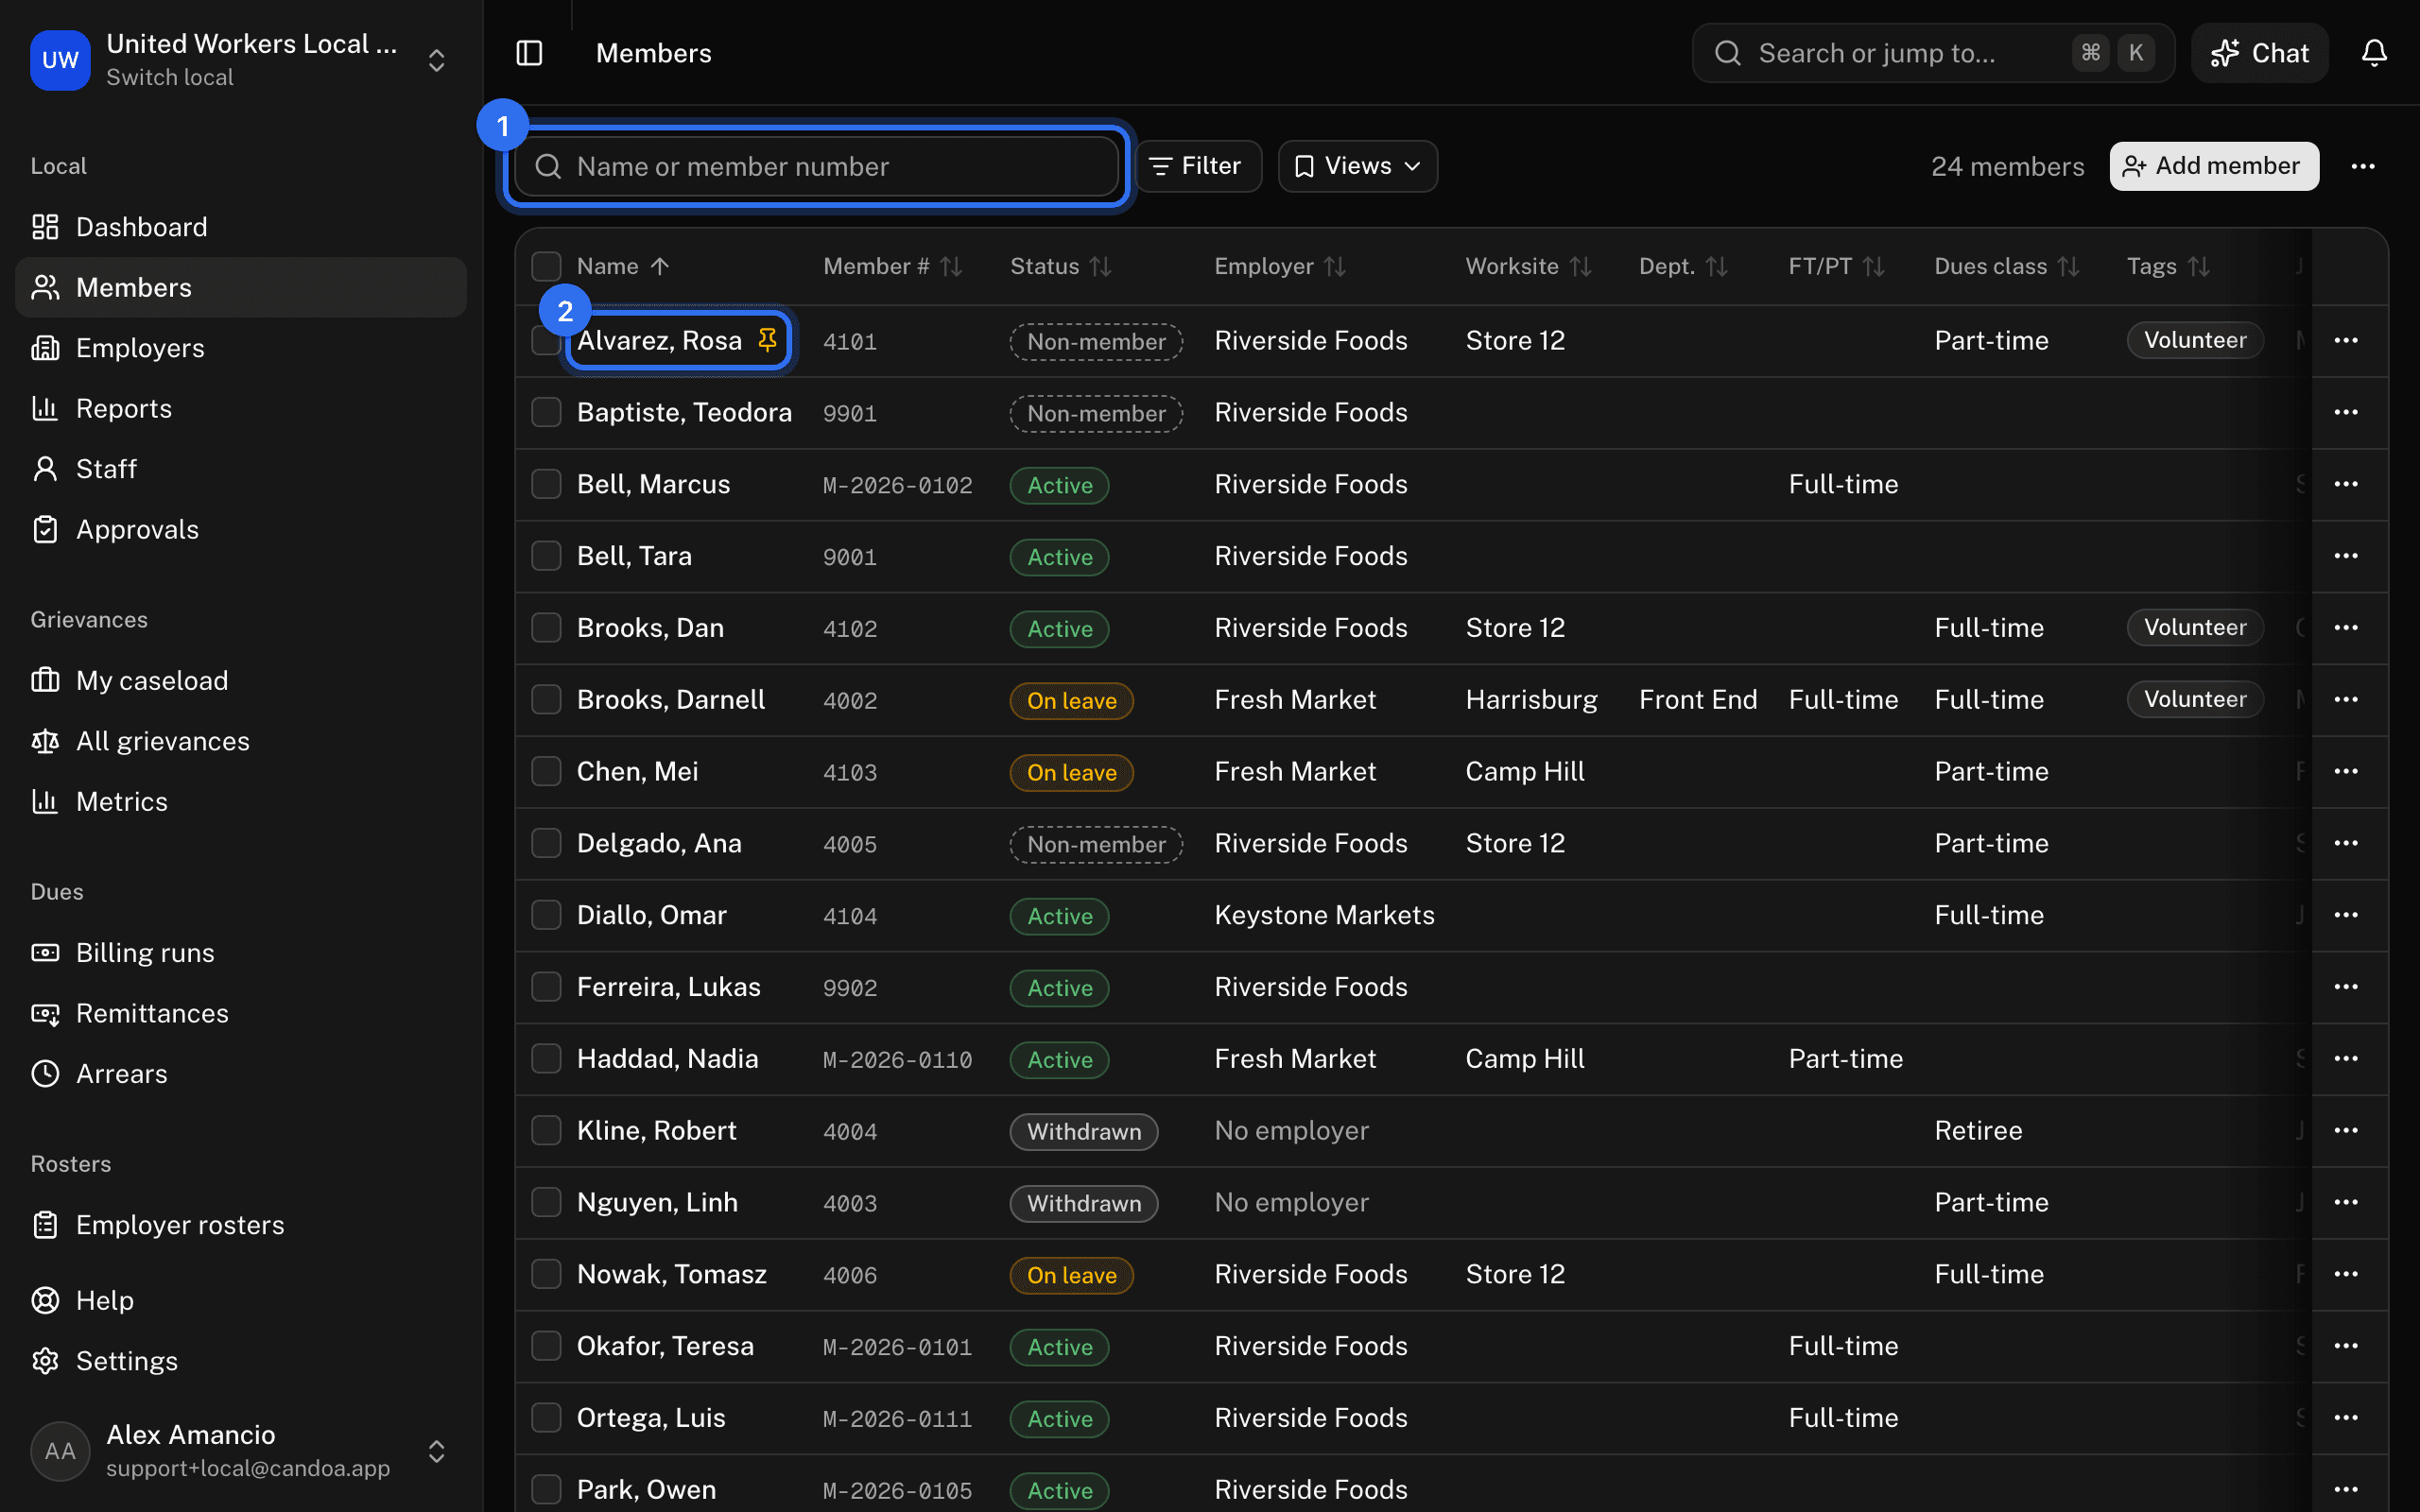
On the keyboard: arrows or j and k move the highlight, Enter opens, x ticks the row.
Filter the roster
- Press Filter.
- Press Add a condition and type a field name: Status, Employer, Worksite, Job classification, Department, Tags, Full/part-time, Preferred contact, Join date, Hire date, City, Email, Gender, Do not mail, Do not call, Steward, Holds a position, Position kind, Pinned note, Last contacted, or any custom field.
- Pick the condition and the value. Lists offer is any of, is none of, is empty, is not empty. Text offers contains, starts with, and so on. Dates offer before, after, between, and in the last so many days.
- Add more conditions if needed. All conditions must be true; inside one condition, several values means any of them.
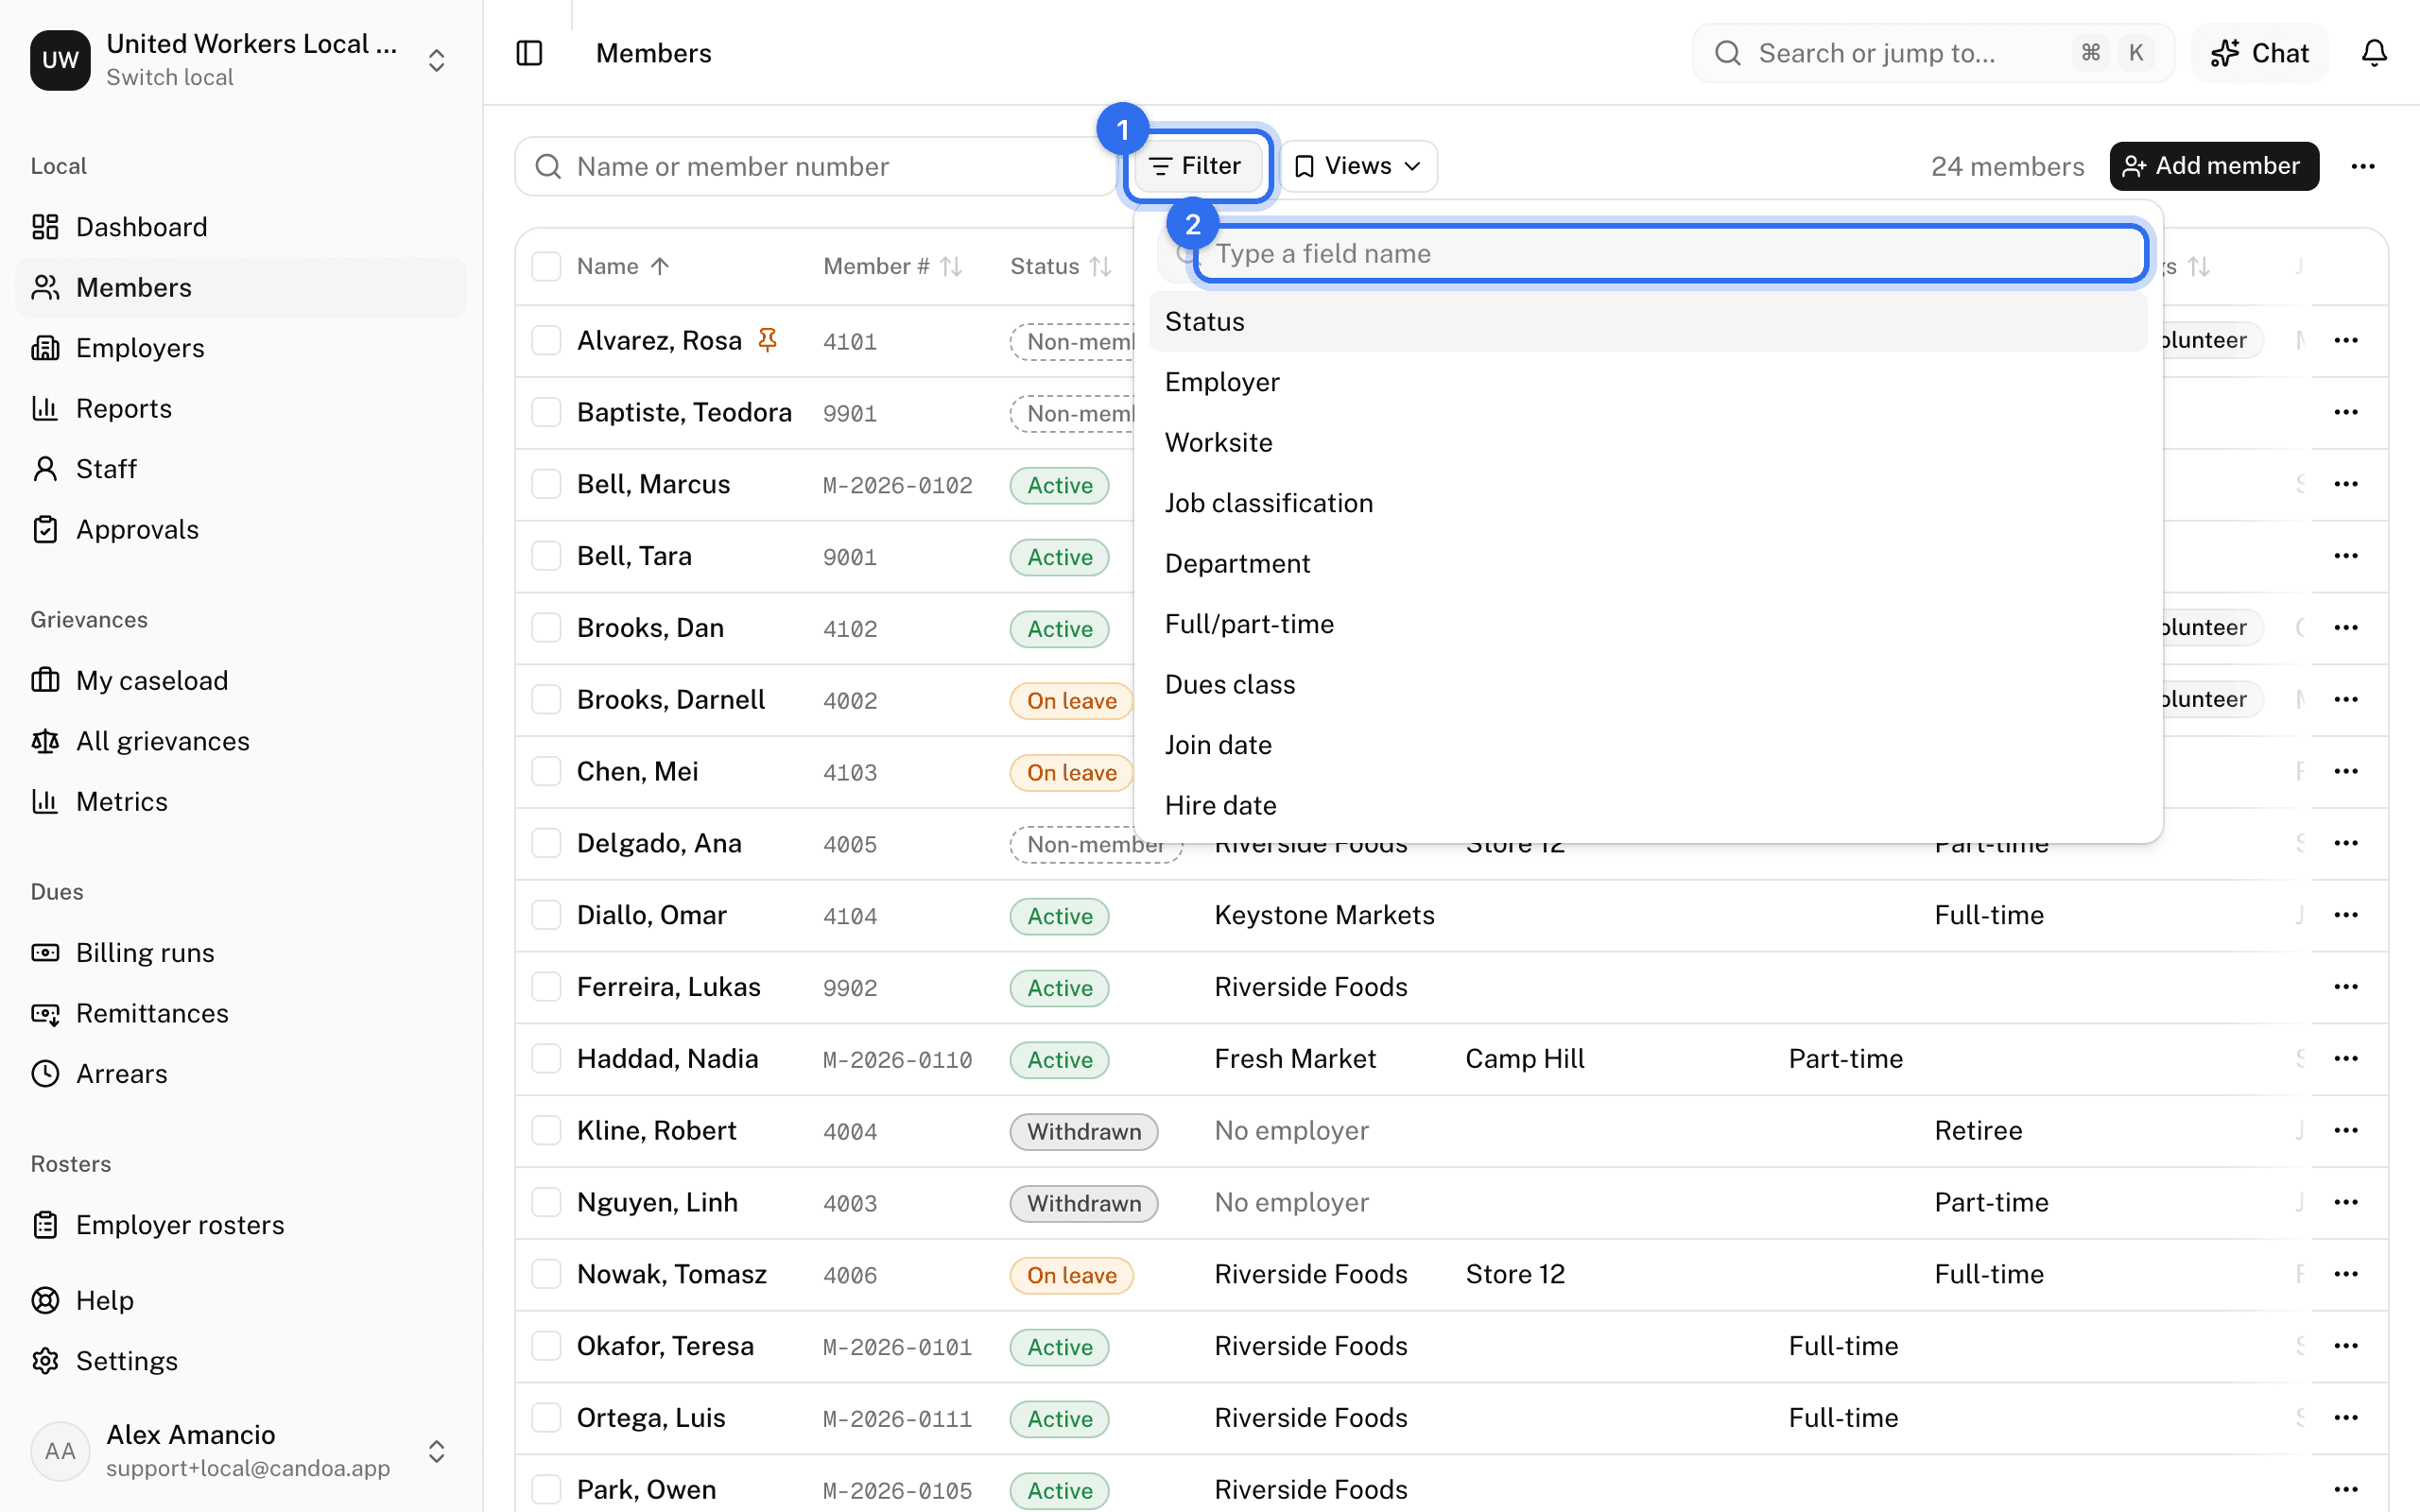
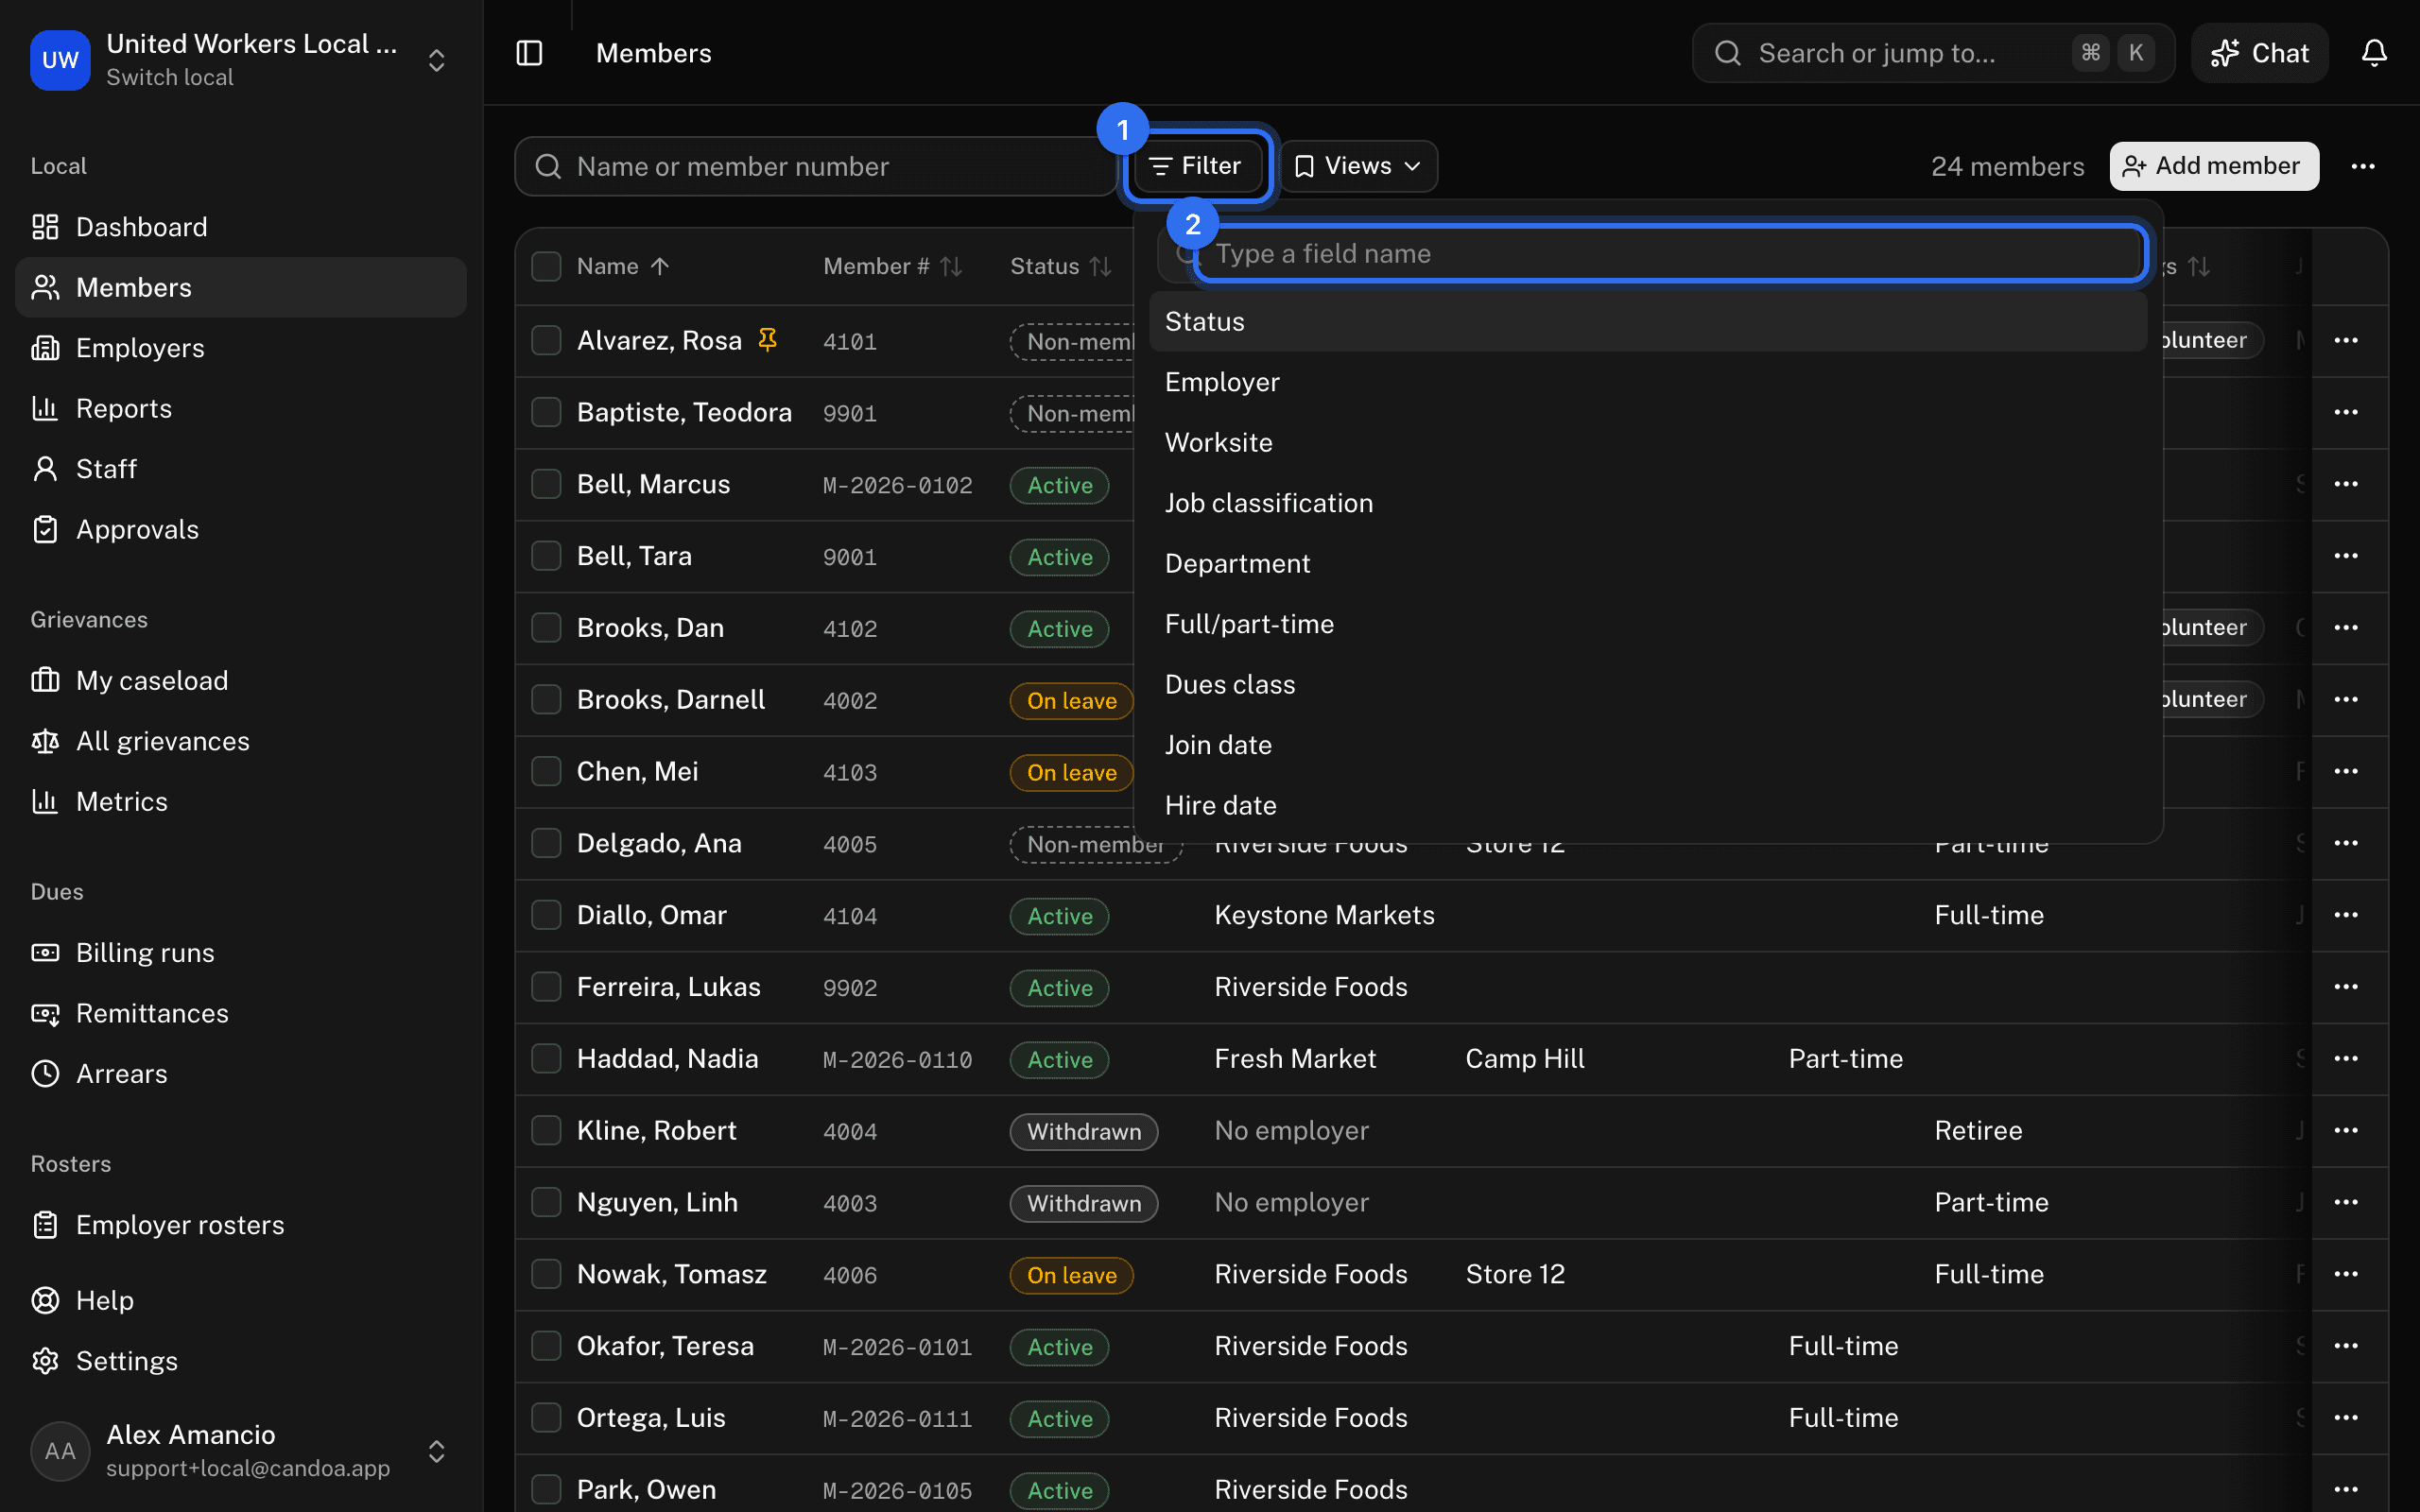
Press Clear to remove the search and every condition.
Choose columns
- Open the ⋯ menu at the end of the toolbar and choose Columns (the number beside it is how many are on). The columns shown are ticked at the top, in the order the table has them.
- Tick a field under More columns to add it at the end: Member #, Status, Employer, Worksite, Dept., FT/PT, Tags, Joined, Born, Hired, Employee ID, or Last contact. Your local's own fields sit under a heading with the local's name. Last contact is the latest call, visit, email, or meeting logged on the member.
- Drag a ticked field by its handle to change the order, or use the arrows beside it to move it up or down. The table follows as you go.
- Untick a field to drop it. Name always stays, and stays first.
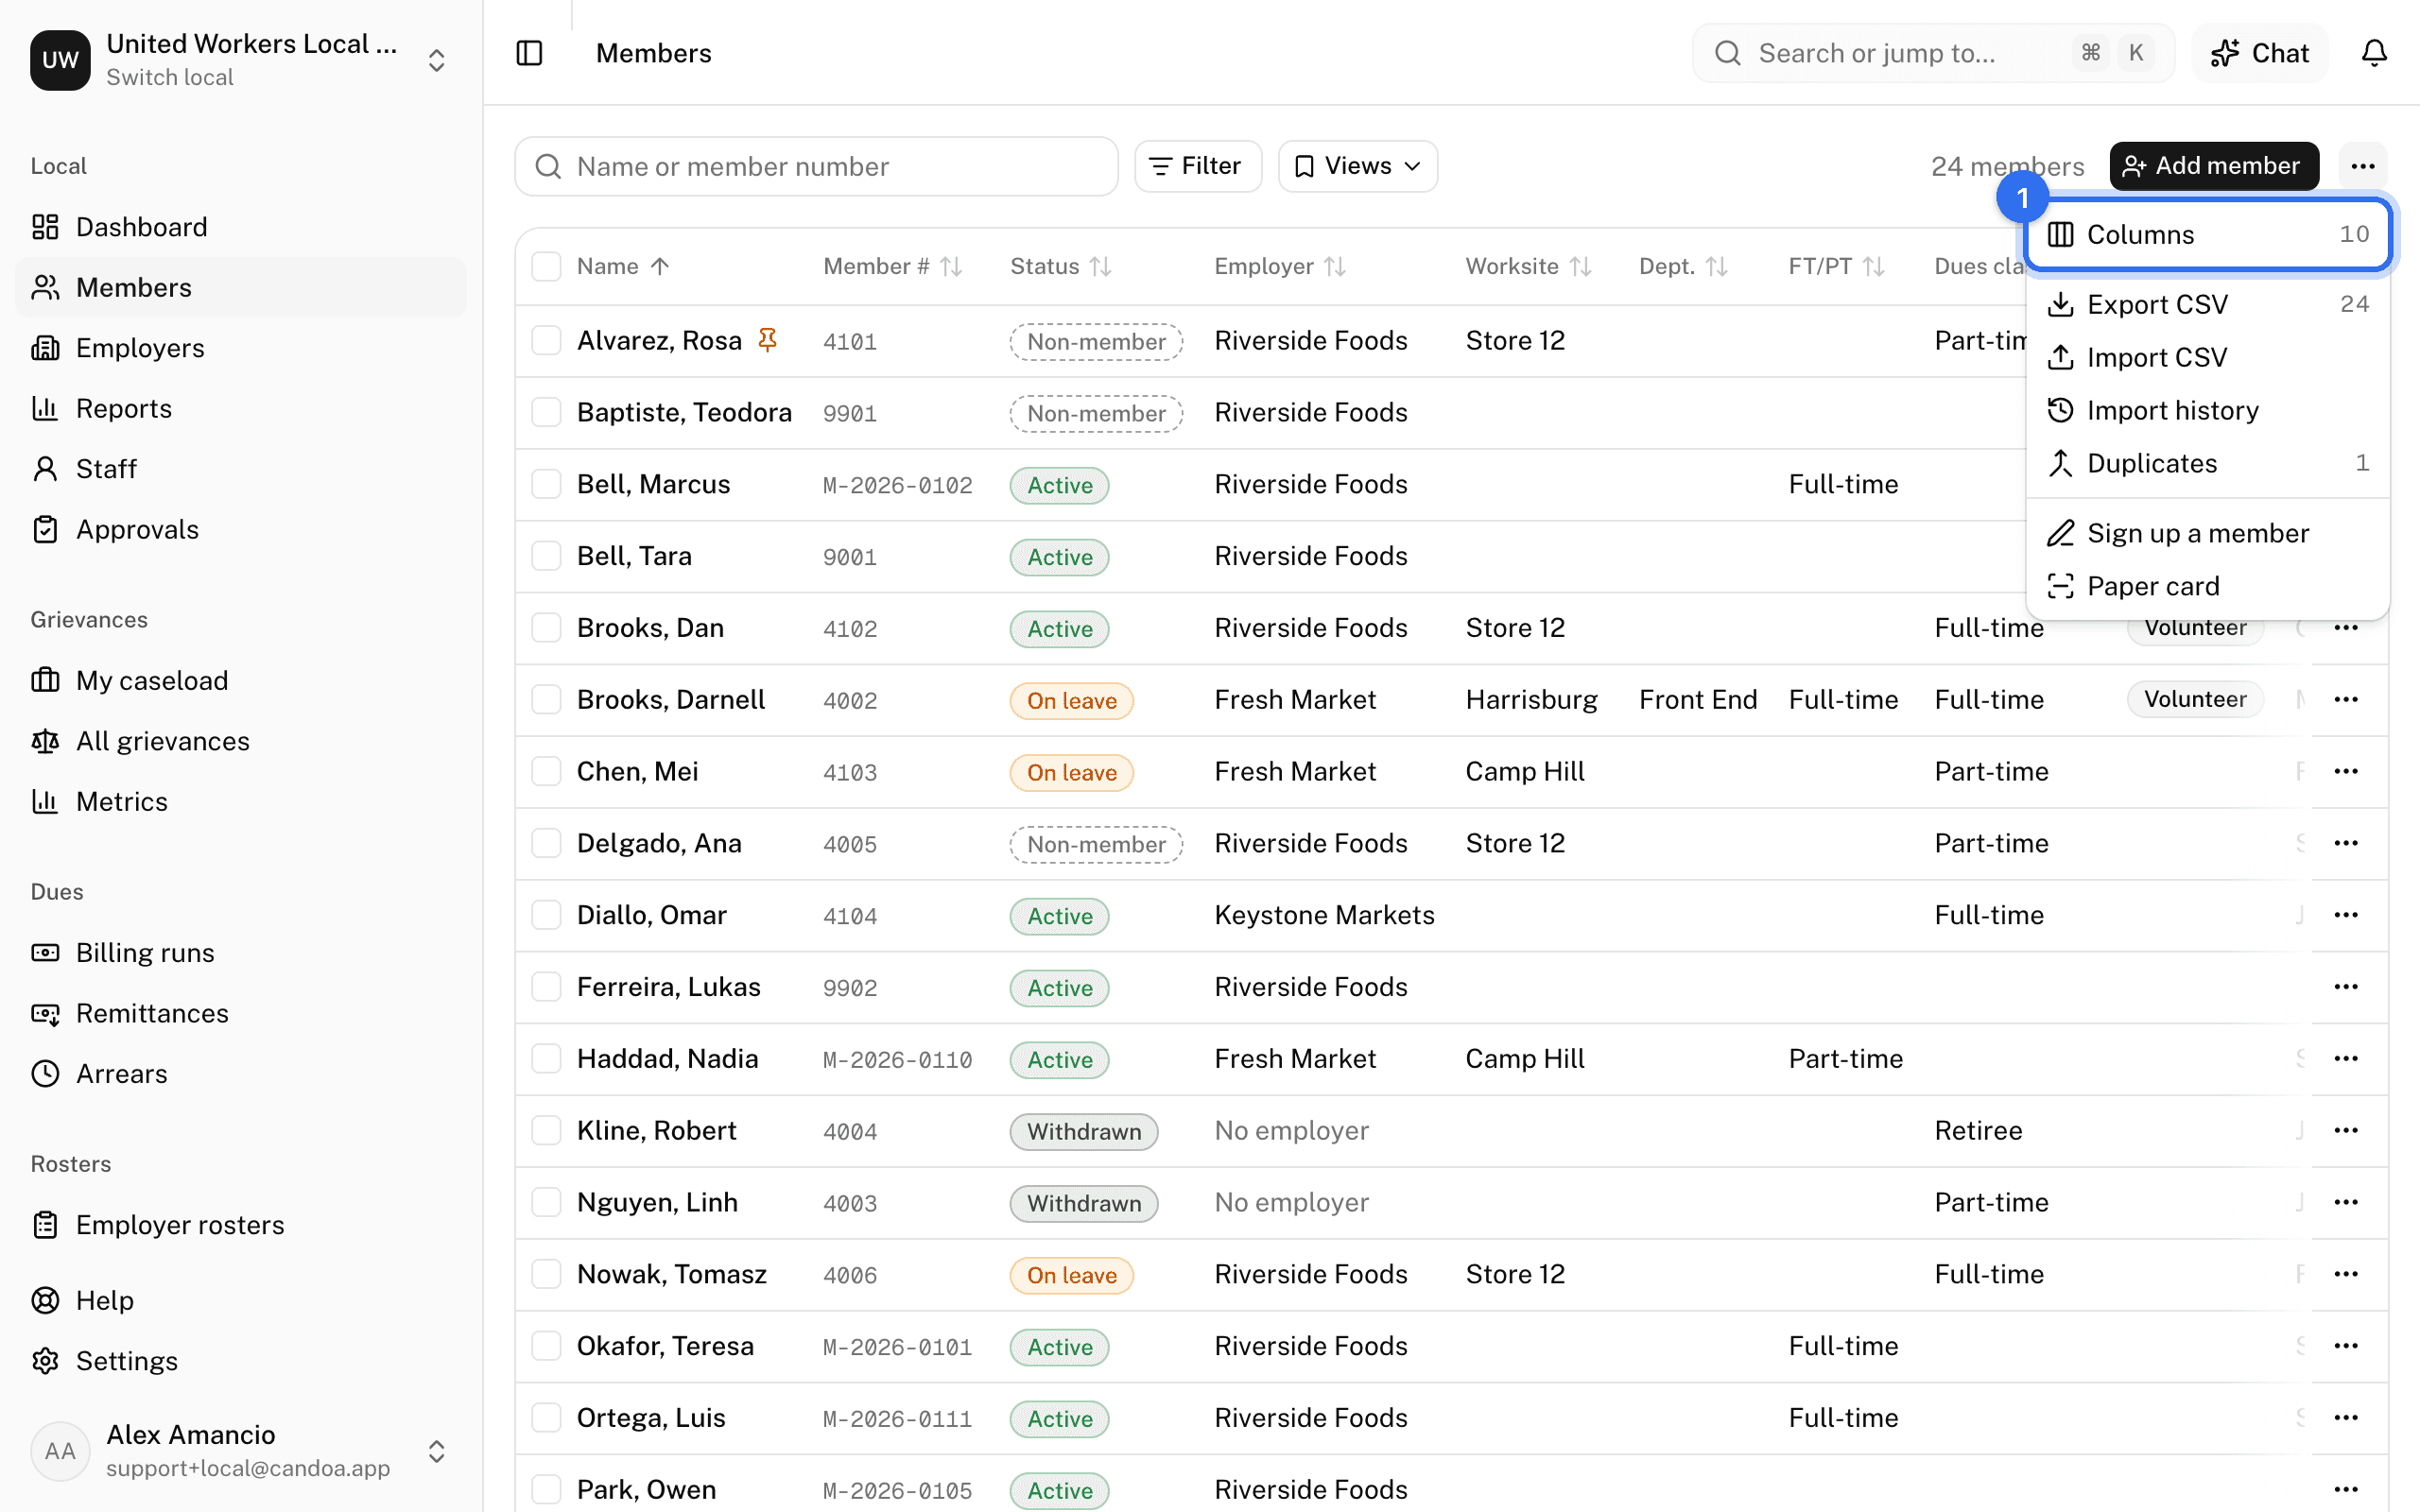
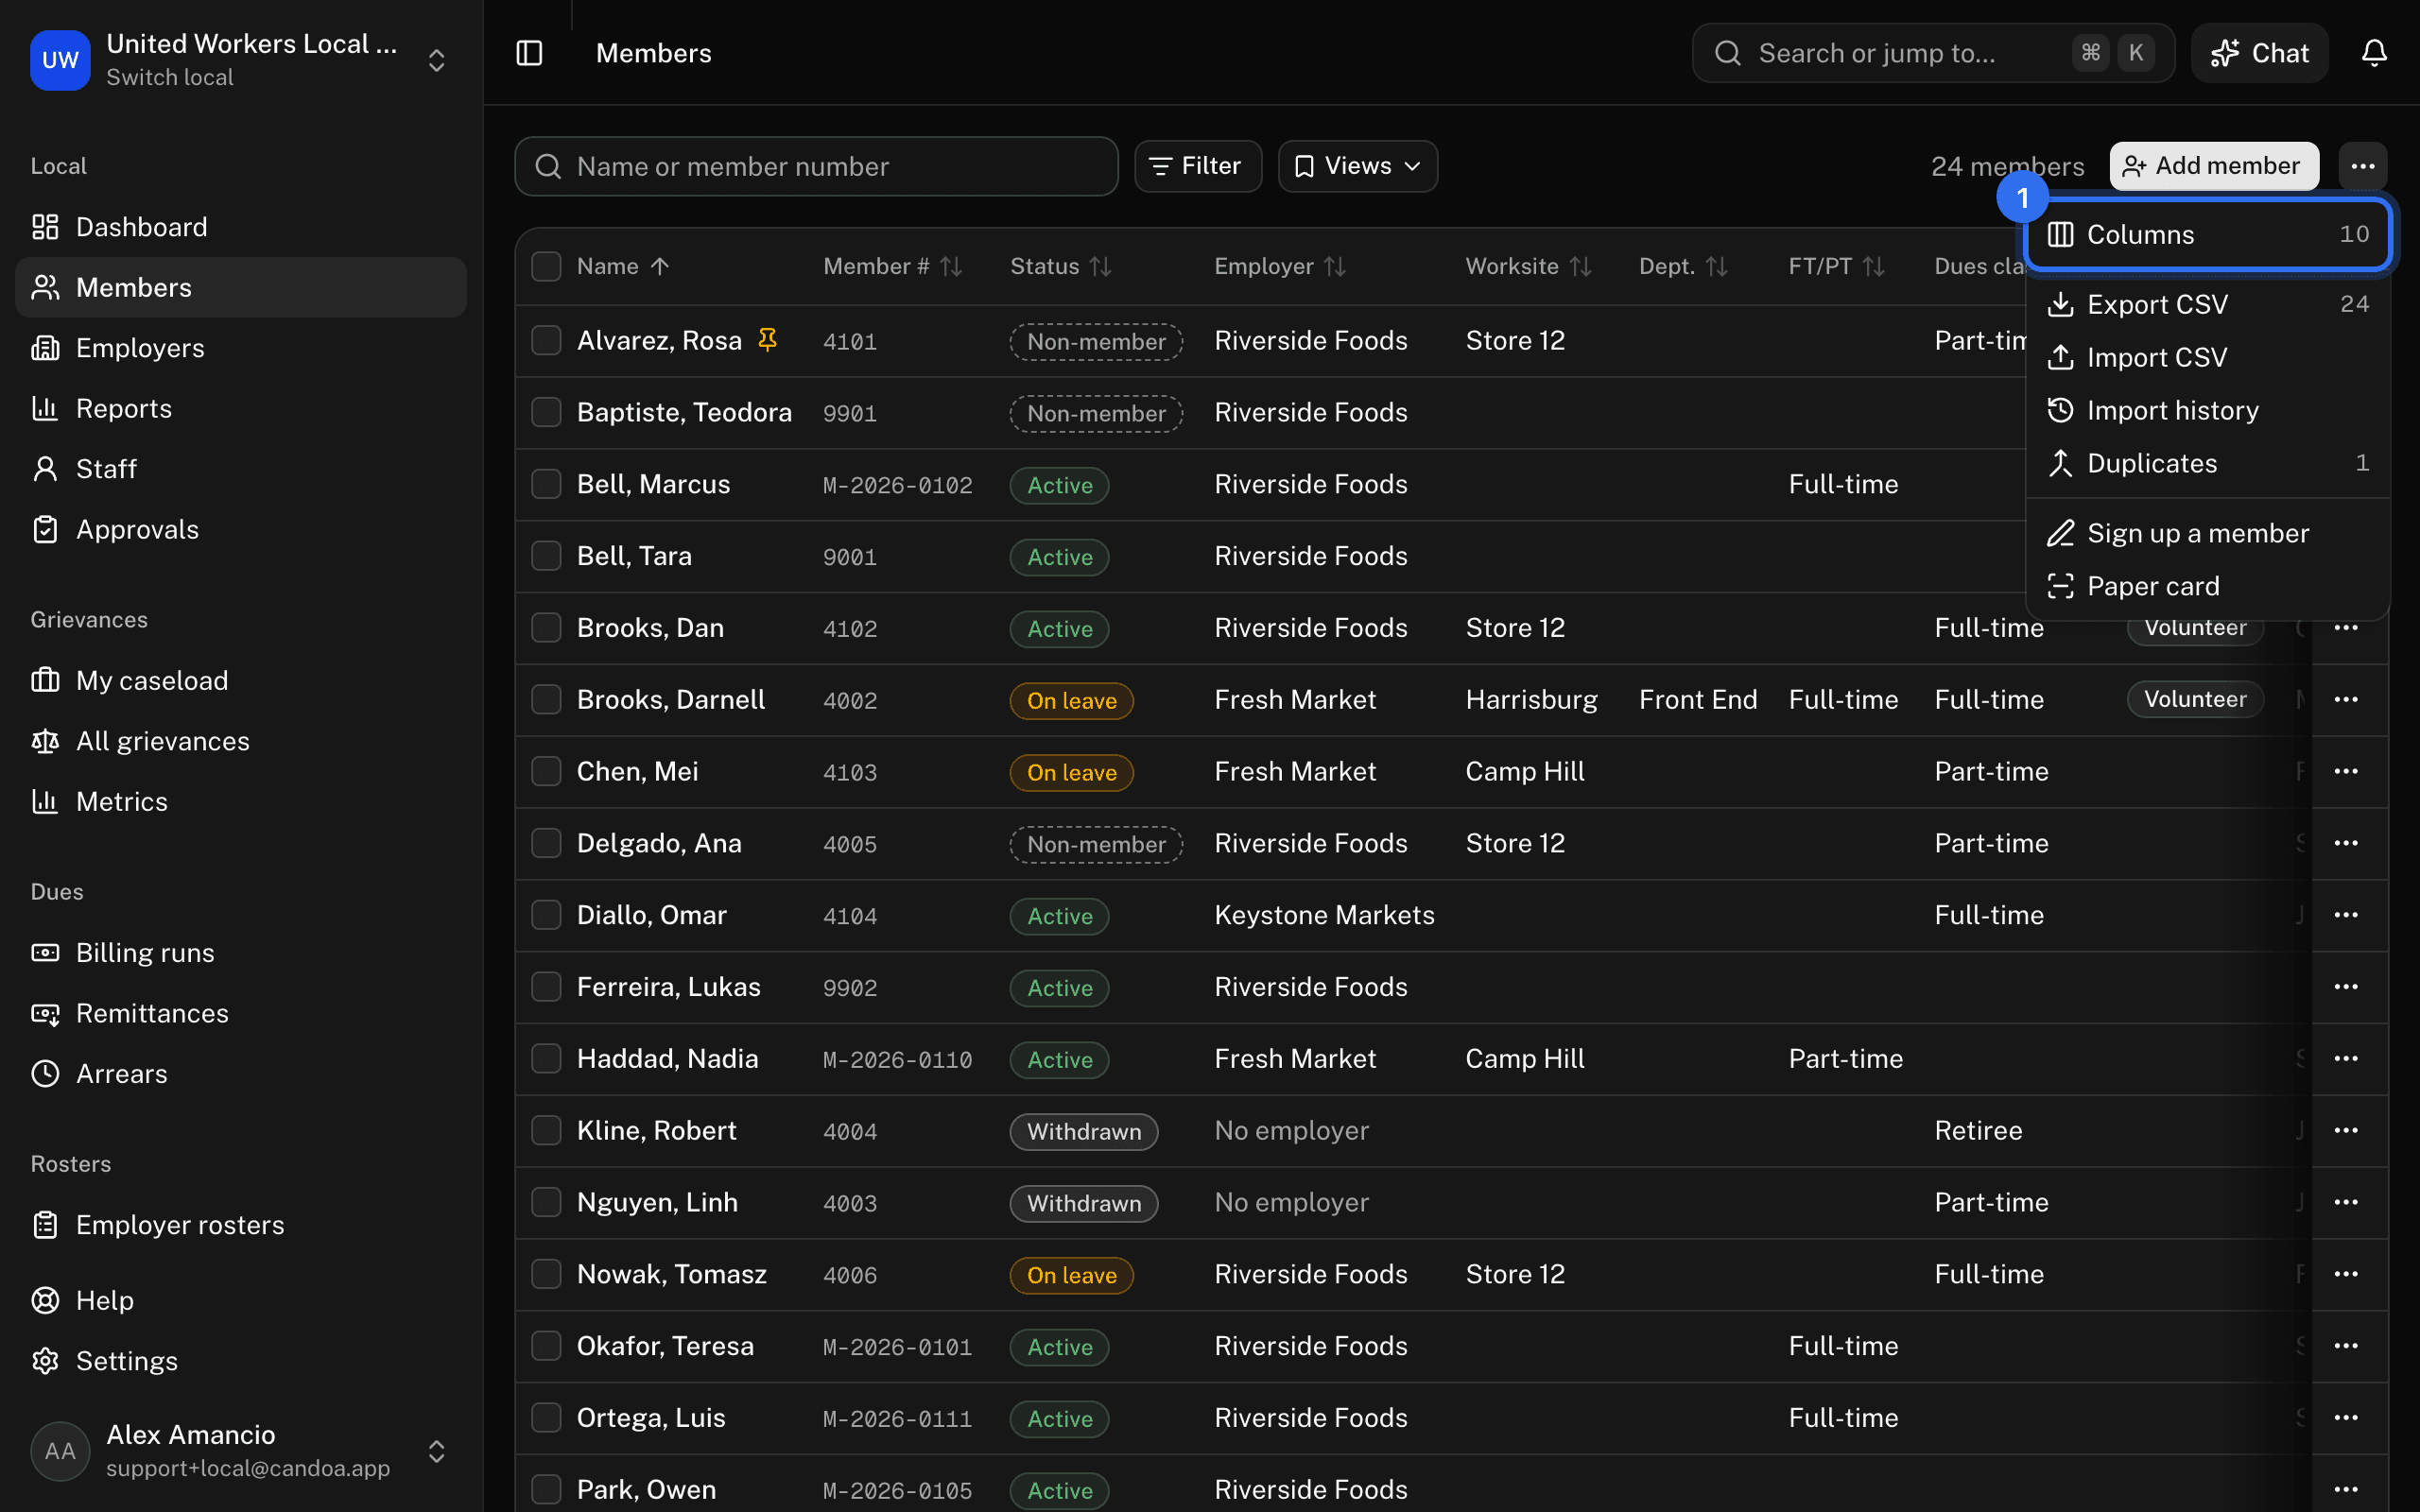
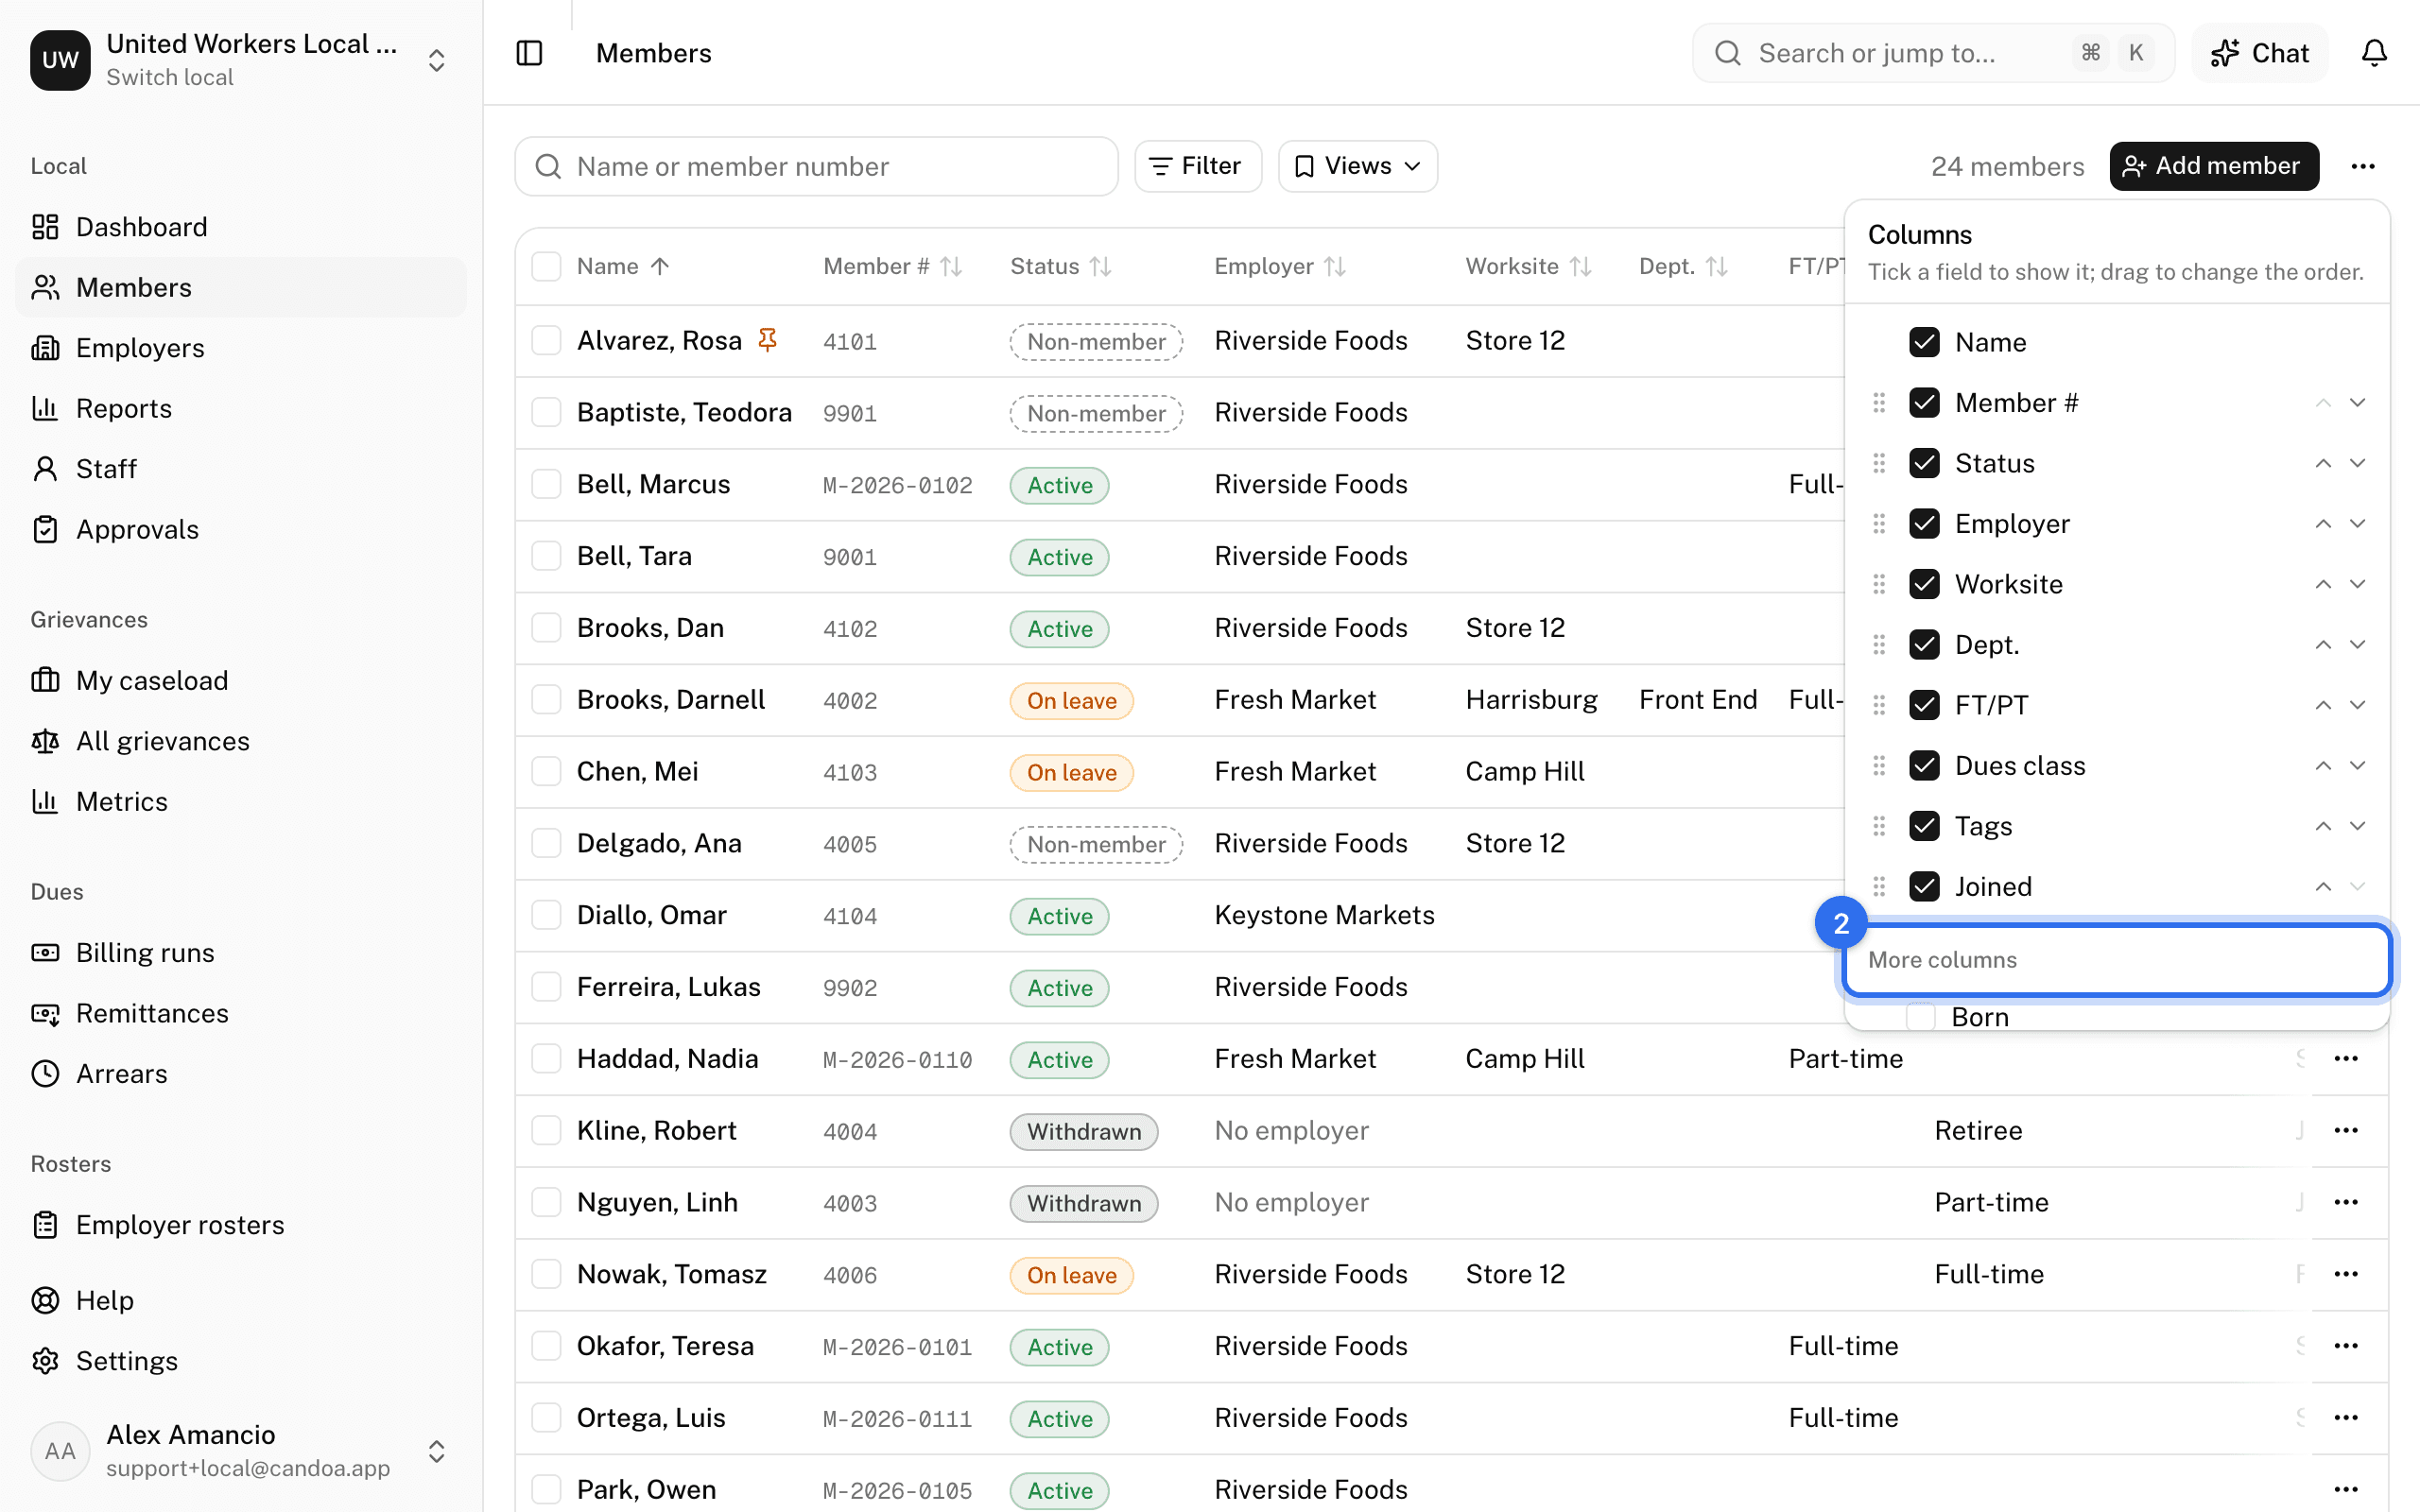
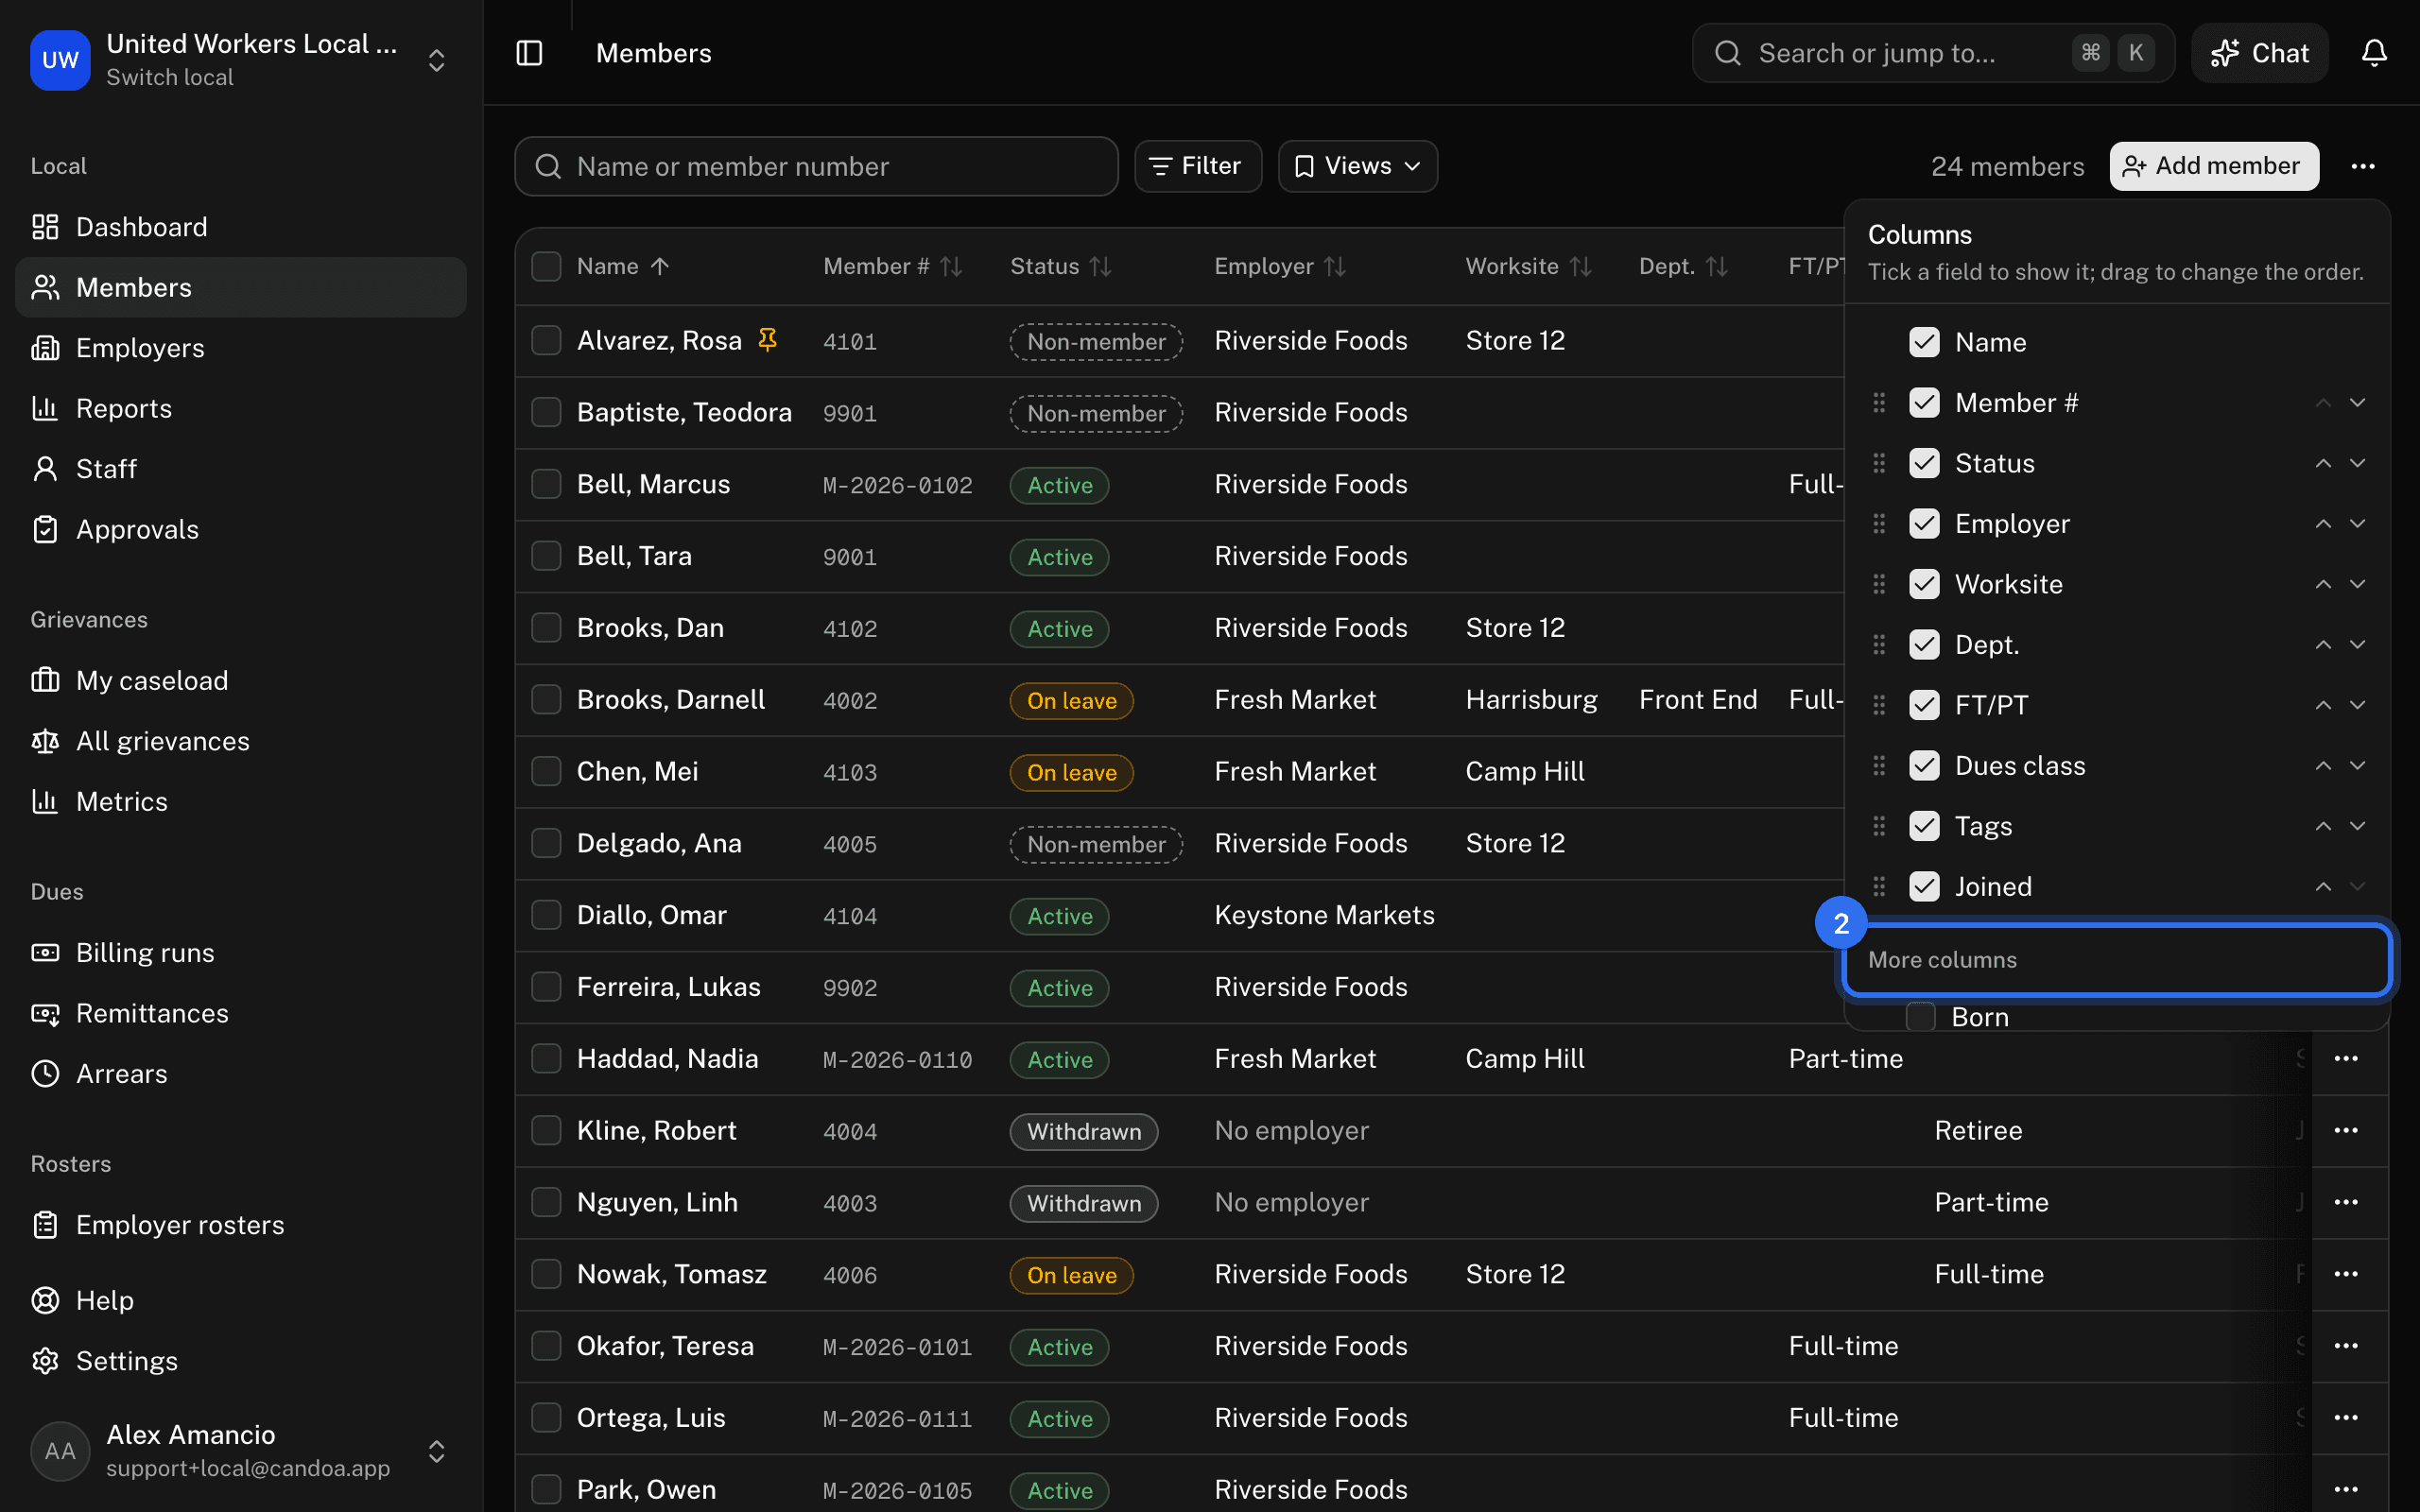
The picker stays open while you work through it. Click a column heading to sort by it; click again to flip. Your columns and their order are remembered on this browser, and a saved view keeps them too.
On a phone the list starts with Name, Member #, and Status, and the name stays put while you slide the other columns sideways; a fade at the edge means there is more that way. Pick more columns the same way, and they stay picked.
Save a view
A view is the filters, columns, and sort you have on screen, kept under a name.
- Set the filters, columns, and sort you want.
- Press Views, then Save current view….
- Name it. Tick Share with the office to put it in everyone's menu.
- Press Save view.
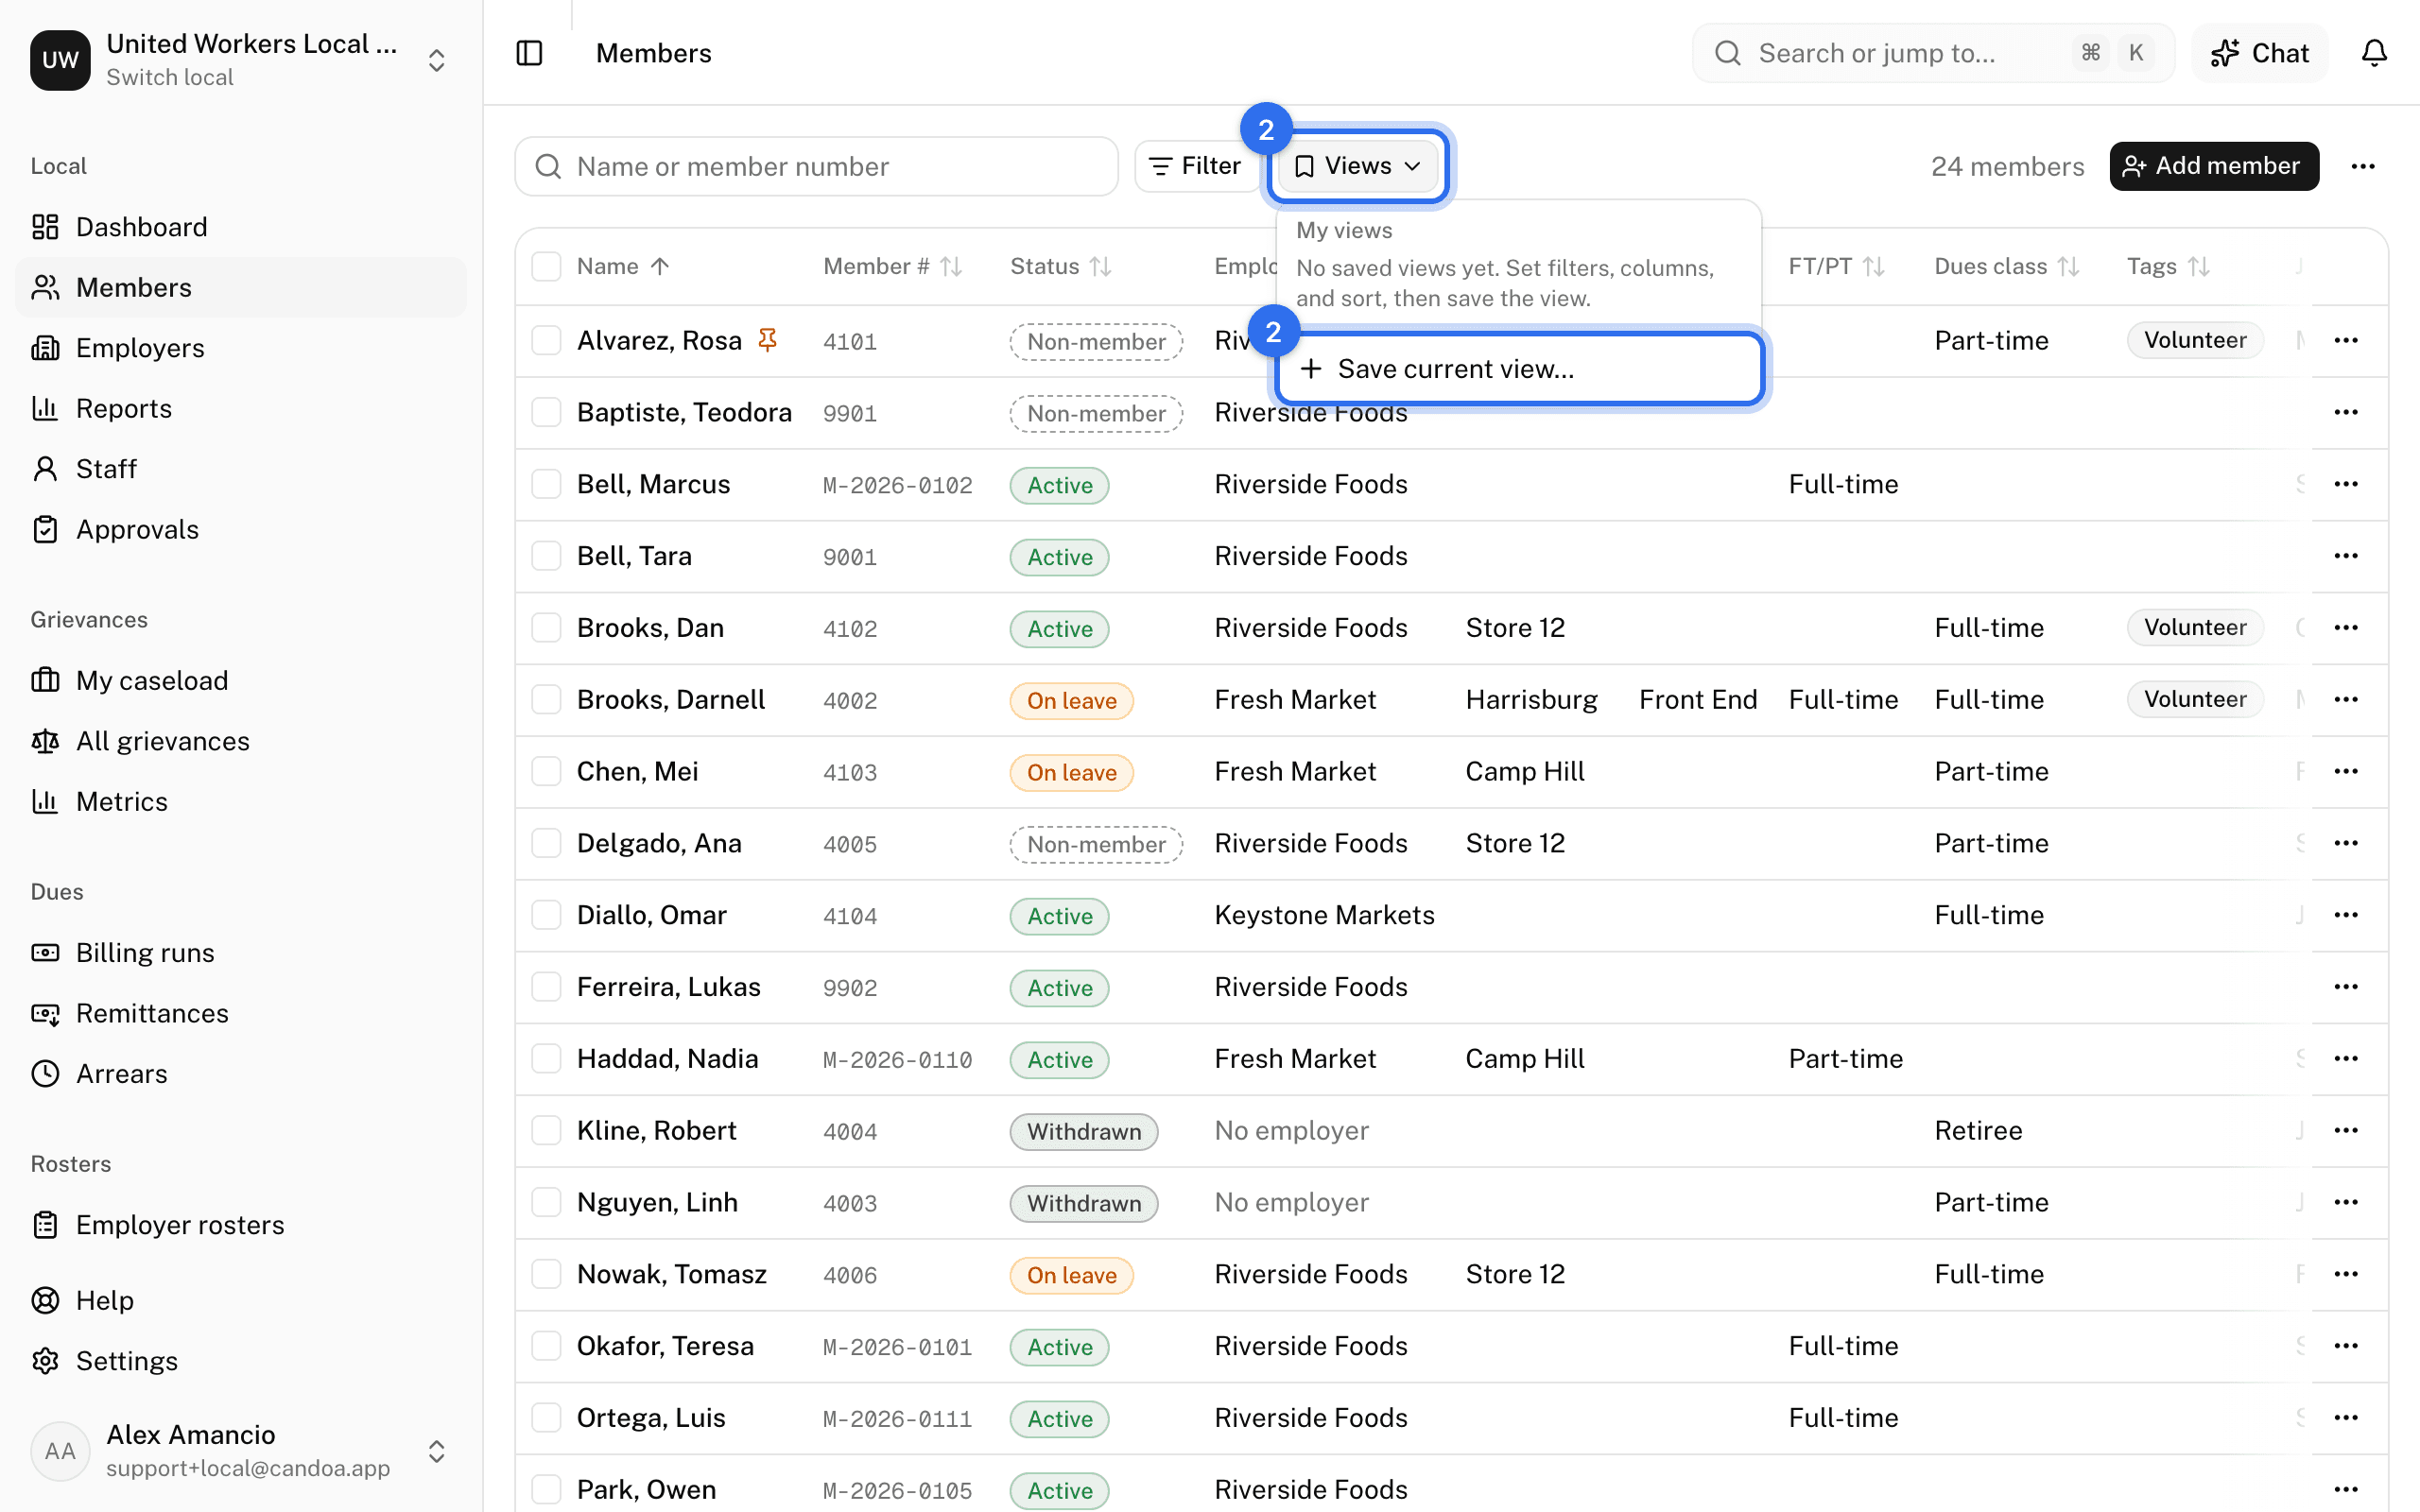
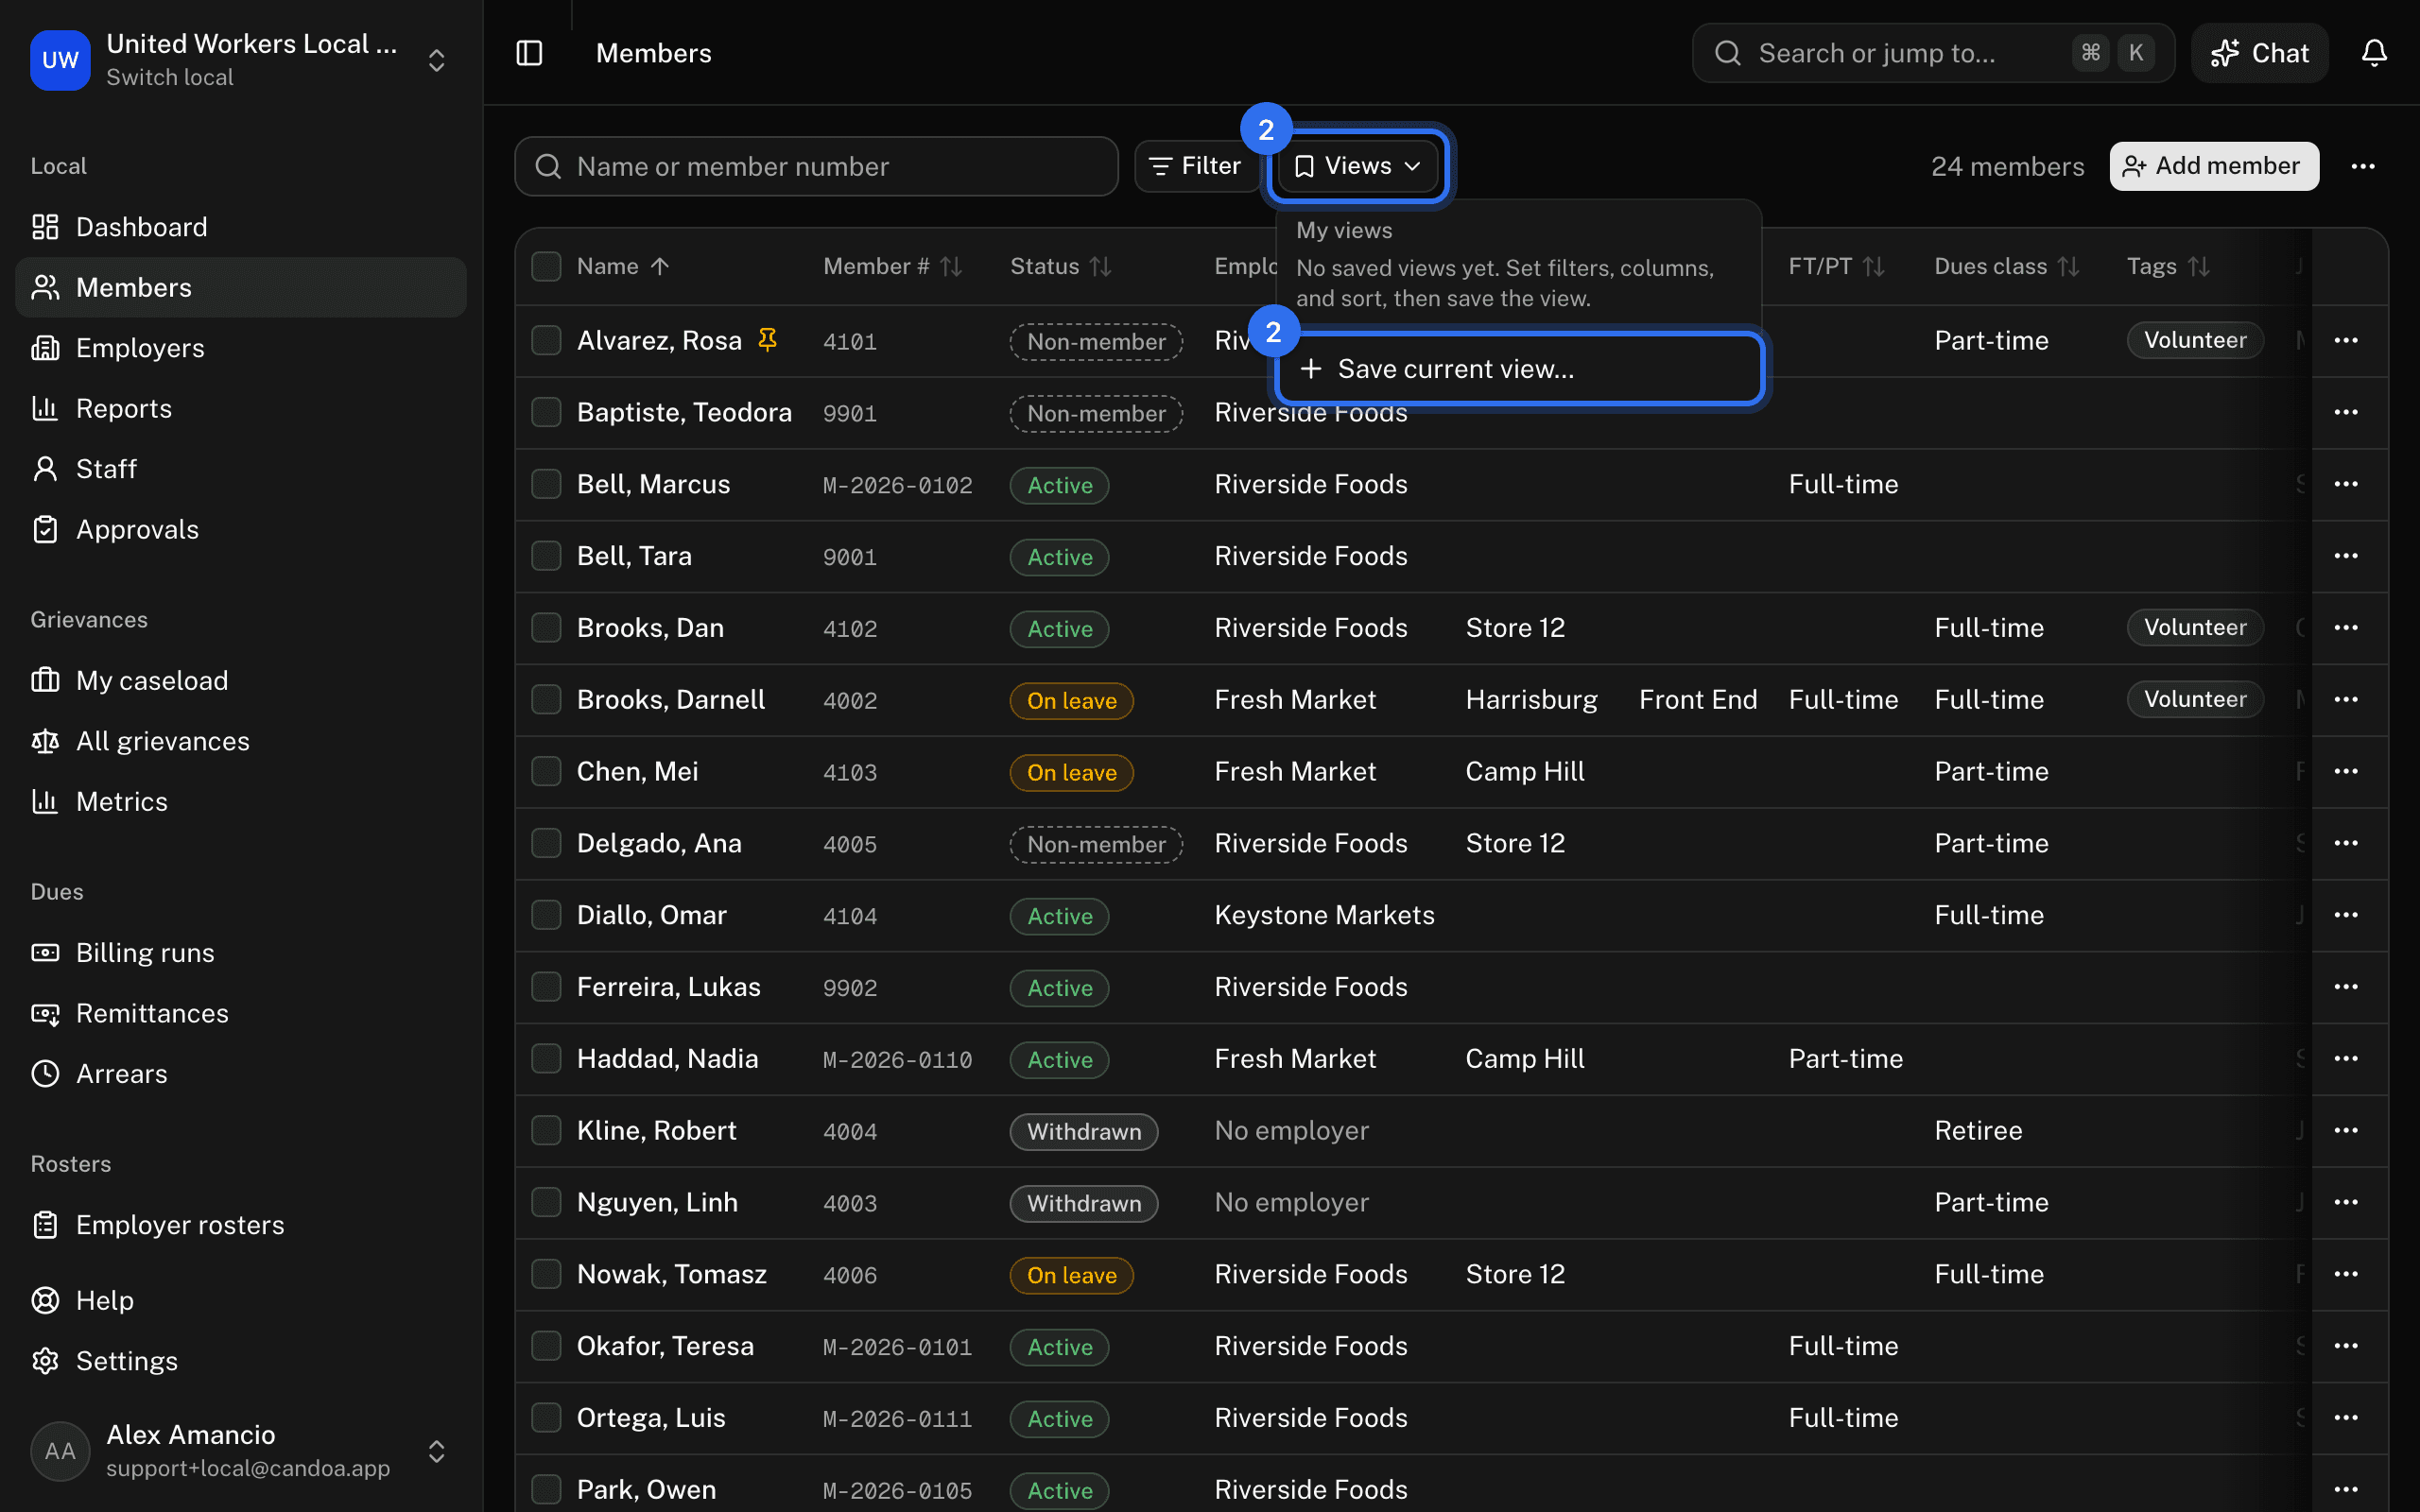
To open one later, press Views and click its name. When you change something while a view is open, the menu marks it modified; Update view saves the change and Back to the saved view discards it. Each view can be renamed, shared, unshared, or deleted from its submenu.
Change many members at once
- Tick the rows you want. The header checkbox ticks the page; Select all matching extends it to every member the search and filters match.
- In the bar that appears, press Change status, Add tag, Remove tag, or Set work fields.
- Fill in the dialog. It tells you how many of the selected members would actually change.
- Press Apply.
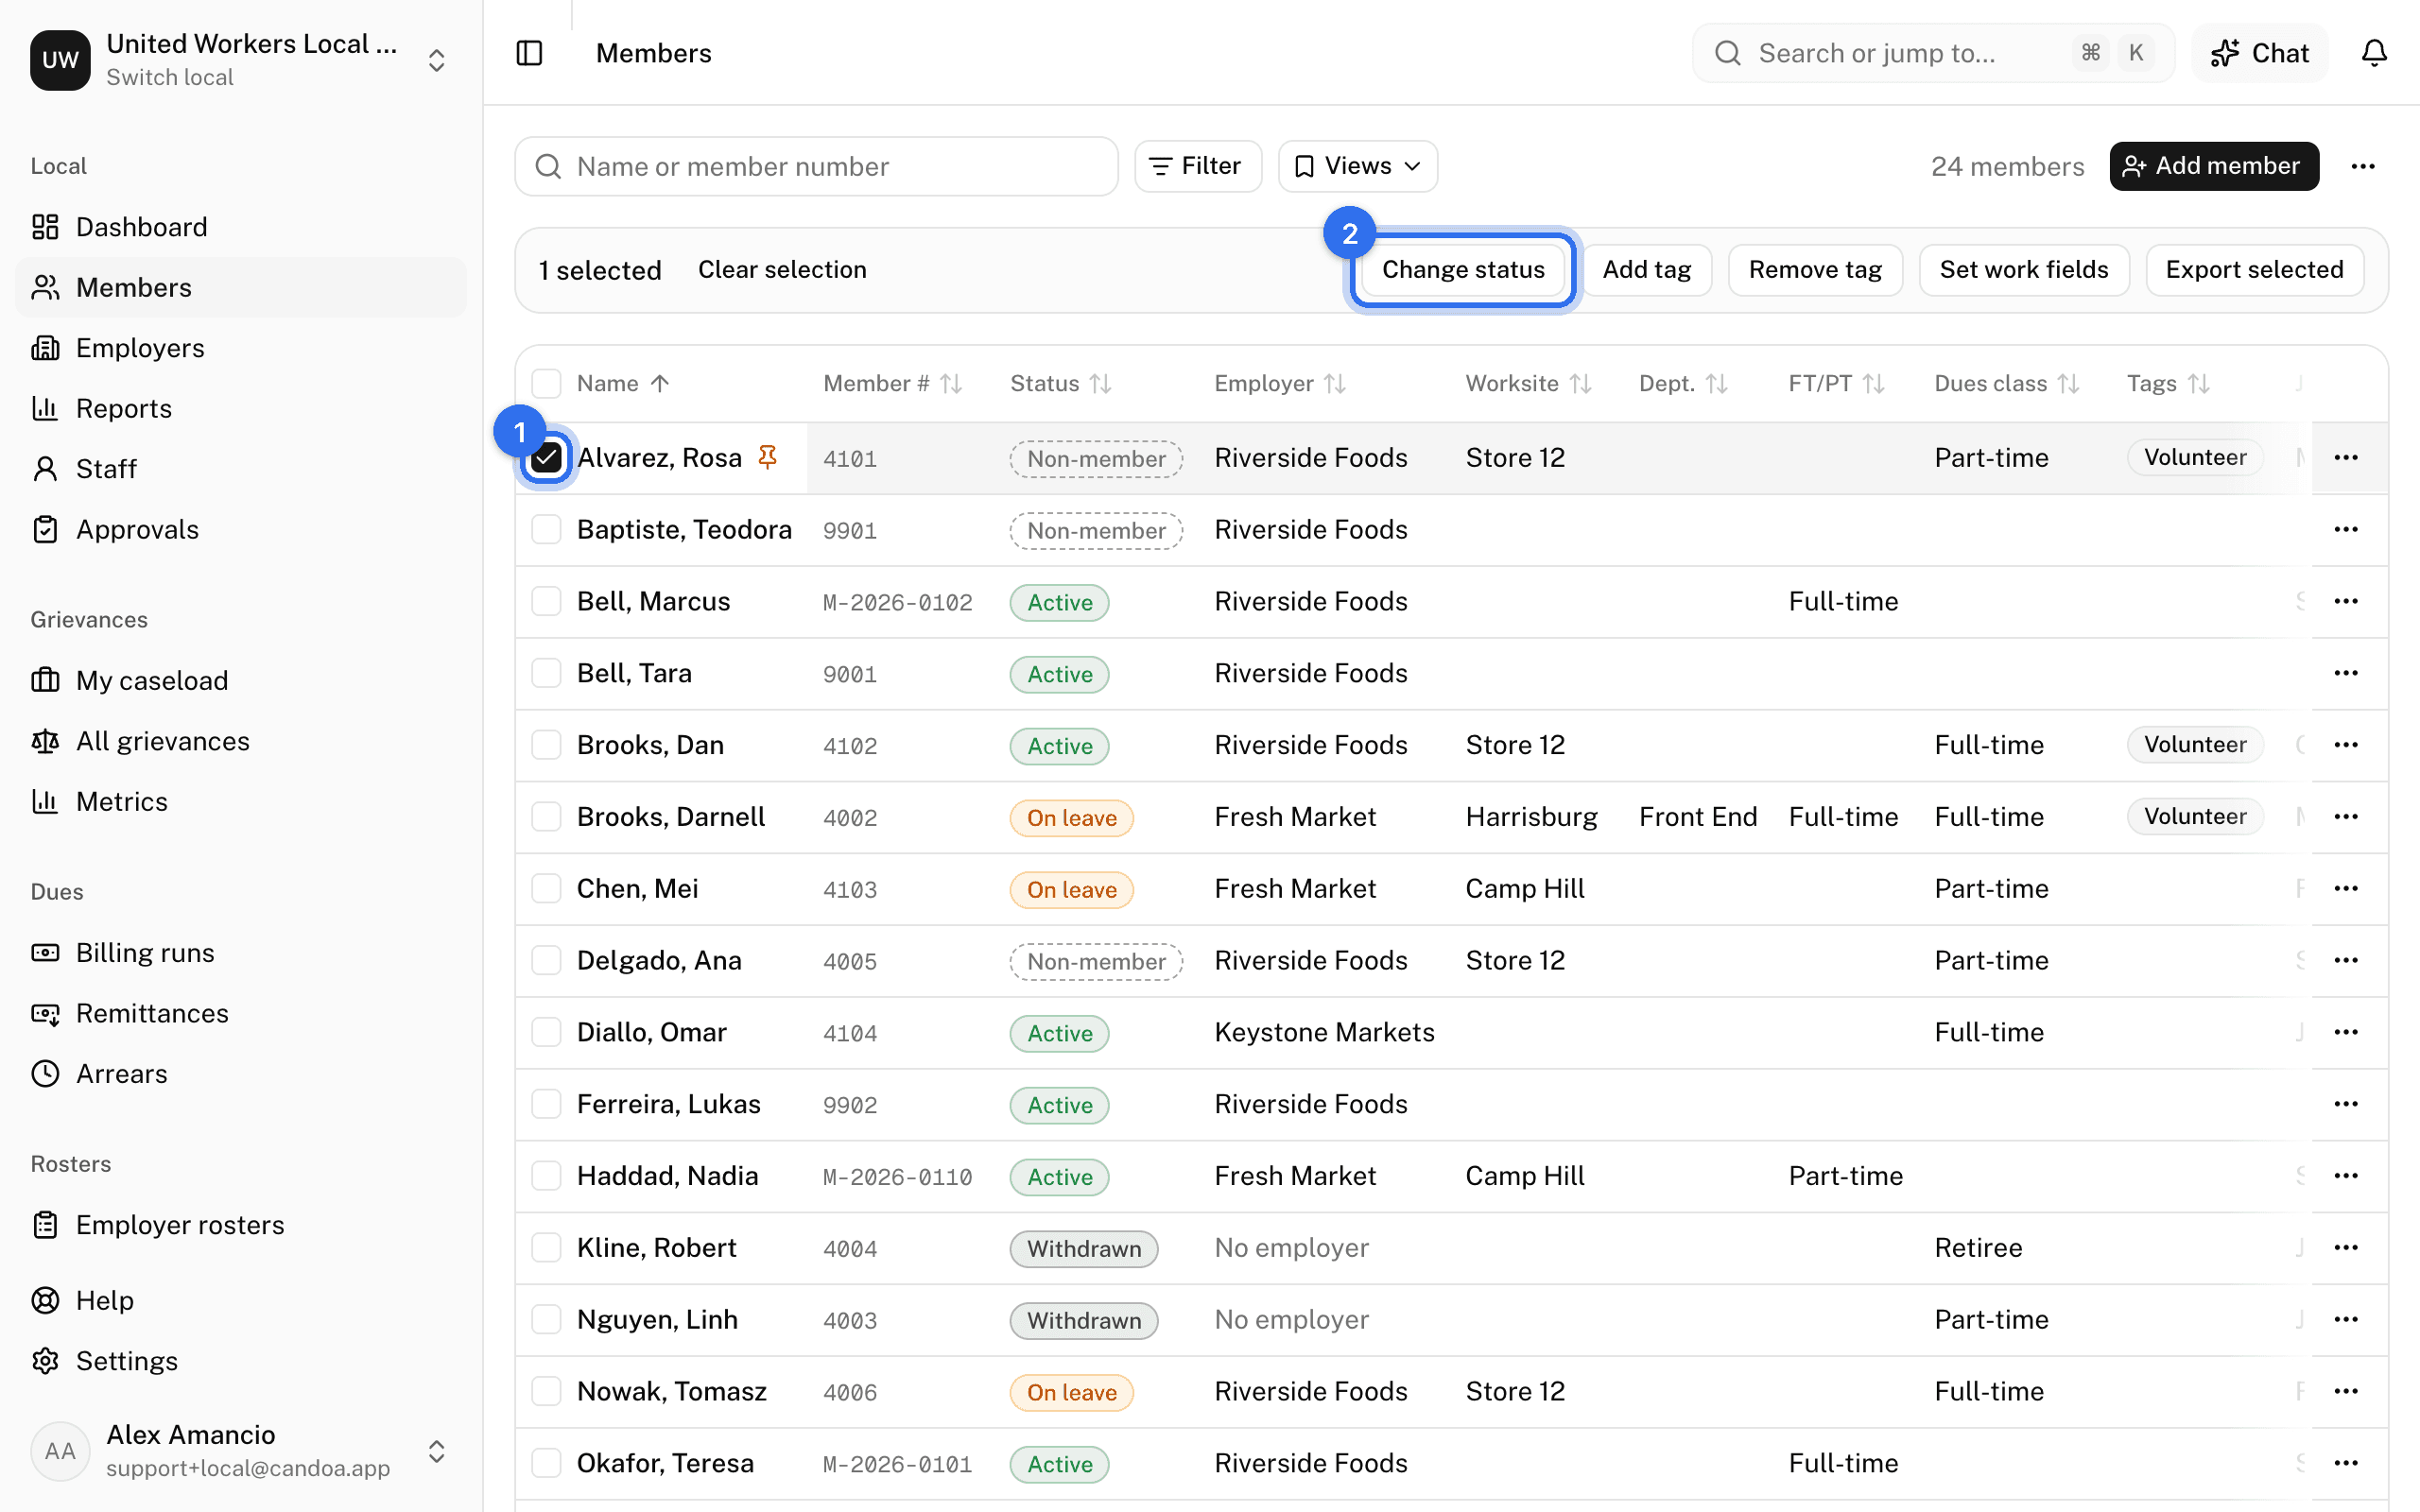
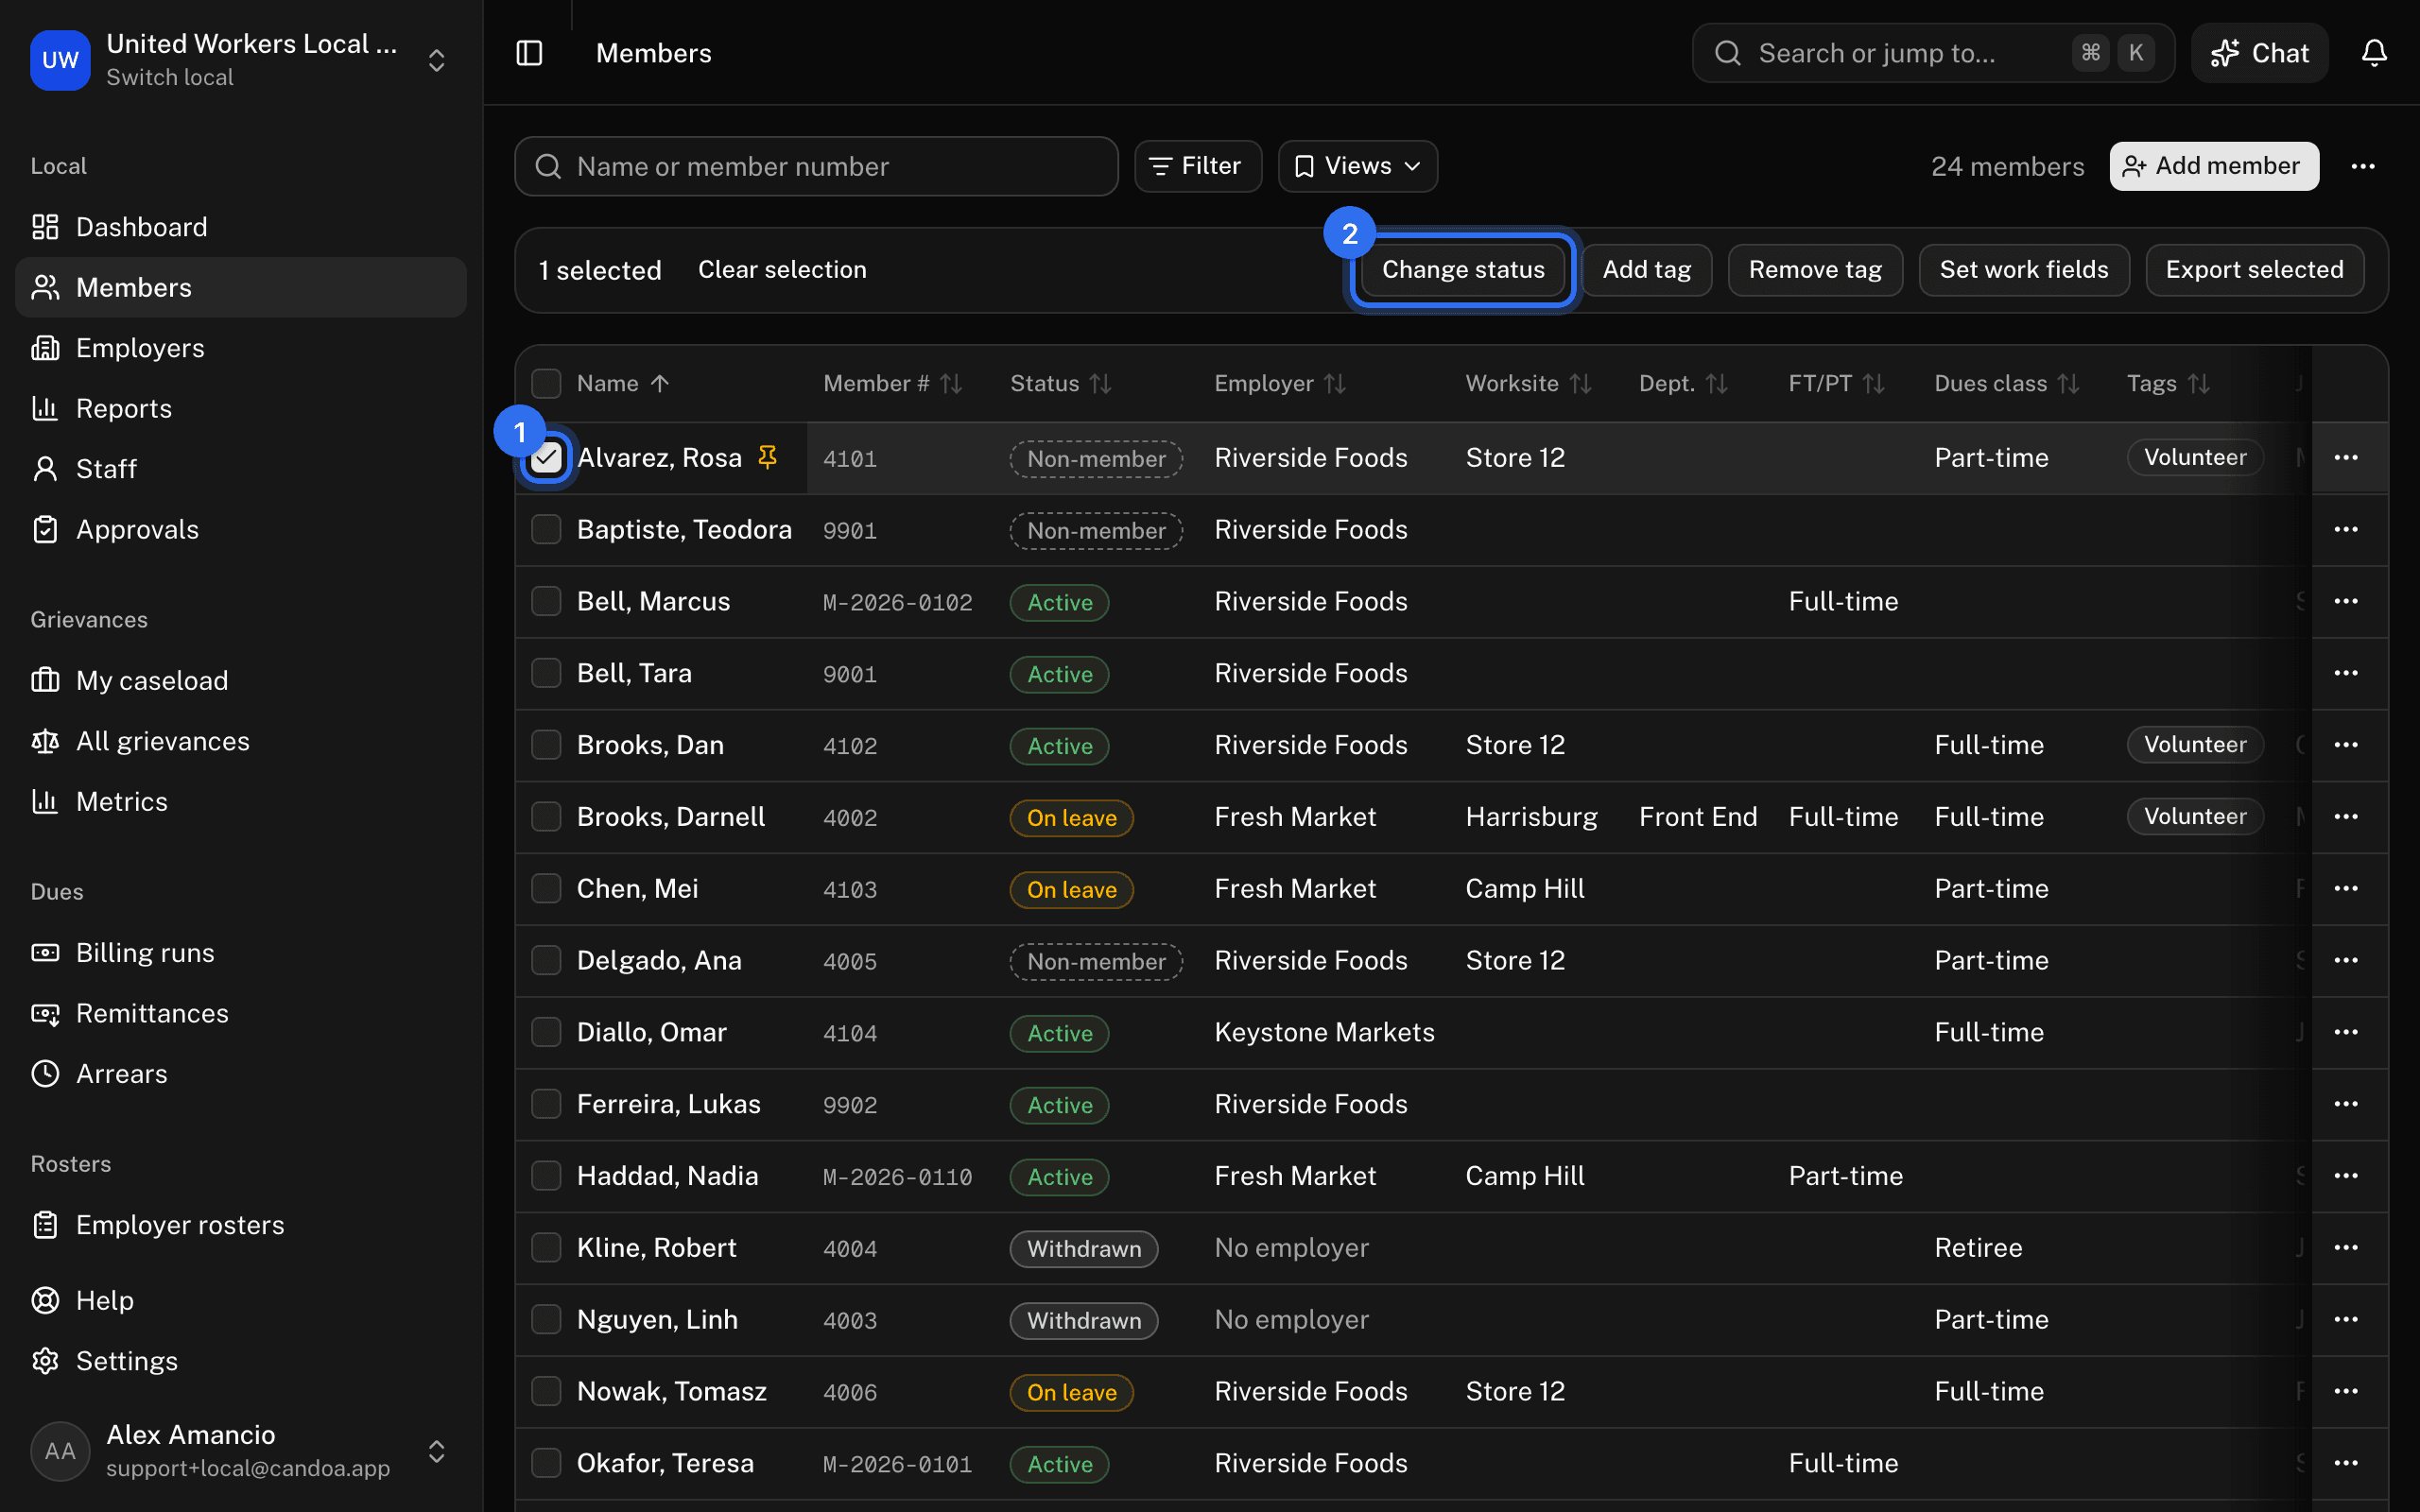
A green bar reports the count. A Set work fields run can be undone from that bar; status and tag changes can't, but every change is in each member's history, and every run is listed in Import history, on the list's ⋯ menu.
Act on one row
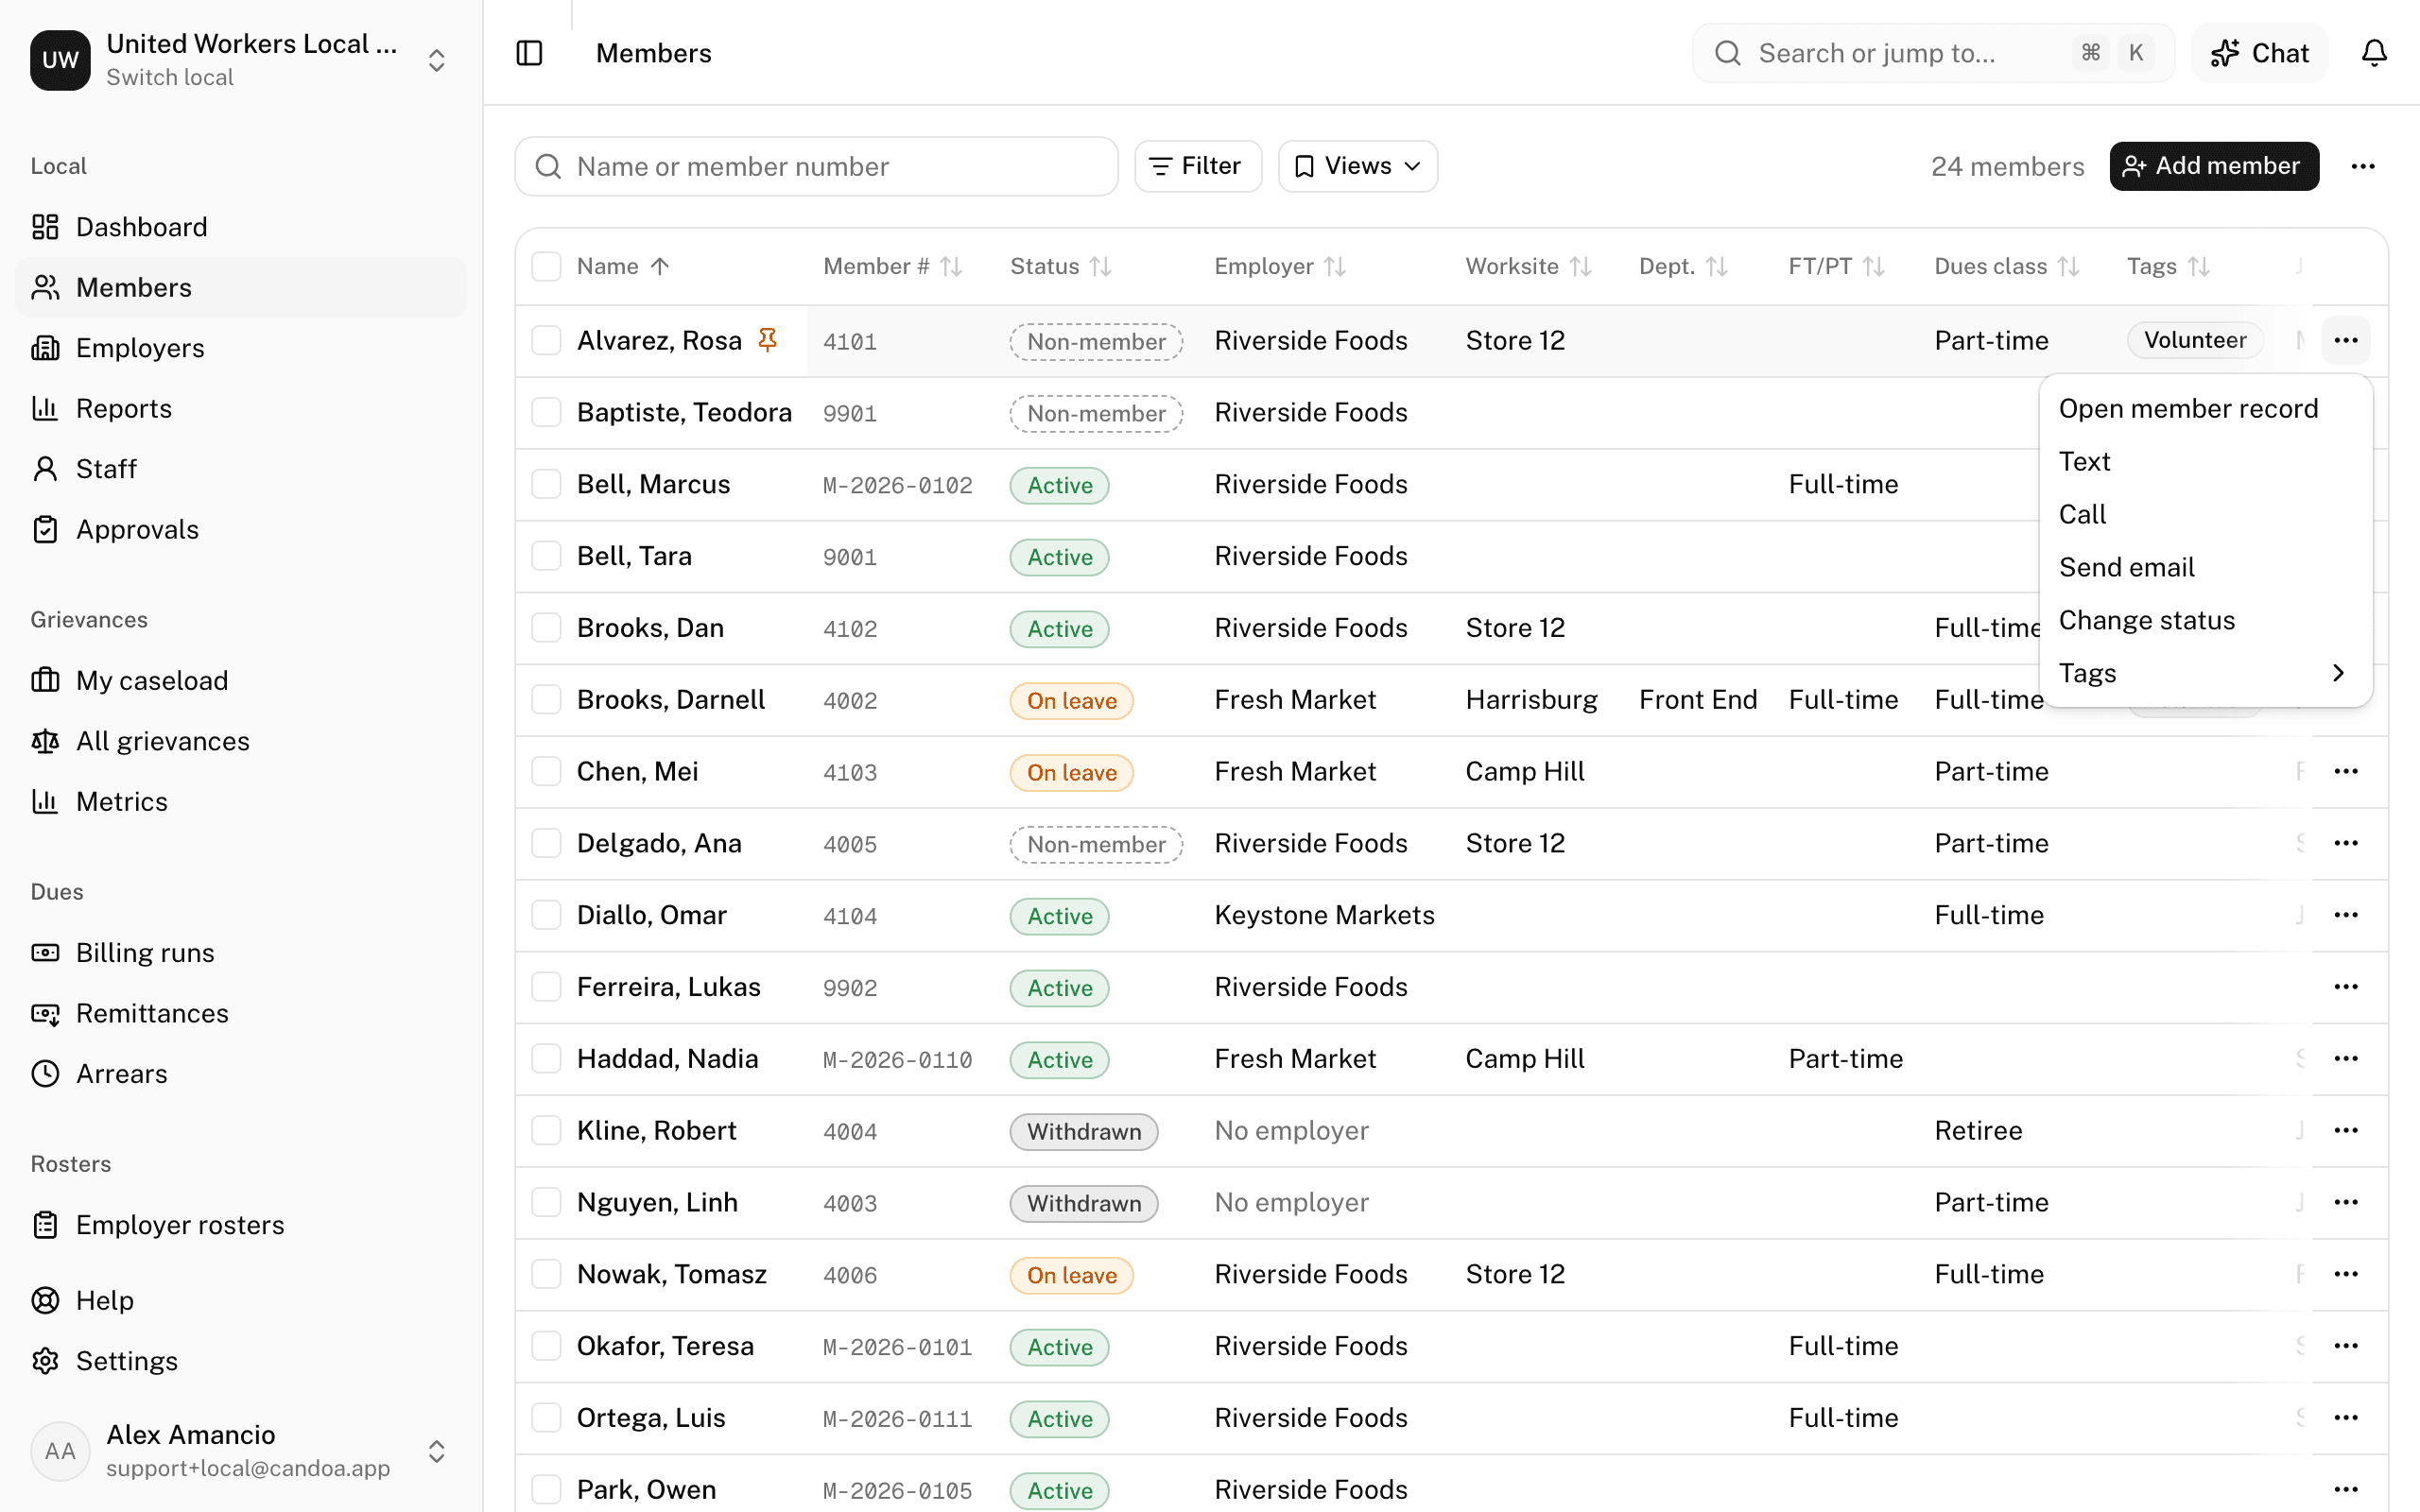
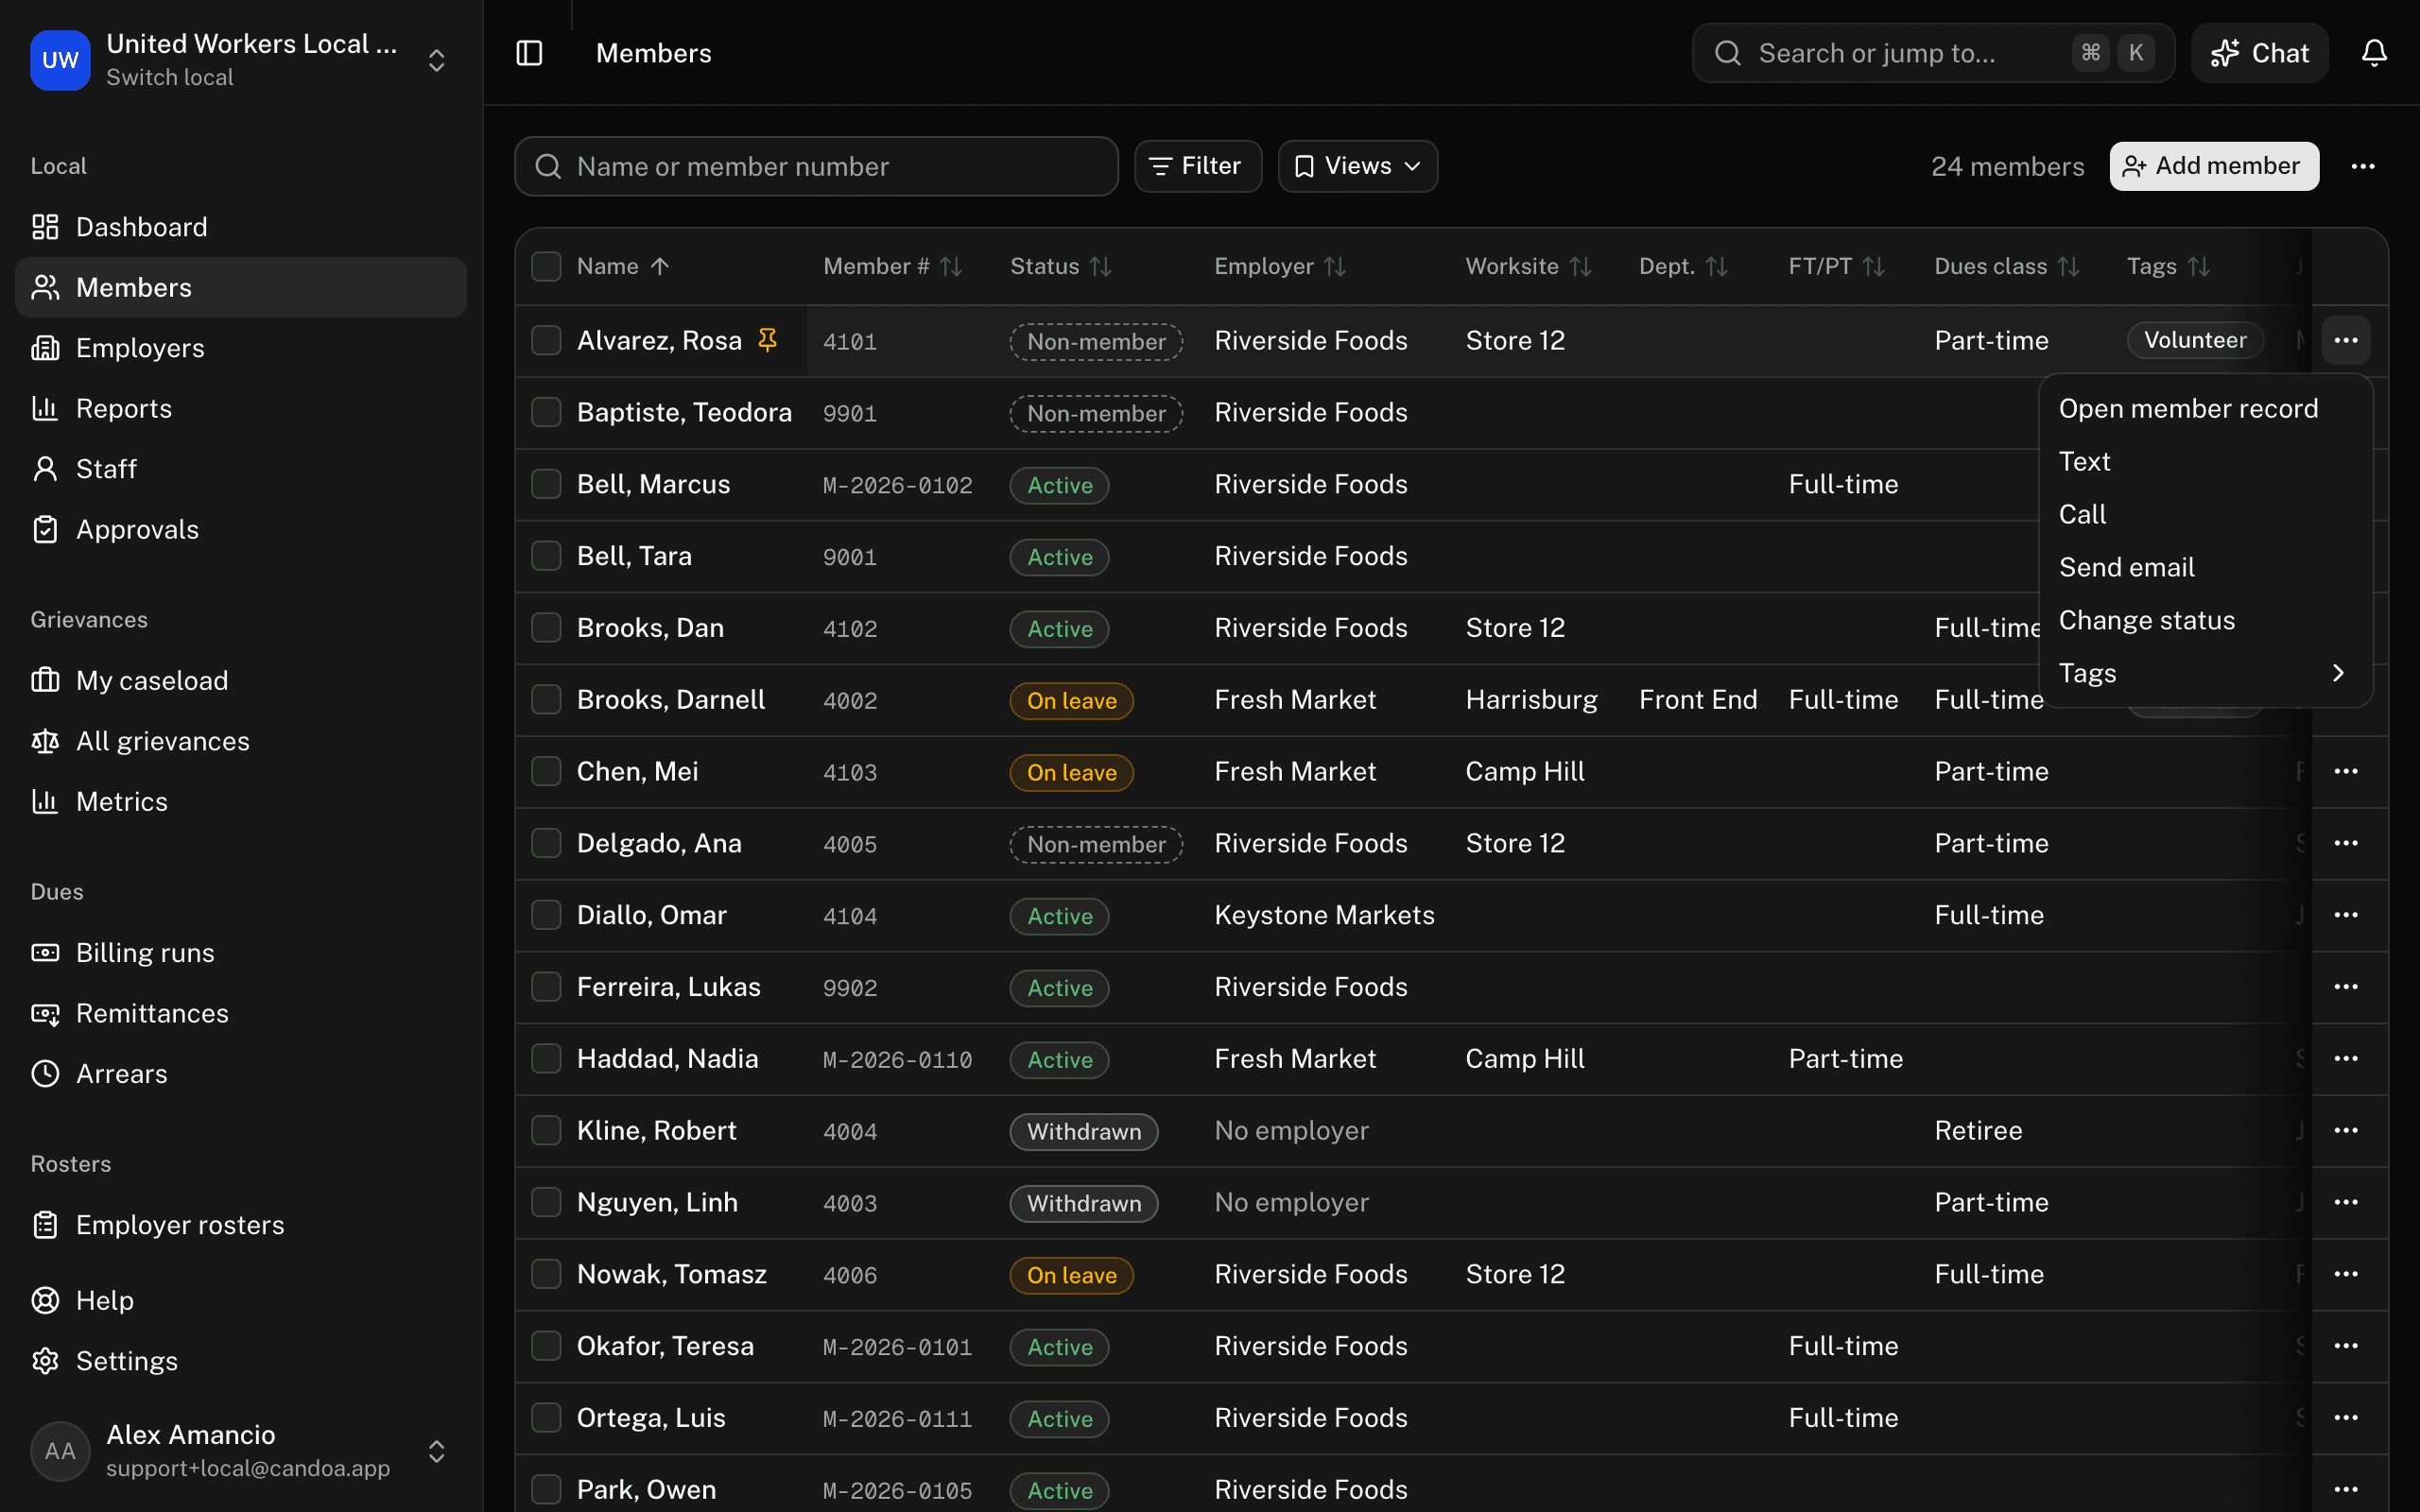
Press the ⋯ at the end of a row, or right-click it: Open member record, Send email (opens your own mail program), Change status, and the Tags submenu. With the Communications add-on, Text opens your conversation with the member in the side panel without leaving the list, and Call dials them from your own phone and asks how it went; see The Inbox and conversations.
Download the roster as a CSV
- Set any filters you want; the file contains every member they match, in the current order.
- Press the ⋯ button at the right of the toolbar and choose Export CSV.
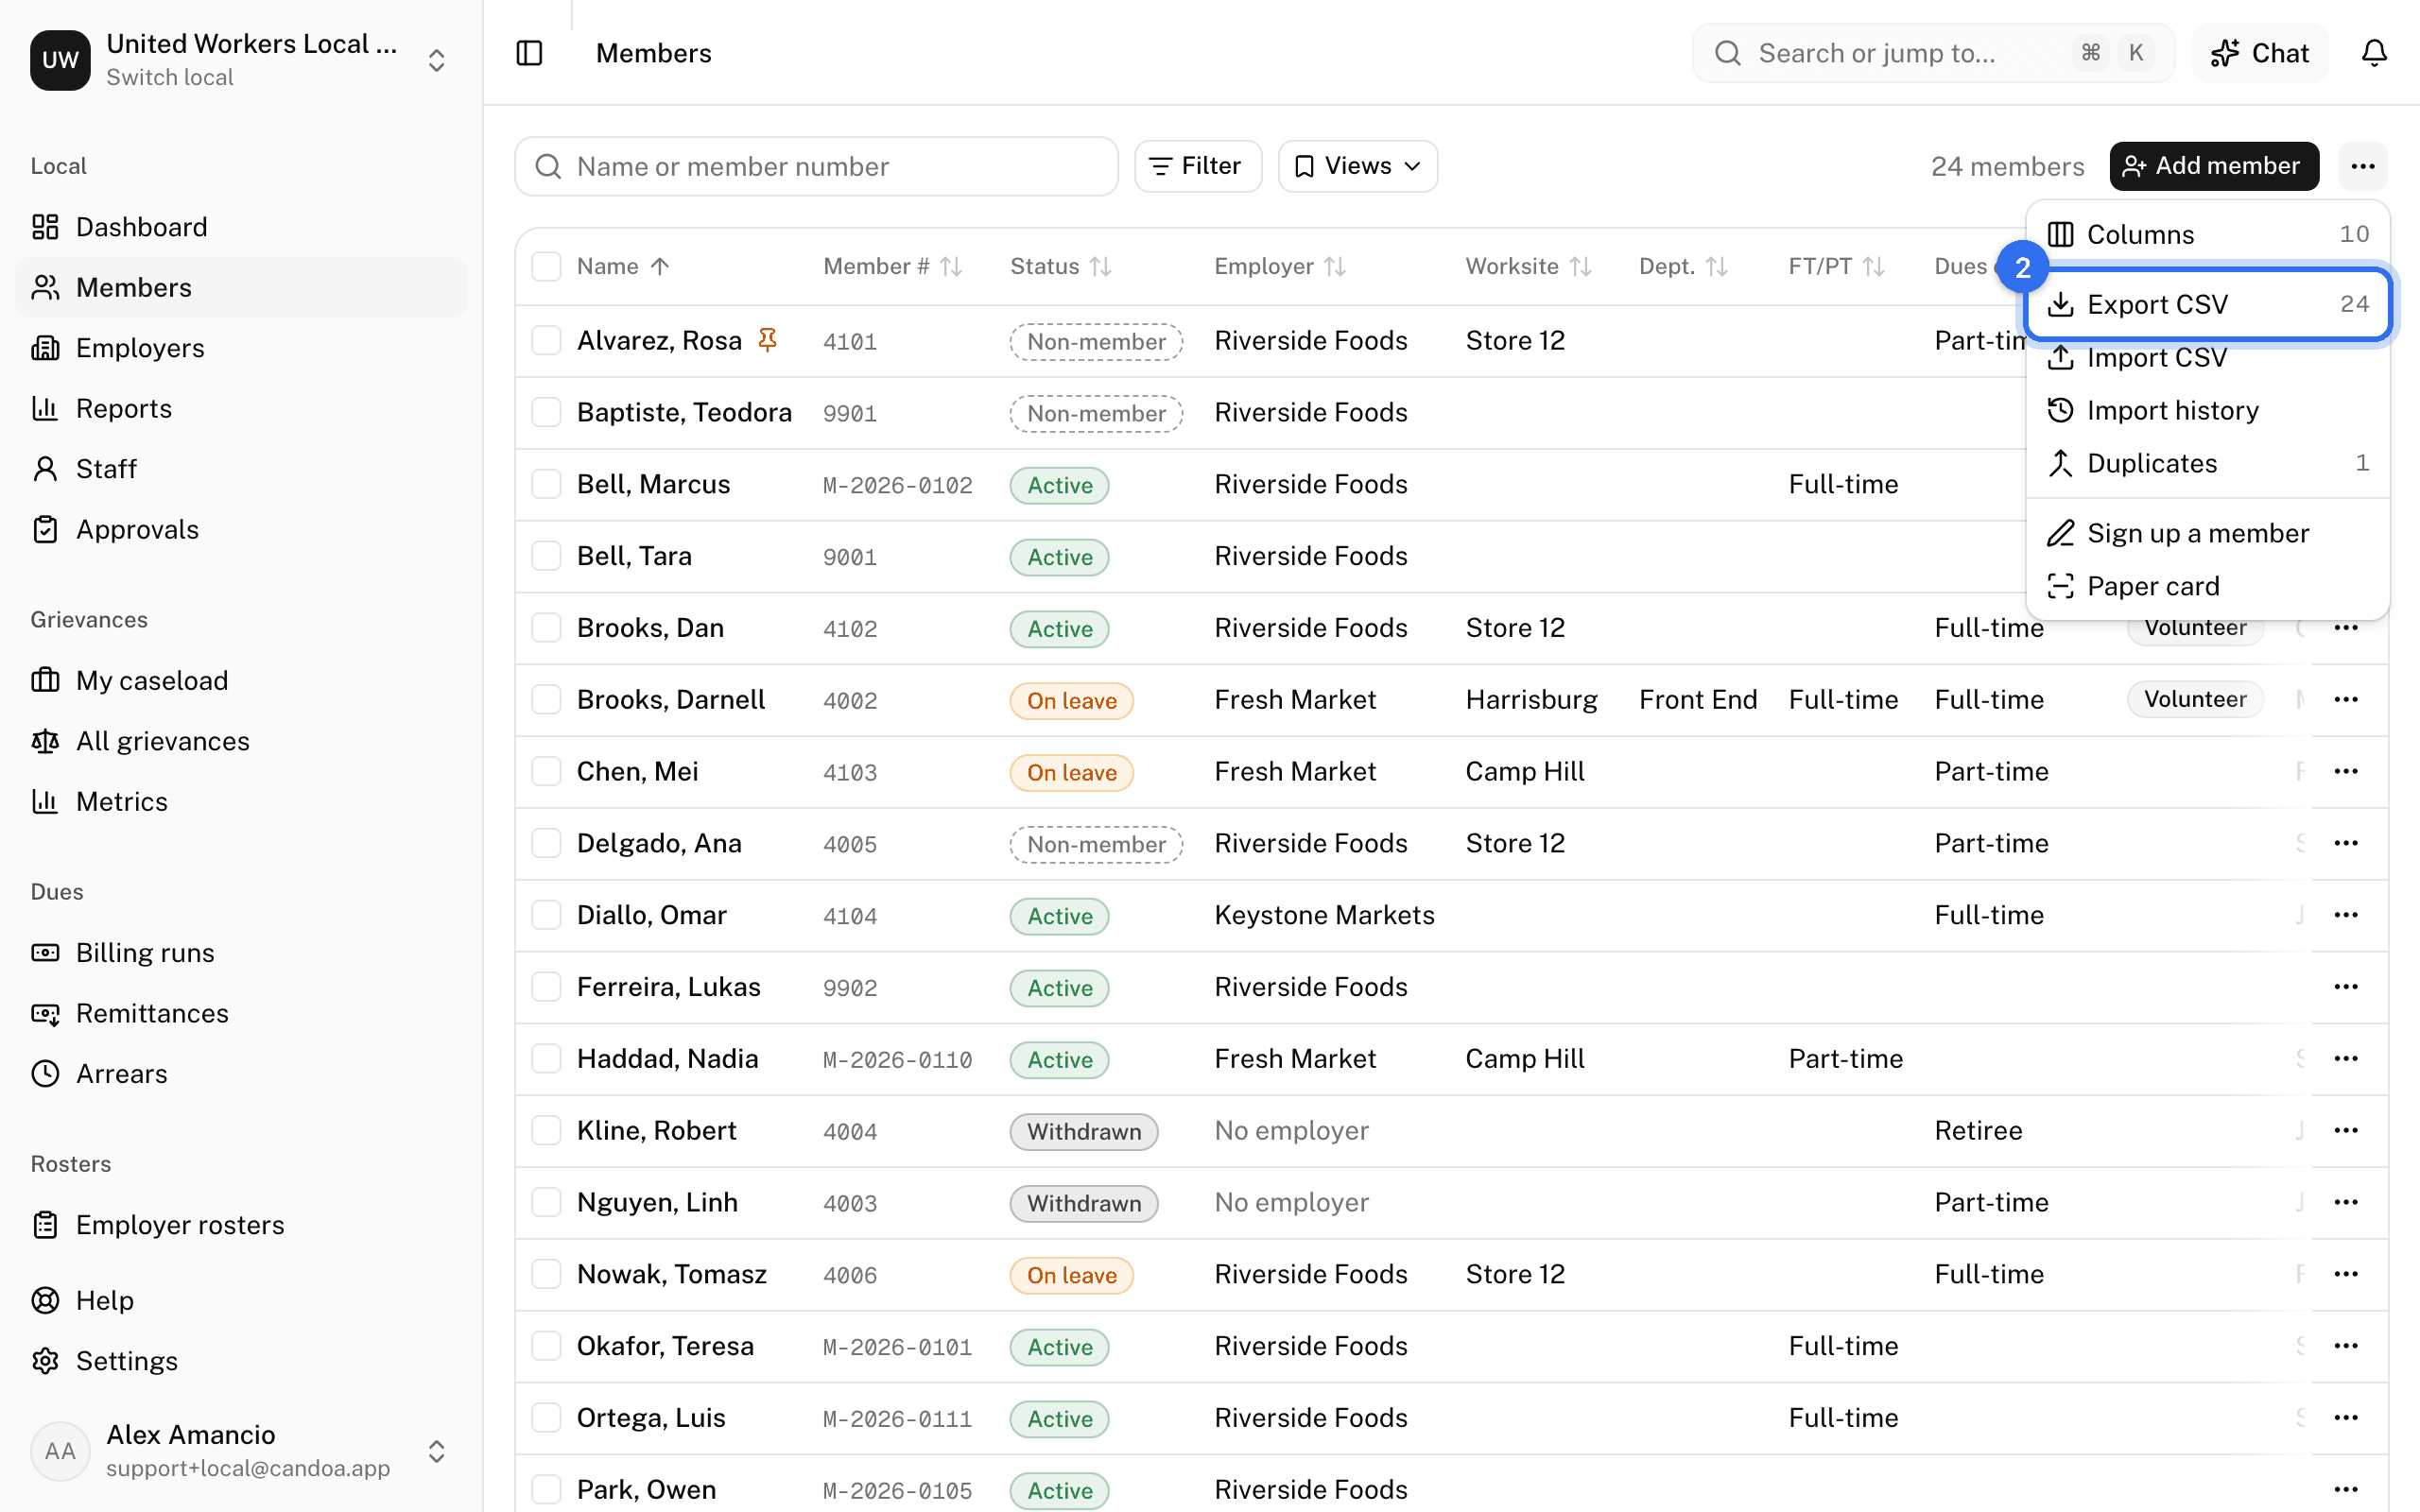
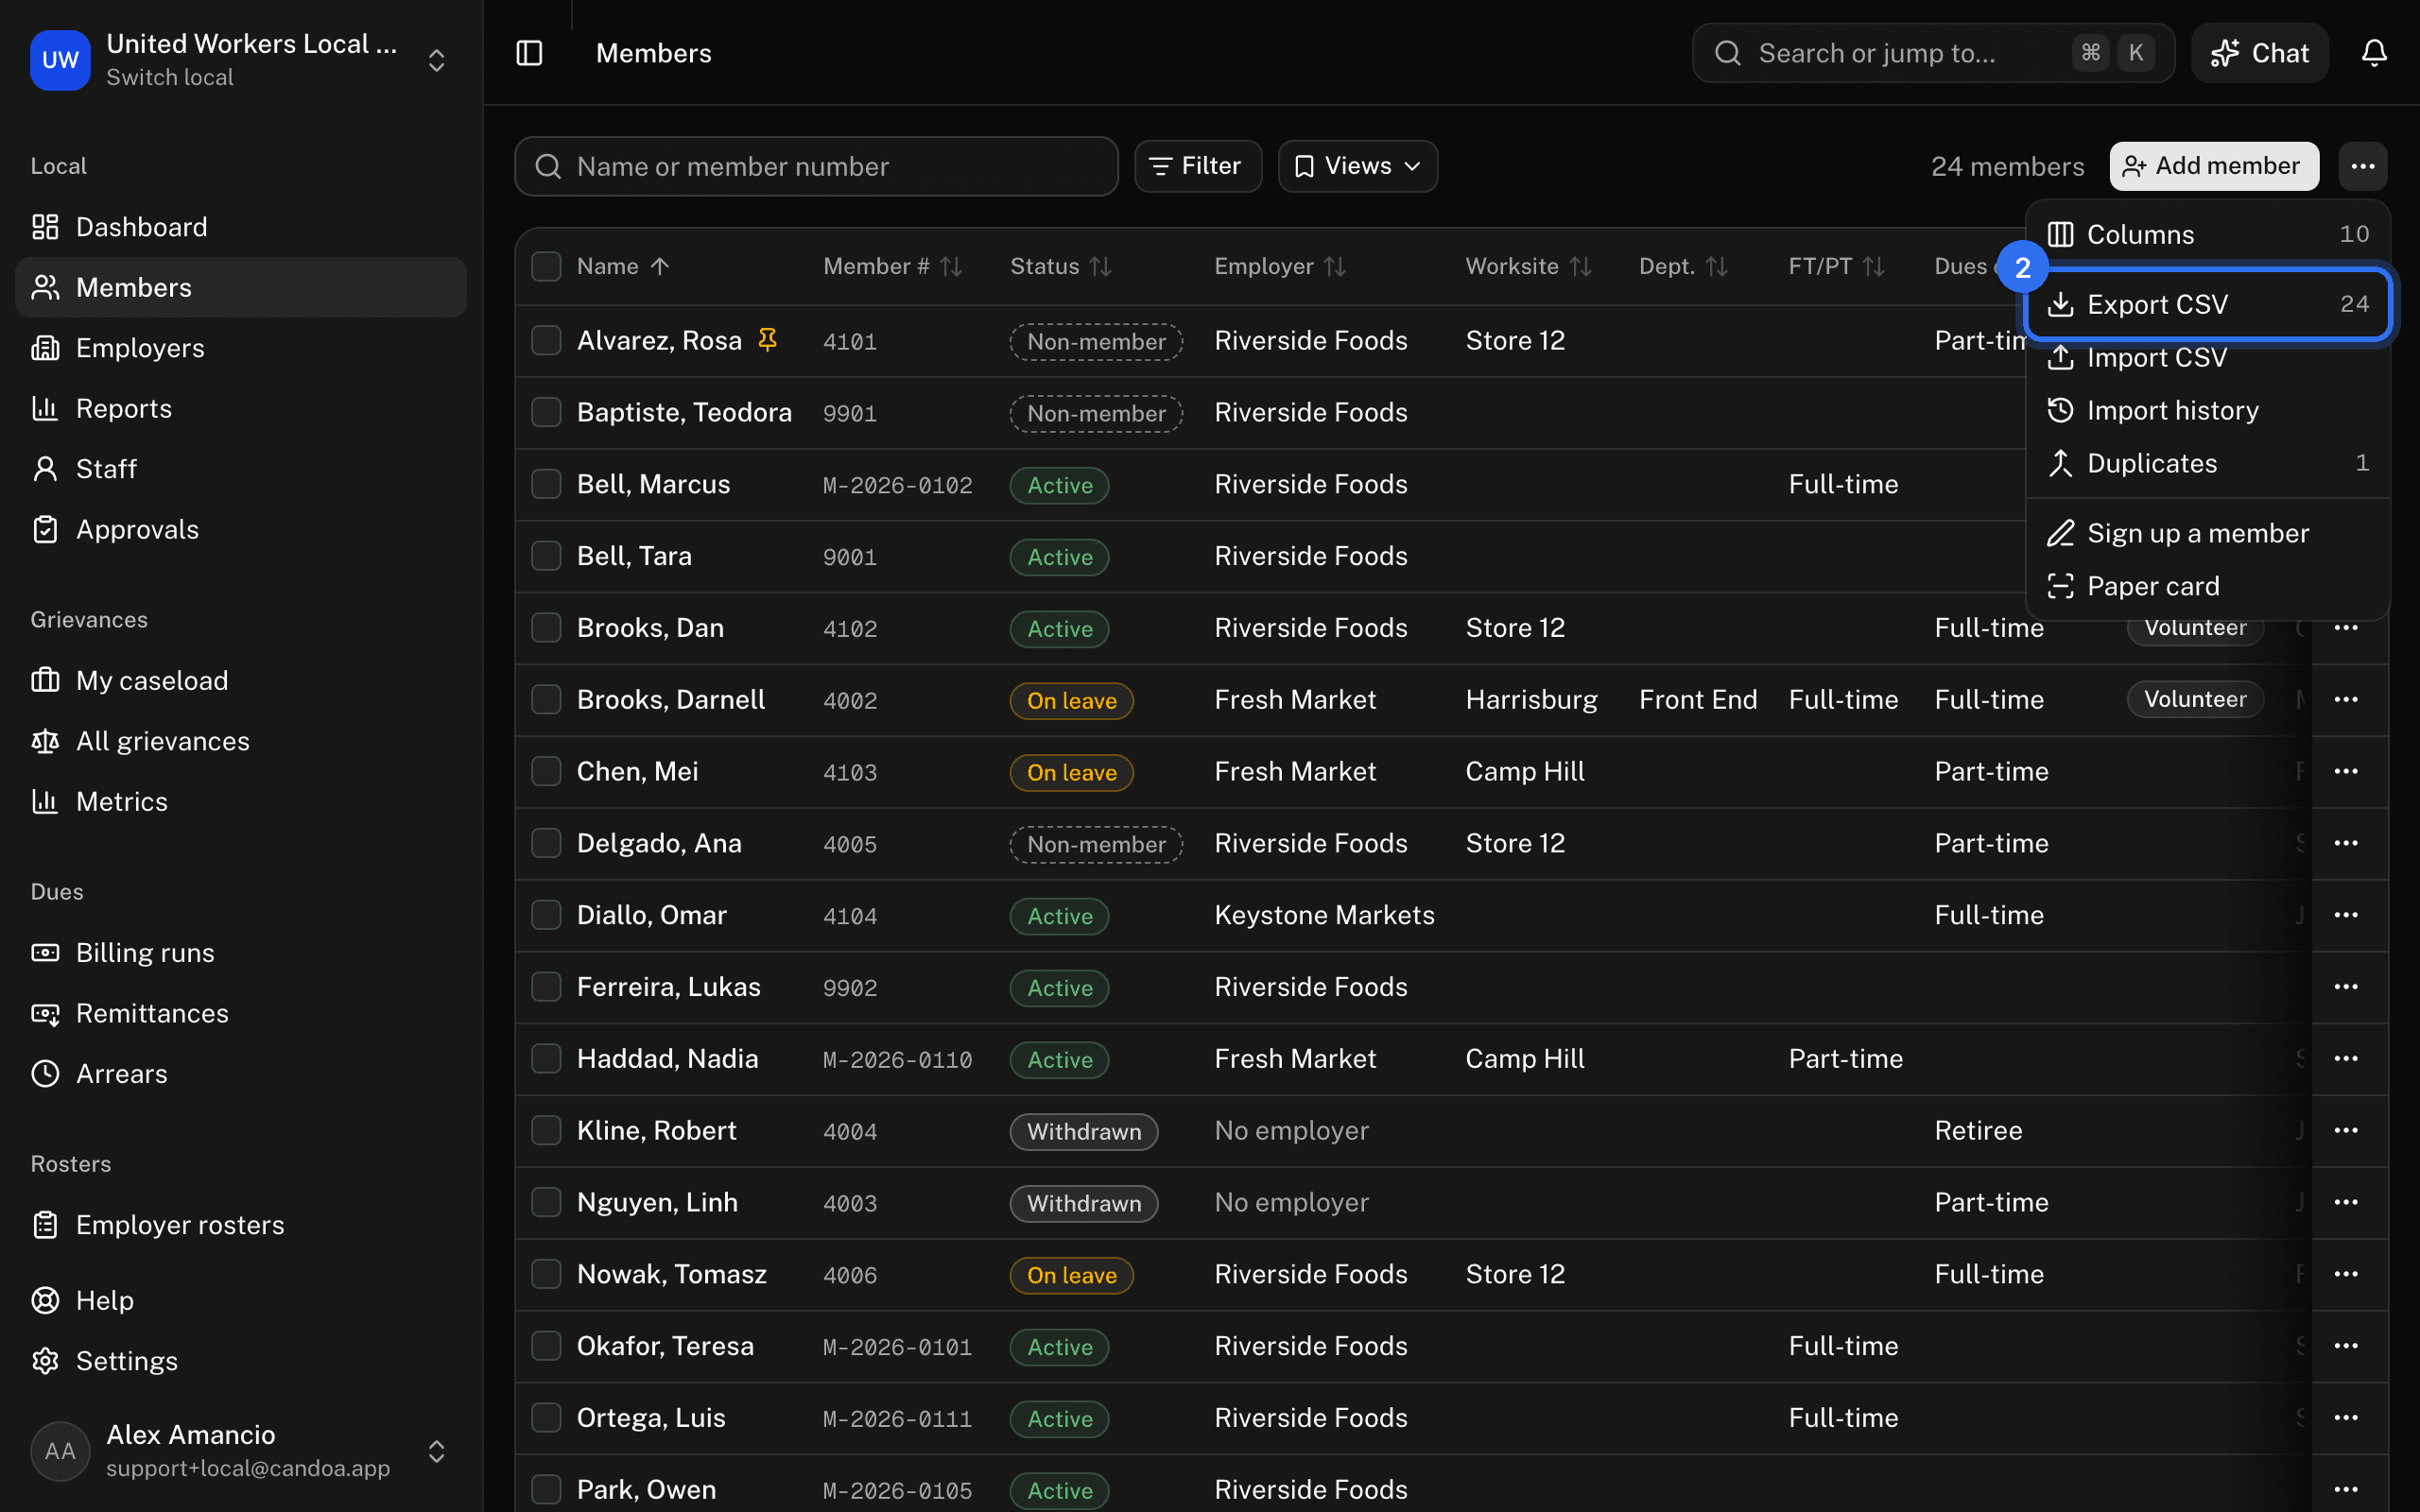
Every field is included, custom fields too, and the file opens cleanly in Excel. To download only ticked rows, tick them and press Export selected. You need the export permission; see Permissions.
Add members
- Add member at the top right opens Quick add a member over the list, for one person in a few fields; the full form is a click away inside it. See Add a member.
- ⋯ › Import CSV brings in a spreadsheet. See Import members from a spreadsheet.
- ⋯ › Sign up a member and ⋯ › Paper card take a join, when your local has the Join add-on. See Signing up members.
These pages are the help for Candoa, the software a local runs its members, employers, and grievances on.
Set up your localUpdated 2026-09-19